
Welcome aboard to the our video site for sailors. We are being constantly blasted by scammers and pirates, so registration is invite only
contact@sailorsahoy.com with "Invite". No spam, no newsletters. Just a free account

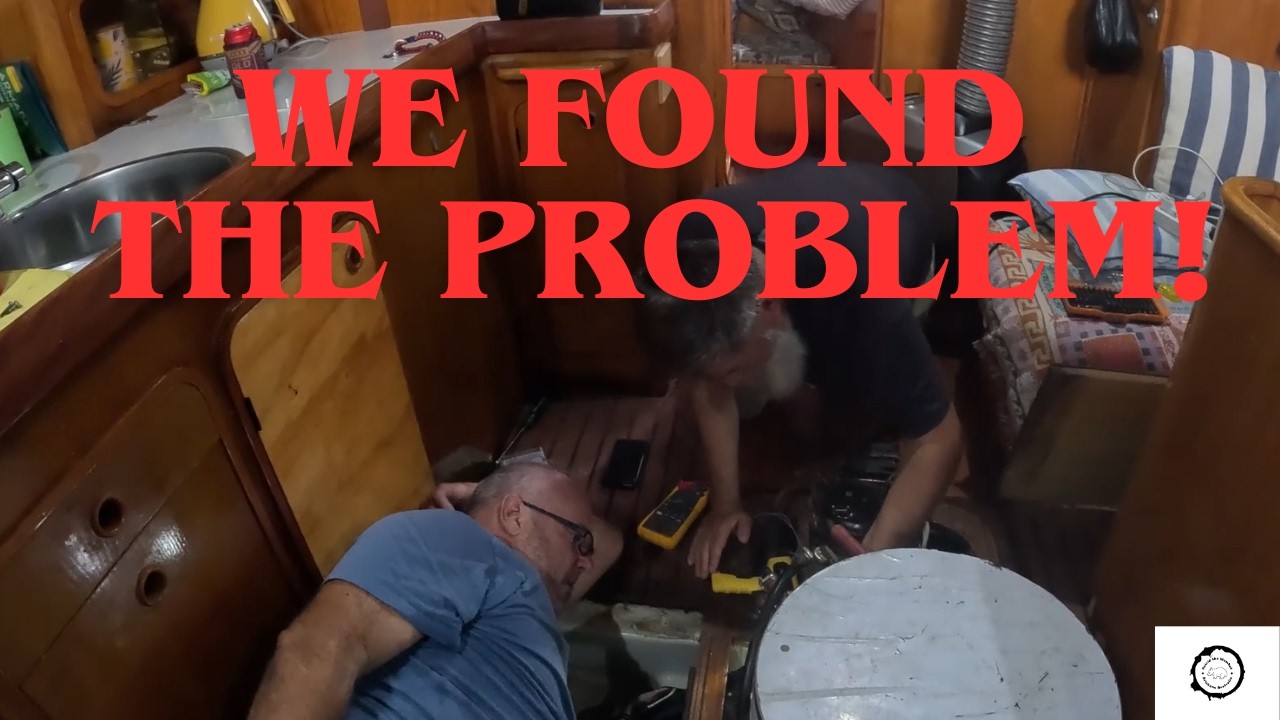
![How Much Power & Water Do We Really Use in the Caribbean? | Sailing the Caribbean Sea [4.02]](https://i.ytimg.com/vi/5d0El74umgs/maxresdefault.jpg)


EP 57: INSTALLING VETUS BLADDER Water TANK REPLACEMENT - Freshwater System
One of the biggest satisfactions of a diy boater is when a completed sailboat restoration project works as expected. I've always been amazed about all the things you can fix yourself if you have a little patience. In this episode, we are installing a new Vetus Bladder Style Water Tank. On several older boats you will find these bladder style tanks used for water, waste and fuel. When properly installed these tanks will provide years of service without problems. I speak from experience, Reverie is a 1985 Pearson 34 and it has bladder tanks for water and waste. The original tanks were on the boat when I bought it and they did not leak. I chose to replace the water tanks as I was replacing the old polybutylene water lines with new lines and figure I redo the entire system. As you can imagine restoring this old boat is a fun one! I have a few more projects around Reverie and now is a great time to get it done. In previous episodes I showed you how I ran new water lines and installed a new water pump. On this one I show you the trickiest part, setting up and cutting a hole on a brand new bladder water tank. 00:00 Intro 00:24 Vetus Water Bladder & what came with it 01:36 Protection needed for the bladder tank when installing 02:56 Considerations for hose positioning (intake /out) & movement 06:25 Measuring and cutting the protective liner, cutting hole position considerations 07:47 What to use to attach liner to compartment 08:33 Cleaning area for application 08:59 Installing bladder protective linner 09:34 Tank Valves, positioning, installation recommendations 12:26 Presenting bag in locker to select best placement of the valves 14:05 Out valve position selection and fastening the tank 15:18 The Big Moment! Cutting the Hole on the bladder. Be careful! 16:01 Installing outflow valve & tightening considerations 19:06 Bag Installed!! 20:07 Back on Reverie for testing. A word on water 20:54 First two gallons……no leaks 21:22 A word on why things take so long to do on a boat. 23:07 Added 10 Gallons (20 L) no leaks on the bag. 23:43 Turning the Water Pump On and checking for leaks 24:08 Finally checking for running water Galley 24:35 Checking for running water Head 25:58 Wrap-Up What projects are you working on in your boat? Let us know in the comments! SUBSCRIBE to follow our journey on restoring our boat Reverie !! ► https://www.youtube.com/c/HomesBoatsTravelbyJoseTorres Homes, Boats & Travel by Jose Torres Looking to buy a boat? For a Free Walkthrough Call Me @ (727) 453-8651 *Serving Florida's Gulf Coast FACEBOOK: https://www.facebook.com/homesboatstravel Check out these Boat Transformations! Ep 54 Galley Rebuild - Lasers, curves, fridges, & woodwork: https://youtu.be/4LLV0lssPFw Ep 48. New Portlights & Deadlights = No Leaks! My new Beckson Windows - Unboxing Beckson Windows https://www.youtube.com/watch?v=vv3RVW2liGs SV Reverie - Boat Projects & Refit https://www.youtube.com/playlist?list=PLSuw0sA9LJX6hSR7Jy_uBVPO4Km5kF2Cy Music by ArtList.com - https://artlist.io/Jose-306558

