


Rebuilding Our Carbon Fiber Rudder After a Reef Crash! DIY repair | S2 Ep38
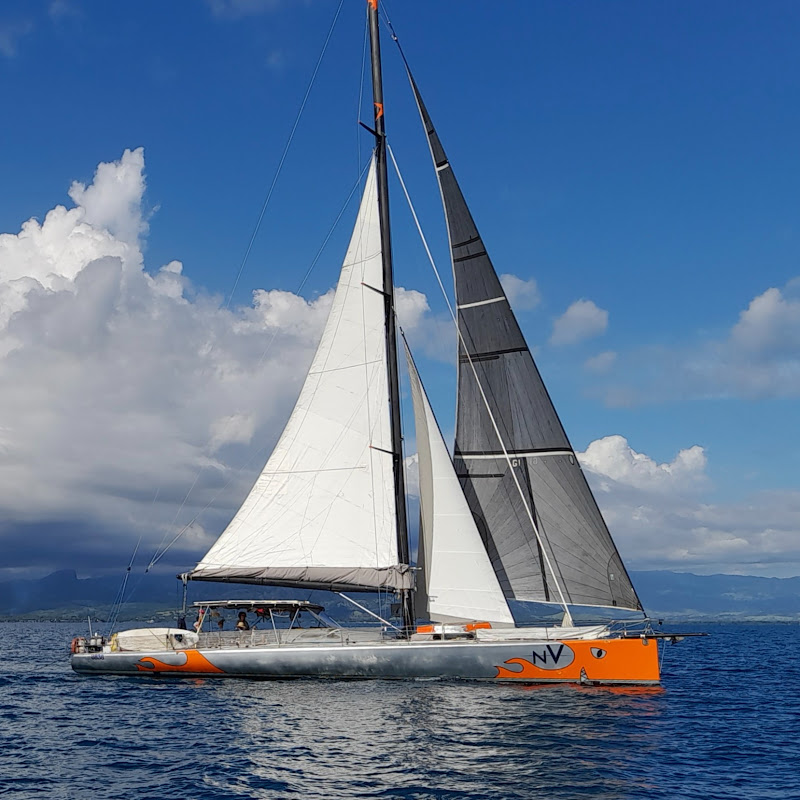
Today's episode is about extending our rudder after we lost the bottom 40cm when we hit a reef a few years ago. Our rudder was originally 3.10m and is carbon fibre foam cored. Luckily we only broke the last sacrificial part, designed to break off more easily and therefore not to damage the boat or the bearing. To do this repair, we will attach a frame (which is just a sheet of carbon fibre) to the bottom of the what's left of the rudder, glue foam around this frame, and then laminate more layers of carbon on top. To begin we first cut off the broken and delaminated parts. Next we need to prepare the remaining rudder for the attachment. To do this, we grind back the bottom part to exposed carbon. This needs to be done in several different layers so that when we laminate on the extension, this lamination will also be done in multiple overlapping layers. This is necessary for structural repair work so that the width of the repair isn't different from the rest. Next we start building the frame for this sacrificial part. We did this using 2 panels of carbon fibre, which we inserted into the exposed foam of the bottom of the rudder. This is necessary to give strength to this part. Attaching it exactly to the middle of the bottom of what's left of our rudder, also gives us a middle panel, to help us make the shape symmetrical. To make the form of the rudder extension, we attach strips of foam to either side of this frame, which we then cut and sand to match the form of the rest of the rudder. The initial lamination was with just one strip of foam at the top of the extension, and this was used to glue and anchor the frame and this foam in place. The rest was then created in multiple stages which all consist of the same process which was to add glue on strips of foam, which were then sculpted to match the form of the rudder. Filler is then added to the foam which is then sanded to make the perfect form. It is then covered by layers of carbon fibre laminated on top. This was done 4 times in total, with each subsequent layer being laminated up to a higher position on the original rudder, rejoining the 4 different layers of thickness we grinded out of the original rudder to begin with, so that the overall thickness of the rudder remains the same throughout. The lamination is made with a alternative sheets of carbon in uni directional and double bias +,- 45 degrees, like this in total we have layers fibre in 3 different orientation The last step is painting with primer so that you can see the defaults in the form and then adjust with filler and sand again. 00:00 - Intro 01:07 - The sacrificial park 01:34 - Extension summary 01:55 - Initial prep 02:21 - First steps 06:41 - Building the frame for the extension 09:47 - 1st lamination 13:00 - 2nd lamination 15:44 - 3rd lamination 23:19 - The materials 25:17 - 4th lamination 27:19 - Looking good! 29:21 - Primer & filler 30:07 - The finished rudder! 30:22 - Outtro 30:52 - Outtakes ------------------------------------------------------------------------------------------------------- If you'd like to support us on Patreon, our website https://www.patreon.com/SailingNV or with a one-off donation via https://ko-fi.com/sailingnv or paypal https://www.paypal.com/paypalme/sailingnv or if you'd like to help us buy something we need, you can check out our amazon wish list https://www.amazon.com/hz/wishlist/ls/1G2NJ0EGJLKR0?ref_=wl_share THANK YOU!!!

