
Welcome aboard to the our video site for sailors. We are being constantly blasted by scammers and pirates, so registration is invite only
contact@sailorsahoy.com with "Invite". No spam, no newsletters. Just a free account


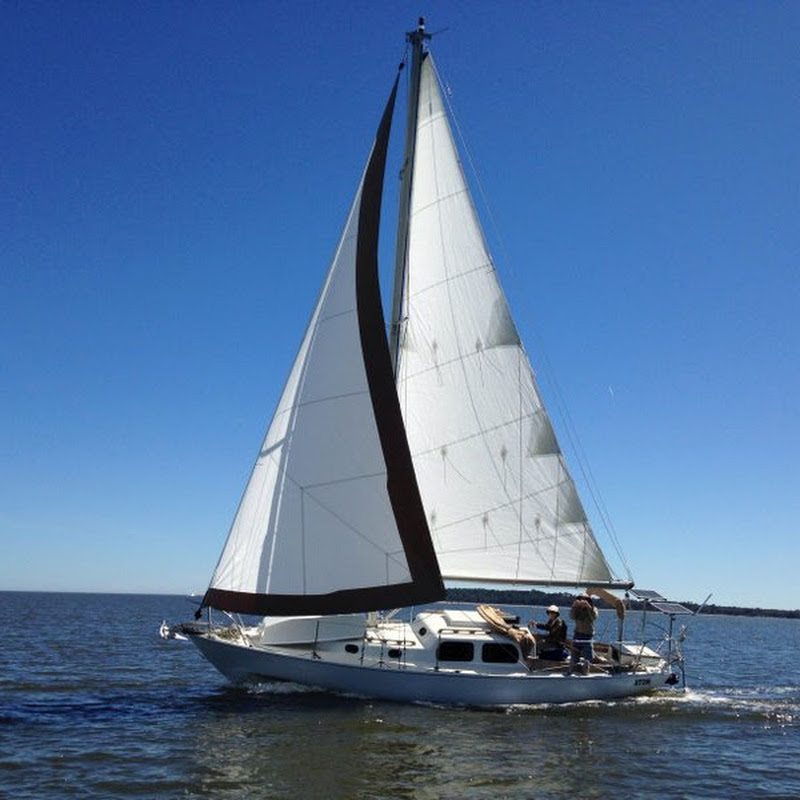
Installing a Solar Arch Cape Dory 36 Refit Part 3
Installation Instructions for Tower in a Box Sail Arch: Our Cape Dory 36 deck dimensions fit the Offset Sail Arch model TIB101.5/02.5/435 which adjusts to fit 78” to 90” width bases forward; 68” to 80” aft. Refer to the following page for model sizes: https://www.atlantictowers.com/products_sail_arch.php 1. Measure your preferred height of arch and the width of four bases according to the planned location. The upper arch goes aft the backstay. Angle of legs from deck is 55-60 degrees. We decided on 6'2" headroom under the arch. Distance between forward and aft legs at deck is 24". Contact Atlantic Towers to confirm which model is suitable. Tell them size of solar panels you will use and order their solar mount kit or build your own. We used their kit with two 200 watt Renogy solar panels. The components weighed about 90 lbs plus about 10 lbs for the solar brackets and 52 lbs for the solar panels which we purchased separately. 2. Check overall width of arch after assembling it on the ground by inserting the two halves of the arch into the center connector, called the bridge. Mark the two sides of the tubes with tape 10" back from their ends so you know when they are fully inserted into the 20" wide bridge. Tape the bridge to tubes and measure width of bases. To get proper preload tension to stabilize the installed arch, add 3-5" to your original deck placement measurement. Tape on foot bases and deck mount brackets. Measure height of arch. Trim the bottom of the legs to required length using a heavy-duty tubing cutter, hacksaw or angle grinder. Disassemble and cut upper tubes to correct width. File cut edges so no burrs exist on tubes. 3. If certain of width measurement you can reassemble legs to the bridge and drill and bolt with 8 included fasteners or tape together. Attach a strap to lowest horizontal cross beam and tension until base width matches your deck position. Hoist arch onto boat with mainsail halyard over the stern. With pivoting eye fittings taped on to tubes and u-shaped base plates bolted to them, set arch into desired position, and confirm overall width and height. Check by eye that arch is perpendicular to boat centerline and use a level to check the top fore and aft and side to side. Level it by trimming base legs or by adding differing height spacer blocks under the feet. 4. Drill deck holes for 16 pieces 1/4" x 2" flat head stainless machine screws. Drill a 3/16" drain hole just above solid eye in the aft side of each tube for water drainage. Bolt tube eyes to bases and temporarily bolt bases to deck. 5. The instructions say to drill and tap tubes to eyes with included fasteners and epoxy together but we decided to drill for one 1/4" thru-bolt on each leg and install with sealant. For now just dry fit them and remove to add sealant or epoxy later. 6. On a flat surface, place two solar panels bottom up and align solar panel brackets flush with outside of solar panel frames, drill and install a 1/4" x 1.5" stainless hex bolt (not included) near each end where holes line up with existing holes in panel frame. Set panels on arch, align with boat centerline and leave space between panels for backstay clearance. Mark location on arch tubes then remove panels. Drill arch for four bolts that pass vertically all the way through the tubes so that bolts will align with solar panel frame. This is done by placing holes 1 1/8" in from outside of brackets and 7/8" from inside. The included 3/8" diameter bolts seemed larger than needed and were too short for our installation so we used 8 pieces 5/16" x 4.5" stainless hex bolts. 7. Drill 5/8" holes in aft arch tubes under where solar panels will be placed. Remove aft leg tube eyes and drill another 5/8" hole on the aft side of each aft leg about 3" from bottom of tubes. Remove burrs with file or Dremel drum disc. 8. Place solar panels on arch, clamp in place, and drill up from bottom through two sets of four holes in arch, drilling thru channel mounts and solar panel frames. (Use a piece of plywood between solar panel and frame to prevent damage from drill bit.) Bolt together with 1/4" bolts and washers. Place the included curved anodized aluminum washers under arch tube and use nylon washers between stainless fasteners and aluminum, including under the nuts on solar panel frame. You can add washers between arch and solar mount to level them. The number of spacer washers will determine if you need 4" or 4.5" bolts. 9. Tilt arch forward and remove aft tube eyes to ease installation of wires. Use a plumber's snake to run messenger line and pull solar cables through from top. Install cable clam on deck. Apply silicone sealant around wires where they pass through arch tubes to prevent chafe. 10. Bolt solar panels to arch. Seal deck bases bolts with butyl or other sealant and included backing plates.

