


Những video mới nhất


Learn how to fold a sail properly so it is easier to handle, store, and unpack later. In this video, we walk through the basic process of bricking up a sail, including why you should avoid folding it repeatedly on top of itself, how to work with a helper, how to keep the sail aligned as you fold, and how to finish it with a roll and sail tie before placing it in the bag. Folding a sail is much easier in a sail loft than on the deck of a boat, but with the right technique it can still be done. This is a simple sail care skill every sailor should understand. #sailinggear #sailboat #sailing #sailinglife

Ready to start learning? Here is a quick guide on how to navigate your NauticEd course! Learn how to seamlessly move between your course homepage, modules, and interactive pages. #sailing #sailingschool #learntosail #sailboat #boat
What is the difference between a cruising sail and a racing sail? ⛵ While any sail is welcome on the racecourse, racing sails are designed with a lower clew close to the deck to maximize aerodynamics. Cruising sails often have a raised clew so you can see oncoming traffic more easily! #sailing #sailingschool #sailinglife #sailinggear #sail

We start with one vital and basic nomenclature. Worldwide, what is commonly and linguistically referred to as "Right of Way" on the land doesn't exist on the water (with the exception of "Racing Rules of Sailing"). Instead, the term "Stand-On" replaces "Right of Way". On land, we have very strict lanes to remain in and very strict intersection rules which give rise to easily being able to determine who has the rights at any point. Now imagine 100,000 cars all going in different directions at 100 km/hr on the salt flats of Utah. Well ... let's just say it wouldn't happen for long. It would be mayhem! Thus, on the water, things are a little different. Fortunately, most of the time, the speed is less and the prudent and aware captain has time to make the proper decision according to the world-recognized rules for water traffic. The technical difference then, between Stand-On and Right of Way is that the vessel who is NOT in the Give-Way position must act predictably in the eyes of the Give-Way vessel. I.E. the Stand-On vessel is first required to maintain course and speed (Stand-On) so that the Give-Way vessel can plot a safe crossing course. If collision becomes imminent, the Stand-On vessel is then REQUIRED to take all actions possible to avoid collision. Thus, it is at this point that the Stand-On vessel technically doesn't have "rights" over the Give-Way vessel and thus the deletion of the term "Right of Way" on the water. But what is Give-Way? It is clear inside the rules. If you are to Give-Way, you must keep clear of the other vessel and you must not impede its ability to continue to safely operate on its passage. So to summarize this then: in any situation, you will either be the Stand-On vessel or the Give-Way vessel. If you are the Give-Way vessel you must take visibly obvious and early actions to allow the Stand-On vessel to know that by continuing current course and speed there will be no possibility of collision. If you are the Stand-On vessel you should initially hold course and speed but it is still your final responsibility to prevent collision. #sailing #sailor #sailingschool #boating #yacht


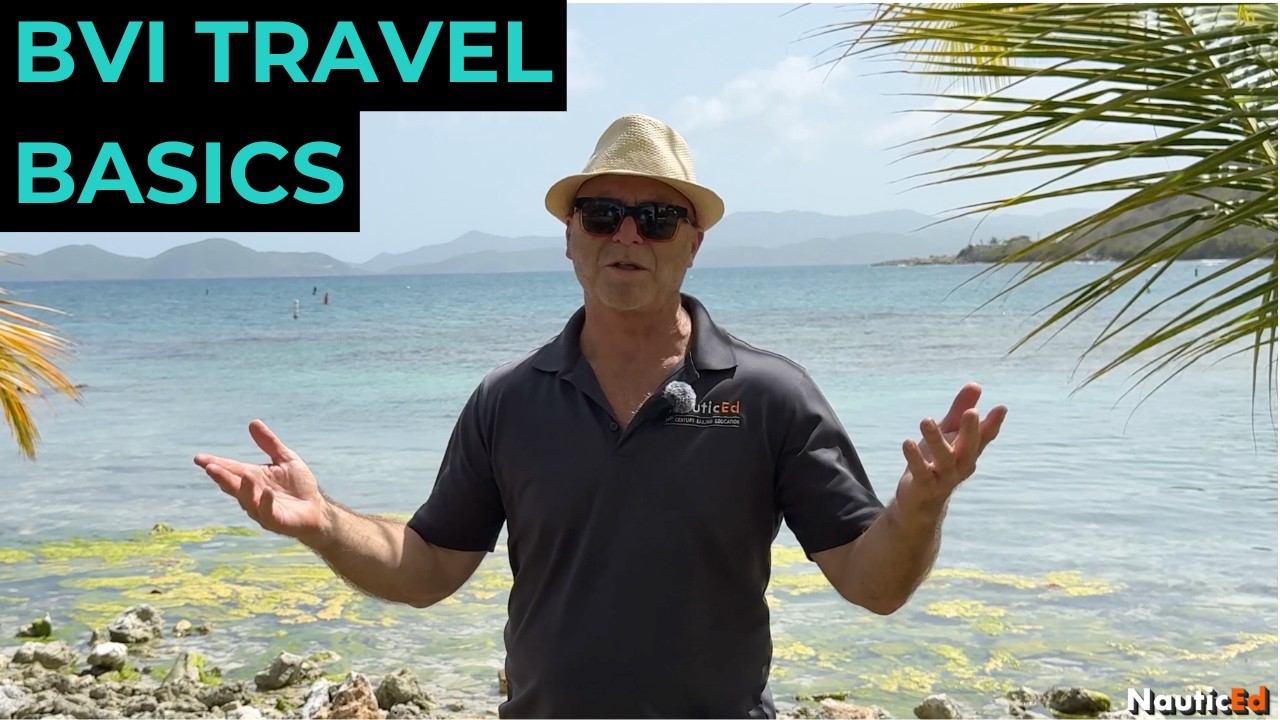
Planning a trip to the British Virgin Islands? Here are a few basic BVI travel tips to know before you arrive: money, electricity, and which side of the road they drive on. First, money is simple in the BVI. The British Virgin Islands use U.S. dollars, and you will find ATMs around the islands where you can withdraw cash. Visa and Mastercard are widely accepted, and many places also take American Express, though it is still smart to have some cash with you for smaller stops, taxis, tips, mooring balls, beach bars, or places where card machines may not be working. Electricity is also straightforward for travelers coming from the United States. The BVI uses American-style plugs and 110-volt power, so most U.S. chargers and devices will plug in normally. If you are coming from a country that uses a different plug or voltage system, bring the right adapter or converter before you arrive. Driving is the one that can surprise people. In the BVI, they drive on the left side of the road. But many vehicles have the steering wheel on the left side, like American cars, which can feel strange at first. That means the driver is often closer to the gutter side of the road rather than the center line. If you are not renting a car, it is not a big deal. But do not be surprised when you get into a taxi and it feels like they are taking off on the wrong side of the road. That is normal in the BVI. #sailing #sailboat #bvi #catamaran

NauticEd's Anchoring Course - https://www.nauticed.org/sailing-courses/view/anchoring-a-sailboat?utm_source=youtube&utm_medium=video&utm_campaign=D_LkyO7Aexg Check out IMTRA the windlass experts - https://www.imtra.com How do you safely raise anchor with a windlass? In this video, we walk through the basic anchor recovery process, including starting the engines, driving forward toward the anchor, recovering the ground tackle, breaking the anchor free from the seabed, rinsing the anchor, seating it in the bow roller, and securing it with a safety lanyard. Before raising anchor, make sure everyone aboard knows the boat is about to move. Start the engines before operating the windlass because the windlass draws a significant amount of electrical power, and you want the alternator helping support the system. Once ready, begin driving slowly forward toward the anchor, usually into the wind, while recovering slack in the ground tackle. If you anchored with a long scope, there may be a lot of rope and chain to bring in. The goal is to avoid using the windlass to pull the boat forward. Instead, use the engine to move the boat and use the windlass to recover the slack. As the boat comes up over the anchor and the rode becomes nearly vertical, the motion of the boat and sea state can help break the anchor free from the seabed. Once the anchor is free, raise it carefully, rinse off mud or sand if needed, and seat it properly into the bow roller. After the anchor is seated, secure it with a safety lanyard. This is important because if the windlass accidentally deploys or the clutch loosens, the safety lanyard helps keep the anchor onboard instead of letting it drop into the water, run down the hull, or potentially foul the props. If your boat has a devil’s claw and chain snubber system, you can use it to pull the anchor tight into the bow roller and reduce rattling while underway. #sailinggear #boating #boat #sailboat #catamaran
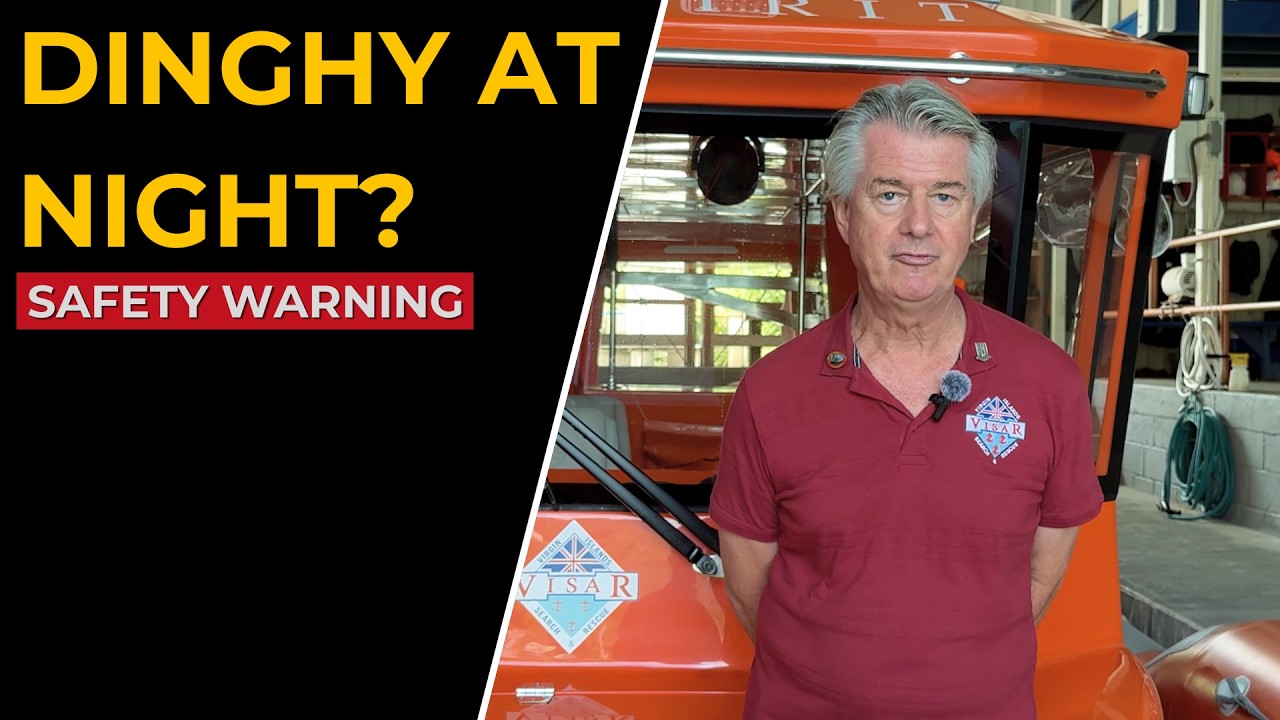
Driving your dinghy at night in the BVI is one of those things that seems simple until you are actually doing it. The anchorage is dark. You may not know the harbor well. There could be dozens of boats on moorings, other dinghies running around, people heading to restaurants and bars, and everyone trying to find their own boat again after dark. In this video, we cover practical BVI dinghy safety tips for charter crews. Wear your life jacket or PFD. Use the kill cord or engine cutoff lanyard. Carry and use a proper light so other boats can see you. A gray dinghy on dark water can be extremely hard to spot at night. One of the best habits is to have a dedicated dinghy driver for the night. If there are several people in your crew, take turns. One person stays sharp, knows where the boat is, gets everyone safely back aboard, and makes sure the full crew is accounted for. The same common sense that applies on land should apply on the water. Do not overdo it at the bar and then put yourself in charge of the dinghy and everyone riding in it. BVI charter vacations are supposed to be fun, but getting back to the boat safely matters. Wear the kill cord, wear your jacket, use your light, and have a dedicated driver. #bvi #dinghy #sailing #bareboatcharter #yacht


When is the best time to charter in the British Virgin Islands? The answer depends on your budget, your tolerance for heat, and how flexible you are with weather. December through March is the busy winter season in the BVI, and it is usually more expensive because so many people want to escape the cold and sail in the Caribbean. April, May, and June can be excellent months for a BVI charter. The weather is still beautiful, the crowds may be lighter, and the pricing can be more attractive than peak winter season. July, August, September, and October are hotter months, and they also fall within hurricane season. That does not mean you are likely to be sitting in the middle of a hurricane during your charter, but it does mean you need to pay attention, stay flexible, and understand that weather can affect your trip. The good news is that modern forecasting usually gives plenty of advance warning when a tropical system may threaten the area. If a serious storm is tracking toward the BVI, your charter company will be monitoring the situation and may adjust or cancel plans for safety. If you are looking for a lower-cost time to book, summer and early fall can be worth considering. Just understand the tradeoff: it can be hotter, there is more weather risk, and you may want a boat with a generator and air conditioning, especially for sleeping at night. October and November can also be nice as the weather starts to cool off again and the islands move toward the winter charter season. The best time to sail the BVI really comes down to the kind of trip you want: peak-season comfort and demand, shoulder-season balance, or lower-cost summer travel with more heat and more weather awareness required. #sailing #sailboat #bareboat #britishvirginislands #catamaran

NauticEd's Anchoring Course - https://www.nauticed.org/sailing-courses/view/anchoring-a-sailboat?utm_source=youtube&utm_medium=video&utm_campaign=wNzLiw62qeU Check out IMTRA the windlass experts - https://www.imtra.com What is a windlass clutch, and is it anything like the clutch on a car? In this video, we explain how an anchor windlass clutch system works, what the clutch cones do, how the chain wheel or gypsy fits into the system, and why proper clutch tension matters when anchoring. A windlass clutch is designed to control how the chain wheel engages with the windlass shaft. The chain wheel, also called the gypsy, is typically not keyed directly to the shaft. Instead, it rides between two clutch cone surfaces. The clutch cones are keyed to the shaft, while the chain wheel is sandwiched between them. When the clutch nut or wing nut is tightened, it pushes the outer clutch cone against the chain wheel. The chain wheel is then pressed against the inner clutch cone, creating a sandwich effect. The inner and outer clutch cones are the “bread,” and the chain wheel is the “meat” in the sandwich. That pressure allows the windlass to lift the anchor and chain without slipping. But the clutch should not be overtightened. A moderately tightened clutch is usually all that is needed. It should be tight enough to lift the ground tackle off the seabed, but not so tight that the system loses its ability to slip under a shock load. A properly greased clutch cone system with the right clutch tension helps the windlass work smoothly, allows controlled freefall, and can help reduce shock-load damage to the windlass system. 00:00 - What is a windlass clutch? 00:49 - How a clutch on a windlass works 02:45 - How tight should a windlass clutch be?


When you submit your sailing resume to a charter company in the British Virgin Islands, they usually make one of three decisions: you are approved to bareboat, you are denied because you do not have enough relevant experience, or you fall into the middle gray area. That middle area is where a checkout skipper may come in. A BVI charter company may decide that you have some decent boating or sailing experience, but they still want to verify your skills before letting you take the boat on your own. In that case, they may assign a checkout skipper for the first few hours of your charter. You will usually pay for that time, and the skipper will assess whether you can safely operate the boat. During a checkout, the skipper may ask questions about boat systems, safety procedures, sail handling, anchoring, reefing, and general boat operations. They may also have you raise and lower the sails, reef the boat, drop and retrieve the anchor, maneuver the vessel, and show that you understand the basics of operating the specific boat you are chartering. If the checkout skipper says you are good to go, you continue the charter on your own. If they are still concerned, the charter company may require you to hire a captain for the week. The problem is that a captain may not always be available at the last minute. That is why it is better to build real experience before you come to the BVI, or to pre-arrange an instructor or skipper if you are not fully ready yet. The upside is that an instructor or local skipper can make the trip better, not worse. They know the area, understand the local conditions, help with itinerary planning, and can show you places in the BVI you may never have found on your own. #sailing #bareboatcharter #yacht #catamaran #britishvirginislands


