最新视频
My website: https://www.nomadboatbuilding.com Instagram: https://www.instagram.com/nomadboatbuilding/ It's not about the money but living isn't free... Here are some ways you can support this channel. Buy some merch: https://www.nomadboatbuilding.com/shop/ Support these videos with monthly or annual pledges at Patreon: https://www.patreon.com/nomadboatbuilding Or make a one time donation: https://www.paypal.com/paypalme/nomadboatbuilding
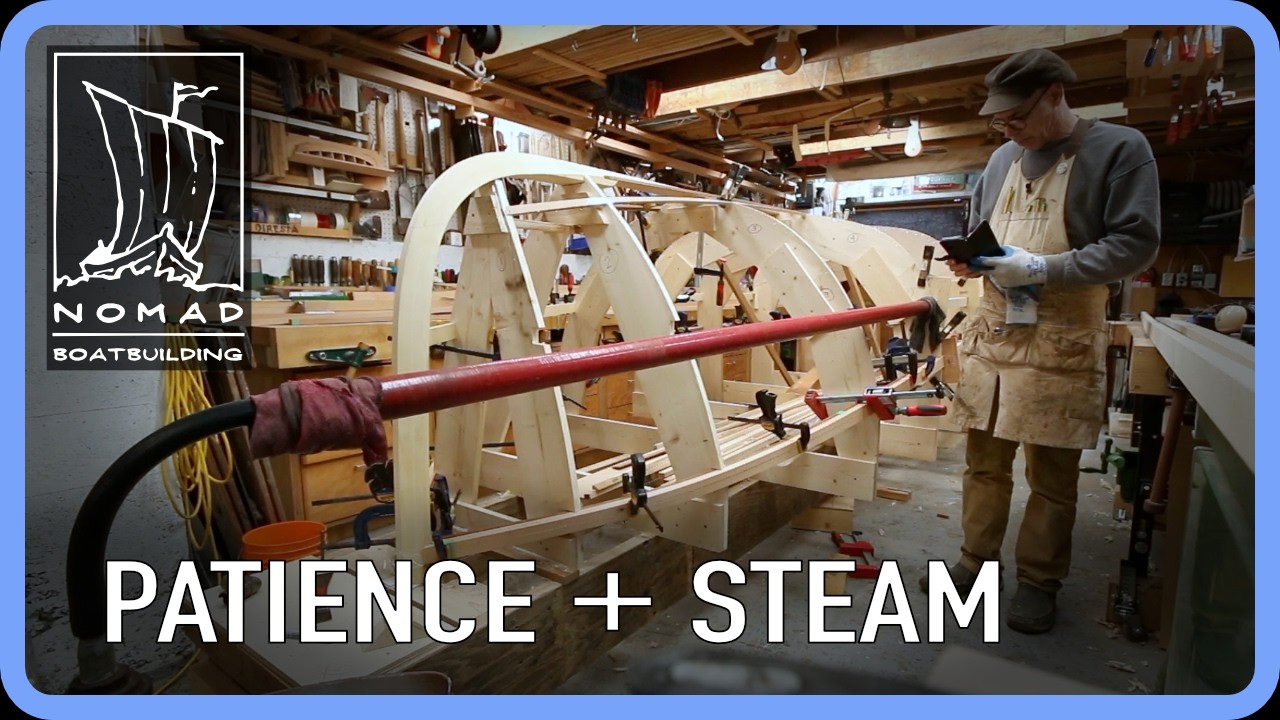
Hey folks, welcome to Nomad Boat Building. I'm Mark Reuten, and we're picking up where we left off on the Poulsbo Boat Project. This week I'm getting the boat ready for planking by bending and fitting the inwales and thwart risers. There's a fair bit of tricky work involved here, especially around the stem and transom where the angles compound and there's a lot of shape going on. I’ll show you how I work out those angles using simple battens and templates, how I deal with steaming some pretty stubborn Douglas-fir, and how I make adjustments when things don't quite fit the first time. There are a few mistakes along the way too — which is pretty normal in a boat shop. The Poulsbo Boat is a modern cedar-strip version of a 1950s-era sport fishing boat originally built in Poulsbo, Washington by Roland Young using traditional carvel construction. I'm building this version with cedar strip construction, fibreglassed inside and out. The inwales and thwart risers will eventually be laminated into rigid longitudinal structures, but for now they're being bent into position so I can establish the shape before planking. If you're interested in wooden boat building, cedar-strip construction, steam bending, woodworking, and the practical problem-solving that goes into building a boat, follow along as this project takes shape. SUPPORT THE CHANNEL Join me on Patreon: https://www.patreon.com/nomadboatbuilding Your support helps keep these boatbuilding videos coming. WEBSITE https://nomadboatbuilding.com/ INSTAGRAM @nomadboatbuilding WATCH THE FULL POULSBO BOAT SERIES https://youtube.com/playlist?list=PLnOoJJKdbR4JZFfEMWhXjloa0LhCp0GPI&si=wVjR0gySMlqsx2jw New episodes follow the build from the backbone and moulds through planking, fibreglassing, interior work and eventually finishing the boat. CHAPTERS 0:00 Introduction 0:21 Week eight: getting back to work 0:30 Troubleshooting the stem bevel 1:01 Using plywood to check complex bevels 2:01 Preparing the backbone for planking 3:21 Installing the inwales before planking 4:18 Laminating the inwales in place 5:12 Working out the inwale angles 7:06 Solving the compound angle 8:16 Fitting the first inwale 8:47 Steam bending the inwales 11:38 Bending Douglas-fir 12:34 Cutting the compound mitres 16:23 Steaming the second bend 18:40 Fitting and adjusting the inwale 20:30 Steam bending Douglas-fir 23:08 Correcting the inwale angle 23:37 Transferring the transom angles 26:34 Adjusting the fit 27:37 Preparing the thwart risers 30:46 Correcting the mould reductions 34:28 Setting the laminations in place 35:47 Ready for lamination 36:03 Next episode #NomadBoatBuilding #PoulsboBoat #BoatBuilding #WoodenBoat #WoodenBoatBuilding #CedarStripBoat #StripBuiltBoat #SteamBending #Woodworking #Boatbuilding

Sign up for the Traditional Lapstrake course here: Cowichan Bay Maritime Center: https://www.classicboats.org/build-a-tyee-rowboat My website: https://www.nomadboatbuilding.com Instagram: https://www.instagram.com/nomadboatbuilding/ It's not about the money but living isn't free... Here are some ways you can support this channel. Buy some merch: https://www.nomadboatbuilding.com/shop/ Support these videos with monthly or annual pledges at Patreon: https://www.patreon.com/nomadboatbuilding Or make a one time donation: https://www.paypal.com/paypalme/nomadboatbuilding
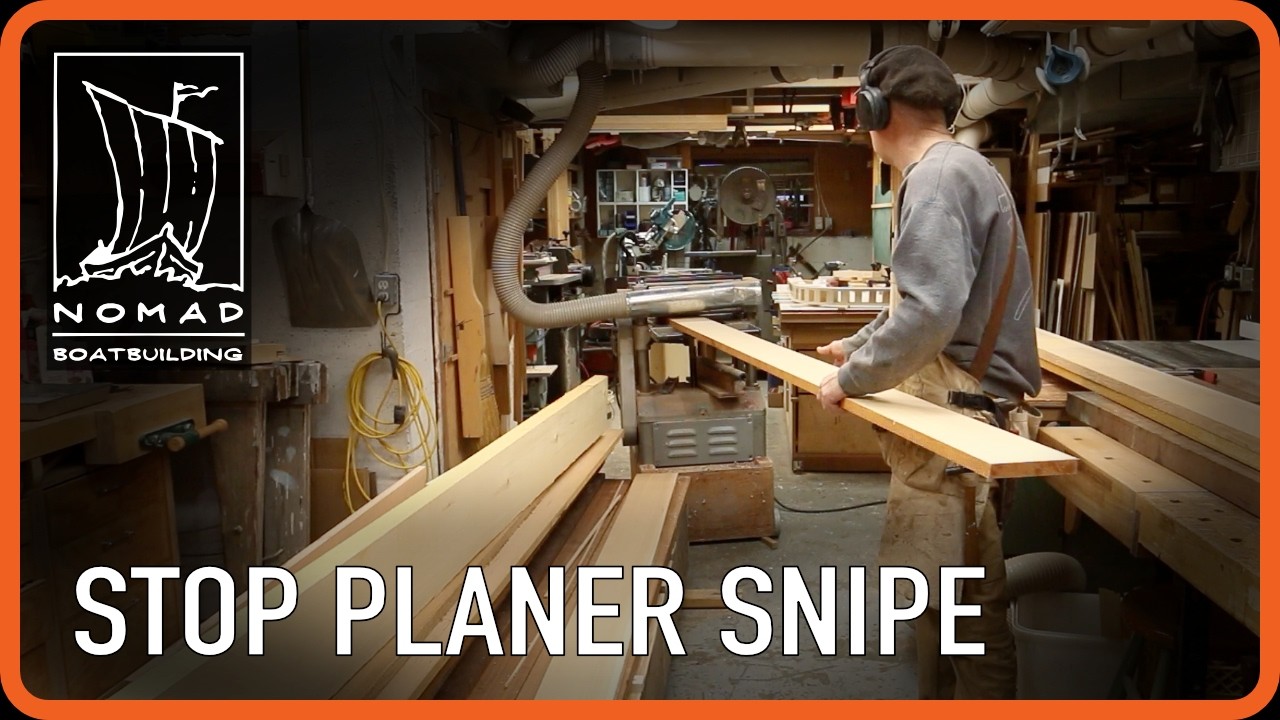
Howdy folks! I'm Mark Reuten from Nomad Boat Building. In this episode of the Poulsbo Boat Project, I'm tackling one of the most common frustrations in woodworking: thickness planer snipe. I explain why snipe happens, why it isn't always practical to eliminate with elaborate machine setups, and several simple shop techniques I use to prevent it when milling boat parts. We'll cover lifting the stock during the cut, feeding boards diagonally, using sacrificial battens, and building a simple planer sled for short or thin workpieces. These are practical methods that work well in a real boat shop without requiring expensive modifications to your planer. If you're building boats, woodworking in a small shop, or simply trying to get cleaner results from your thickness planer, I hope you'll find a few useful ideas here. If you'd like to help support these videos, consider joining me on Patreon: Join me on Patreon https://www.patreon.com/nomadboatbuilding Website https://nomadboatbuilding.com/ Chapters 00:00 Why thickness planer snipe happens 00:48 Why extension tables aren't always practical 01:32 Planning around snipe with extra material 02:17 Technique 1: Lift the board during the cut 02:55 Technique 2: Feed the board diagonally 03:30 Technique 3: Sacrificial battens 04:47 Technique 4: A simple planer sled 05:57 Final thoughts #BoatBuilding #Woodworking #ThicknessPlaner #WoodworkingTips #NomadBoatBuilding #PoulsboBoat #PlanerSnipe #WorkshopTips
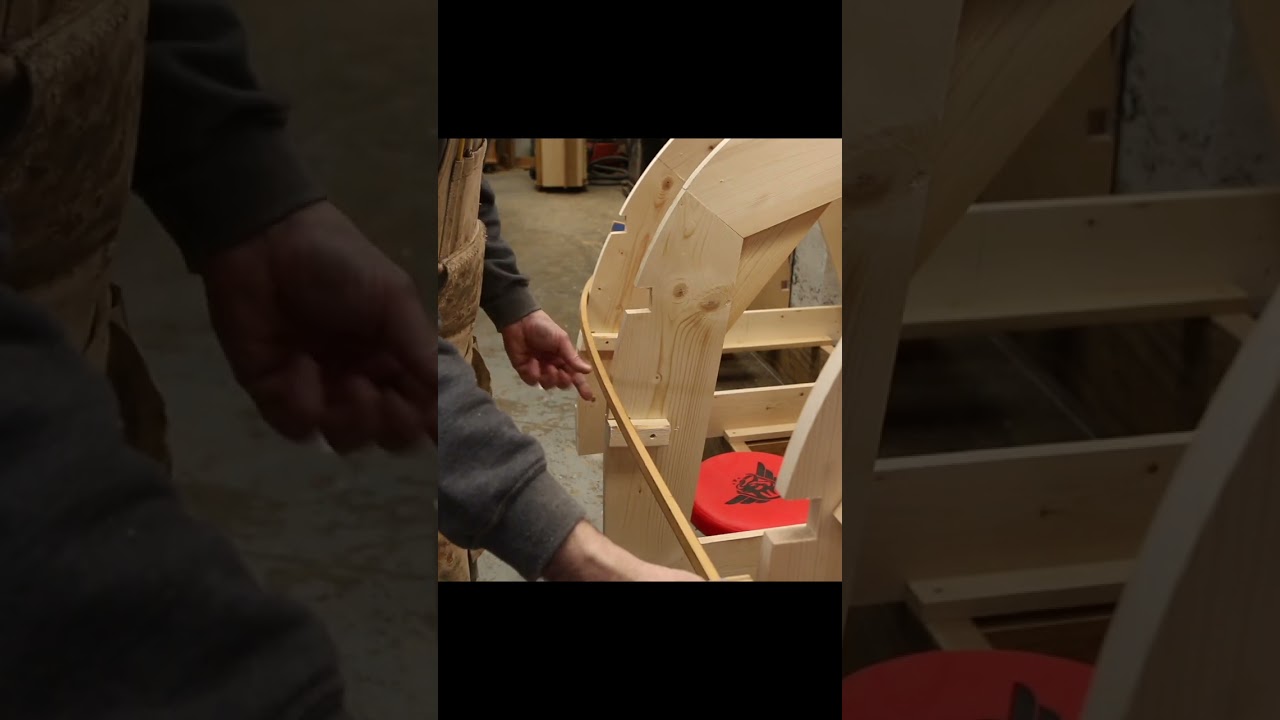
Fairing a wooden boat hull isn't always straightforward. Here's one lesson that saved me from removing material I couldn't put back. Watch the full episode on Nomad Boat Building for the complete Poulsbo Boat Project. #BoatBuilding #Woodworking #WoodenBoat #NomadBoatBuilding

Howdy folks! Welcome back to Nomad Boat Building. I'm Mark Reuten, and this video is part of the Poulsbo Boat Project, where I'm building a modern version of a 1950s Poulsbo sport fishing boat using cedar strip construction with fibreglass inside and out. This episode is all about fairing the backbone, moulds and stem. What looked like a simple job quickly turned into one of the more frustrating parts of the build as unexpected hull shapes had me questioning everything. Rather than rushing ahead, I slowed down, worked through the problem methodically, and eventually found a fair solution. Along the way I demonstrate how I use full-length battens, fair complex hull shapes, work around difficult twists at the bow, and shape the stem without removing too much material. If you've ever doubted your layout or wondered whether the plans or your workmanship were wrong, this episode is for you. Whether you're building a wooden boat, restoring one, or simply enjoy traditional craftsmanship and woodworking, I hope you'll find something useful here. ► Join me on Patreon https://www.patreon.com/nomadboatbuilding ► Website https://nomadboatbuilding.com/ Watch the complete Poulsbo Boat Project playlist: https://youtube.com/playlist?list=PLnOoJJKdbR4JZFfEMWhXjloa0LhCp0GPI&si=wVjR0gySMlqsx2jw New episodes follow the complete build from lofting through launch. Chapters 00:00 Introduction 00:32 Fairing frustrations 02:52 Solving the bow twist 04:26 Removing the mould notches 06:16 Why full-length battens matter 09:31 Fairing the transom 10:44 Fairing the stem 13:11 Avoiding costly mistakes 14:30 The challenge of the forefoot 15:44 Wrap up #BoatBuilding #WoodenBoat #PoulsboBoat #NomadBoatBuilding #Woodworking #TraditionalBoatBuilding #CedarStripBoat #BoatRestoration

Howdy folks! Welcome back to Nomad Boat Building. My name is Mark Reuten, and this video is part of the Poulsbo Boat Project, where I'm building a modern version of a 1950s-era Poulsbo sport fishing boat originally designed and built by Roland Young of Poulsbo Washington, USA. In this episode, I begin fairing the backbone and molds in preparation for planking. Along the way I troubleshoot a few issues, sharpen my hand planes, and work through the process of creating smooth, fair surfaces that will ultimately define the shape of the hull. Fairing is one of the most important steps in boatbuilding. Taking the time to get the backbone, stem, transom, and molds working together as one continuous surface pays dividends throughout the rest of the build. If you enjoy traditional craftsmanship, wooden boats, woodworking, and practical problem solving in the boat shop, I think you'll enjoy this series. Join me on Patreon https://www.patreon.com/nomadboatbuilding Website https://nomadboatbuilding.com/ Poulsbo Boat Project Playlist https://youtube.com/playlist?list=PLnOoJJKdbR4JZFfEMWhXjloa0LhCp0GPI&si=wVjR0gySMlqsx2jw New episodes follow the entire build from lofting through launch. CHAPTERS 00:00 Fairing the hull begins 00:35 Checking molds for fairness 01:56 Boatbuilding mistakes and problem solving 03:47 Investigating mold alignment issues 04:18 Fairing the transom and keelson 05:27 The plywood garboard plan 07:19 Resetting the keelson centerline 09:46 Fairing techniques and working height 12:38 Sharpening a hand plane iron 18:24 Waxing the plane sole 18:36 Fairing forward toward the stem 19:05 The most difficult bevel on the boat 21:09 Next steps in the build
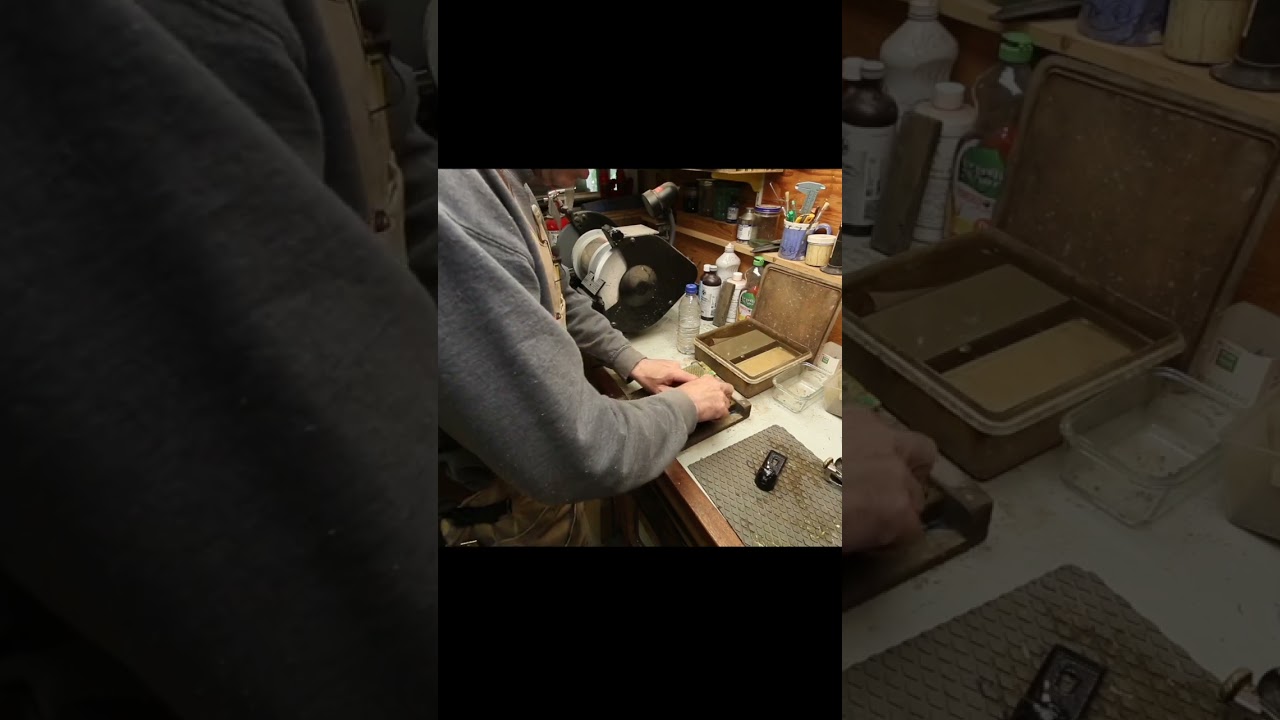
In this clip from the Poulsbo Boat Project, I show a practical approach to freehand chisel or plane blade sharpening Watch the full build series here: https://youtube.com/playlist?list=PLnOoJJKdbR4JZFfEMWhXjloa0LhCp0GPI&si=wVjR0gySMlqsx2jw Join me on Patreon: https://www.patreon.com/nomadboatbuilding Website: https://nomadboatbuilding.com/ #BoatBuilding #Woodworking #WoodenBoat #NomadBoatBuilding

Ever lose track of your epoxy pumps and wonder if the batch is still good? In this clip, I take a look at the West System 306 Metering Pump and explain why it's become one of my favourite tools for larger epoxy jobs. Sponsored by West System Epoxy https://www.westsystem.com/ Join me on Patreon https://www.patreon.com/nomadboatbuilding Website https://nomadboatbuilding.com/
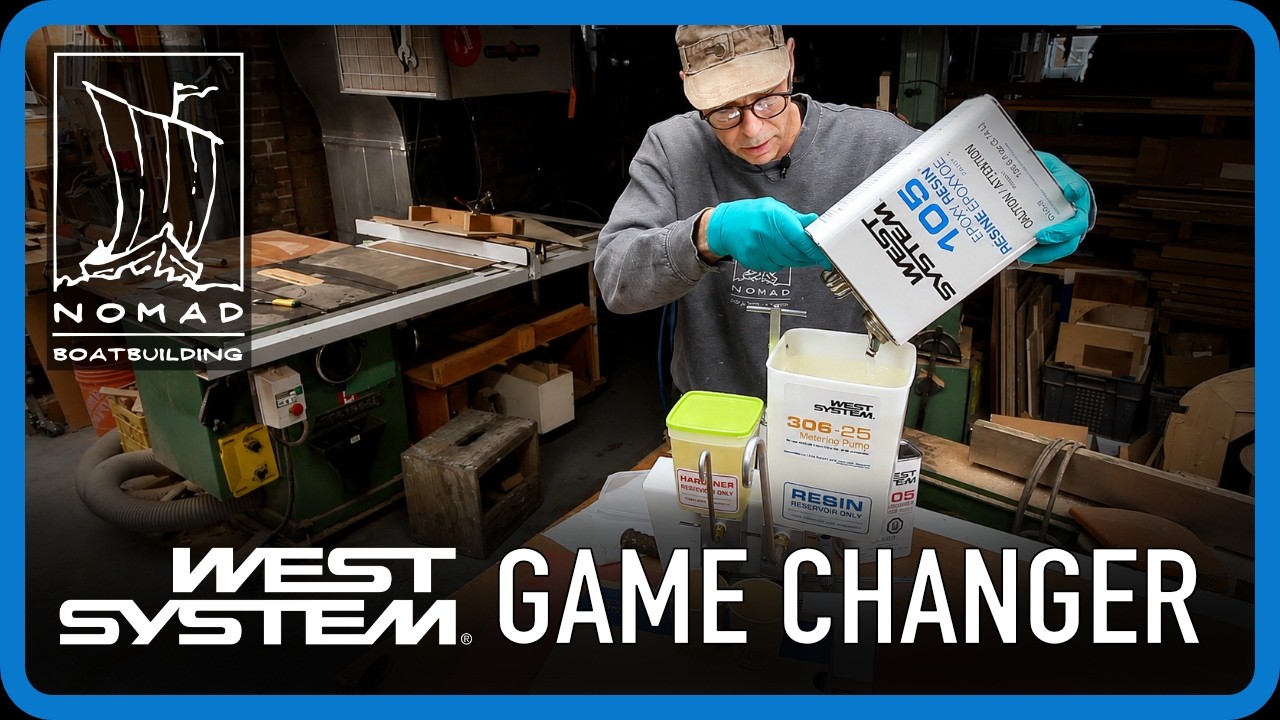
Howdy folks. Welcome back to Nomad Boat Building. My name is Mark Reuten, and today I'm taking a close look at West System's 306 Metering Pump and putting it through its paces in a real boat shop environment. Accurately measuring epoxy is one of the most important parts of achieving reliable results, but it's also one of the easiest places to make mistakes. In this video I'll show you how the 306 Metering Pump works, how to switch it between hardener ratios, how to prime and verify the system, and why it has become one of my favourite shop tools for larger epoxy jobs. This video is part of my West System Epoxy series. Sponsored by West System Epoxy https://www.westsystem.com/ West System Epoxy Playlist: https://youtube.com/playlist?list=PLnOoJJKdbR4Lk9QaAMWkjBHCzF1Nto2Um&si=K0RhBAGEF4CW7TuT If you're interested in wooden boat building, epoxy techniques, woodworking, and practical shop tips, you'll find plenty more here on the channel. Join me on Patreon https://www.patreon.com/nomadboatbuilding Website https://nomadboatbuilding.com/ Chapters 00:00 Introduction — Why measuring epoxy accurately matters 00:43 Why West System pumps changed boatbuilding 01:41 Introducing the 306 Metering Pump 02:20 Switching between 5:1 and 3:1 systems 02:53 Understanding the linkage mechanism 03:40 Reconfiguring the pump step-by-step 05:20 Filling reservoirs and priming the system 07:39 Filling the resin reservoir 09:13 Verifying pump ratios by weight 10:42 Returning resin and hardener to the reservoirs 10:59 Troubleshooting check valves 11:52 First real-world test on the boat hull 13:04 Mixing epoxy with a drill-powered mixer 14:37 Real-world impressions after using the pump 15:40 Why West System changed wooden boat building 16:04 Final thoughts and sponsor thanks

Howdy folks! Welcome back to Nomad Boat Building. My name is Mark Reuten. In this video, I walk through the basics of reading traditional boat plans. We look at construction drawings, lines plans, stations, waterlines, buttock lines, diagonals, table of offsets, stem profiles, and how all of that information is used to loft a boat full size. Using the plans for a historic Rushton canoe as an example, I explain what information is essential for building a boat, how designers communicate hull shape, and why a good set of drawings is worth every penny. Whether you're new to wooden boatbuilding, curious about lofting, or trying to make sense of a set of boat plans, this video will help demystify the process. Join me on Patreon: https://www.patreon.com/nomadboatbuilding Website: https://nomadboatbuilding.com/ Watch more boatbuilding videos here: https://www.youtube.com/@NomadBoatbuilding CHAPTERS 00:00 Why boat plans look confusing at first 00:11 Introduction 00:18 Historic Rushton canoe plans overview 00:44 Understanding construction drawings 01:54 Scantlings and construction details 02:45 Why the lines plan matters most 03:23 Profile, body plan and half breadths explained 03:41 Diagonals, waterlines and buttock lines 04:27 Understanding the table of offsets 05:23 Stem profile drawings 05:31 Reading plan notes and dimensions 05:58 Outside planking vs mold reductions 06:42 Lofting the boat full size 07:01 Using a bevel board 08:13 Creating stem molds and bevels 08:48 Building a boat from offsets alone 09:06 Plank width information 09:40 Why quality plans are worth buying 10:24 Different plans for different boat types 10:40 Further lofting resources 10:45 Closing thoughts

Using a traditional shipwright's slick to rough bevel the keelson and shape the stem on my Poulsbo Boat Project. Fast, efficient, and surprisingly satisfying. Full video on Nomad Boat Building. Join me on Patreon https://www.patreon.com/nomadboatbuilding My Website: https://nomadboatbuilding.com/ #BoatBuilding #Woodworking #WoodenBoat #NomadBoatBuilding #Shipwright #PoulsboBoat
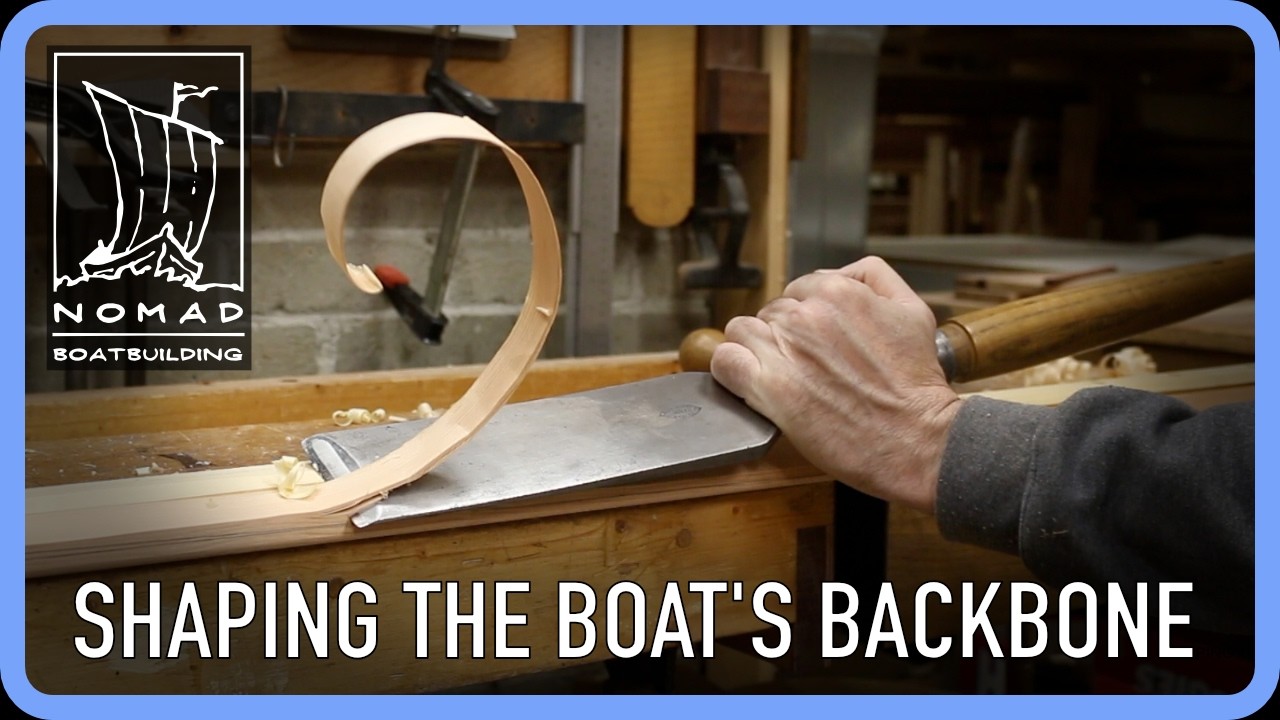
Howdy folks! Welcome back to Nomad Boat Building. My name is Mark Reuten. We're back working on the Poulsbo Boat Project. Before final assembly of the backbone, I tackle a few important jobs: assembling the transom and transom knee, rough beveling the keelson, and laying out and shaping the stem bevels. The Poulsbo Boat was a popular sport fishing boat built in Poulsbo, Washington during the 1950s and 60s by Roland Young using traditional carvel construction. My version uses cedar strip construction with fiberglass inside and out. If you enjoy wooden boats, woodworking, traditional craftsmanship, and practical boat shop problem solving, you're in the right place. Support the channel: Join me on Patreon https://www.patreon.com/nomadboatbuilding Website https://nomadboatbuilding.com/ Poulsbo Boat Project Playlist https://youtube.com/playlist?list=PLnOoJJKdbR4JZFfEMWhXjloa0LhCp0GPI&si=wVjR0gySMlqsx2jw CHAPTERS 00:00 Introduction 00:49 Marking the keelson bevel 01:45 Preparing for assembly 02:25 Sanding the transom knee 03:17 Glue-up preparation and taping tricks 04:49 Waxing fasteners 05:40 Two-step epoxy bonding process 06:47 Rough beveling the keelson 07:12 Using a shipwright's slick safely 09:25 Cleaning up with a smoothing plane 10:59 Mounting the backbone to the molds 12:32 Laying out stem bevels from the lofting 20:58 Final stem shaping with a spokeshave 21:29 Carving the maker's mark 23:39 Final backbone assembly 25:55 Gluing the stem into place 27:51 Fastener and alignment tips 29:19 Final fit check

Drilling a perfectly straight hole through a curved boat stem takes more than luck. In this clip from the Gannet project, I install a hefty bronze painter ring using a homemade spear-point pilot bit, auger bits, and a counterbore for clean results. Follow along as we work through traditional wooden boatbuilding techniques with practical shop-made solutions. Website: http://www.nomadboatbuilding.com Patreon: https://www.patreon.com/nomadboatbuilding Instagram: @nomadboatbuilding

Need to drill a long hole straight through thick wood and land exactly where you want on both sides? In this episode of Nomad Boatbuilding, I show the method I use to drill accurate bolt holes through centerline boat parts like stems, transoms, and skegs—without relying on a jig or drill press. Follow along as I install a bronze painter ring in the stem of a wooden boat and cover pilot drilling, homemade spear-point bits, sighting techniques, auger bits, counterboring for nuts and washers, and simple tricks to recover when things don’t go perfectly. You’ll also learn how to counterbore without specialty tooling and my simple dowel trick for guiding Forstner or spade bits. Need a counterbore? I get mine from these suppliers: McMaster-Carr: https://www.mcmaster.com/products/counterbores/drill-bit-counterbores-for-wood~~/ Top-Notch fasteners: https://tnfasteners.com/product/counterbores-x-type/ 🌐 Website: https://nomadboatbuilding.com/ ❤️ Patreon: https://www.patreon.com/nomadboatbuilding #boatbuilding #woodworking #drillingtips #woodenboat #boatbuilder #woodworkingtips #diyboat #howto #woodworkingprojects #marineconstruction Chapters 00:00 Why drilling long straight holes is difficult 00:19 Installing a painter ring in the boat stem 00:56 What a painter ring does and why it matters 01:19 The challenge: drilling long holes straight 01:26 My secret weapon: shop-made spear-point pilot bit 02:23 Avoiding hidden fasteners & choosing the right location 02:56 Aligning centerlines for accurate drilling 03:22 Why square-to-surface matters more than perfectly plumb 03:58 Body positioning for better drill control 04:38 Starting the pilot hole & correcting angle early 05:21 What to do if you hit a fastener 05:39 Fixing holes that land slightly off-center 06:44 Evaluating accuracy & why 1/16" is acceptable 07:11 Drilling the final hole with an auger bit 08:05 Using a twist drill to clean up alignment 08:36 Counterboring for nuts & washers explained 09:28 Measuring counterbore depth with a feeler gauge 10:48 Cleaning up the counterbore with a Forstner bit 11:34 No counterbore bit? Alternative methods that work 12:06 Dowel trick for guiding Forstner or spade bits 12:34 Locking the nut & final fitment tips 13:02 Why removable wooden plugs beat epoxy 13:40 Final install considerations for the painter ring 14:07 Wrap-up & next video

Chapters 00:00 Why scarf joints matter in boatbuilding 00:08 Project intro – Poulsbo Boat build 00:33 Milling stock for long laminations 01:23 Surface prep and epoxy bonding basics 02:15 Hook scarf vs flat scarf explained 02:47 Scarf jig setup on the table saw 03:38 Glue-up setup on the bench 05:30 Preventing movement during glue-up 06:28 Using wax paper and clamping strategy 07:05 Why epoxy is ideal for scarf joints 08:11 Two-part bonding process explained 10:24 Thickening epoxy with colloidal silica 11:36 Aligning and fastening scarf joints 14:08 Clamping strategy and pressure tips 15:05 Using a strongback as a glue-up bench 16:25 Mixing fresh epoxy and timing 17:56 Clamping pads and shop-made solutions 18:48 Alternative alignment methods 19:05 Why epoxy allows shorter scarf joints 19:44 Final thoughts and wrap-up Hashtags #BoatBuilding #PoulsboBoat #WoodenBoat #ScarfJoint #Woodworking #Epoxy #WestSystem #NomadBoatBuilding Suggested Tags poulsbo boat, scarf joint woodworking, scarf joint boat building, epoxy woodworking, west system epoxy, wooden boat building, boat building techniques, scarf joint jig, woodworking tips, laminating wood, strip built boat, nomad boat building

Turning short boards into long ones 🔧 Scarf joints are one of the most essential techniques in wooden boat building, and this is how I batch them efficiently using West System Epoxy. My Website: https://www.nomadboatbuilding.com Epoxy used in this video: https://www.westsystem.com

In this episode of the Poulsbo Boat Project, I continue building the backbone of this classic 15’ sport fishing boat design. This week is all about dry fitting the centerline structure: stem, keelson, transom, transom knee, and cutwater. After refining the transom in the last episode and setting up the station molds on the strongback, it’s time to start bringing the backbone together. I trim and fit the transom knee, steam-bend the aft section of the keelson into place, and continue shaping and fitting the cutwater assembly before final planking begins. This project is a modern cedar strip reinterpretation of a classic 1950s Ronald Young - designed Poulsbo Boat, originally built as a traditional carvel-planked sport fishing boat in Poulsbo, Washington. Website: https://www.nomadboatbuilding.com Patreon: https://www.patreon.com/nomadboatbuilding Instagram: https://www.instagram.com/nomadboatbuilding/ Support the channel: 👍 Like this video 💬 Leave a comment 🔔 Subscribe and turn on notifications Chapters 00:00 Introduction & project recap 00:23 What is the boat backbone? 01:00 Fitting the transom knee 02:04 Cutting the keelson notch in the transom 03:34 Marking cuts with tape for visibility 04:26 Final fitting the knee 05:39 Steam bending the keelson 07:39 Building and fitting the cutwater 09:45 Laying out the upper cutwater section 11:10 Cutting and shaping the hook scarf 17:23 Fine tuning the fit 18:51 Thinking ahead in boatbuilding 20:21 Kerfing and sweetening joints 20:47 Week 5 progress update 22:35 What’s next in the build #boatbuilding #woodworking #woodenboat #stripbuilt #cedarstrip #epoxy #steambending #poulsboboat #nomadboatbuilding

Howdy folks! Welcome back to Nomad Boat Building. My name is Mark Reuten, and this video is part of the Poulsbo Boat Project, where I’m documenting the complete build of a modern Poulsbo Boat from start to finish. Back in the shop after a long delay, I finally get back to work on the Poulsbo Boat Project. In this episode I set up the station molds on the strongback, align the building jig, and start fitting the backbone components. I also run into a frustrating issue: the transom shape isn’t agreeing with the mold the way it should. Rather than ignore the problem, I walk through how I diagnose fit issues, rethink the geometry, and make practical adjustments so the finished hull will look right. Along the way, I reshape the hawse holes, refine the transom, and talk a bit about the reality of wooden boat building: technical problem solving mixed with a whole lot of hard graft. The Poulsbo Boat is being built using traditional wooden boat building techniques combined with practical modern methods where appropriate. Throughout this series you'll see the full process including lofting, milling lumber, laminating structural parts, strip planking, fiberglassing, interior joinery, and final fit-out. If you're interested in woodworking, traditional craftsmanship, wooden boats, and real boat shop problem solving, this series follows the entire build step-by-step. Support the channel on Patreon https://www.patreon.com/nomadboatbuilding Your support helps keep these boatbuilding videos coming. Follow along on Instagram @nomadboatbuilding Website https://www.nomadboatbuilding.com Watch the full Poulsbo Boat series here: https://youtube.com/playlist?list=PLnOoJJKdbR4JZFfEMWhXjloa0LhCp0GPI&si=wVjR0gySMlqsx2jw New episodes follow the entire build process from first lumber to launching the finished boat. Your support helps keep these boatbuilding videos coming.

I got embarrassing shrinkage - Building the Poulsbo Boat #WoodenBoat#PoulsboBoat #WoodenBoatBuilding
Howdy folks! Welcome back to Nomad Boat Building. My name is Mark Reuten, and this video is part of the Poulsbo Boat Project, where I’m documenting the complete build of a modern Poulsbo Boat from start to finish. The Poulsbo Boat is being built using traditional wooden boatbuilding techniques combined with practical modern methods where appropriate. Throughout this series you'll see the full process including lofting, milling lumber, laminating structural parts, strip planking, fiberglassing, interior joinery, and final fit-out. If you're interested in woodworking, traditional craftsmanship, wooden boats, and real boat shop problem solving, this series follows the entire build step-by-step. Watch the full series here: https://youtube.com/playlist?list=PLnOoJJKdbR4JZFfEMWhXjloa0LhCp0GPI&si=wVjR0gySMlqsx2jw My website: https://www.nomadboatbuilding.com Instagram: https://www.instagram.com/nomadboatbuilding/ It's not about the money but living isn't free... Here are some ways you can support this channel. Buy some merch: https://www.nomadboatbuilding.com/shop/ Support these videos with monthly or annual pledges at Patreon: https://www.patreon.com/nomadboatbuilding Or make a one time donation: https://www.paypal.com/paypalme/nomadboatbuilding