close

Welcome aboard to the our video site for sailors. We are being constantly blasted by scammers and pirates, so registration is  invite only


contact@sailorsahoy.com with "Invite". No spam, no newsletters. Just a free account

निकर सृजन करना

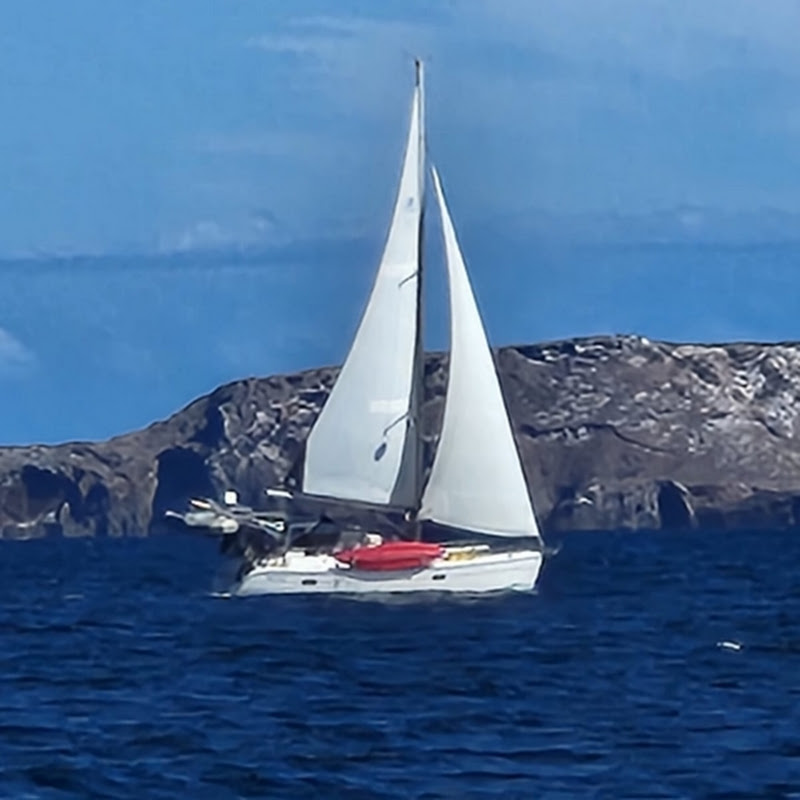
Kayaking and sailing in Baja!

fishbowlsailing

0

0

868

0

sailingbananapancakes

0

0

844

You want to keep your dog occupied much longer stick her num nums in the freezer.

chrisdoeswhat

0

0

285

1. Remove the old caulking. We use a special tool from @teakdeckingsystems. 2. If your deck is both screwed and glued, considwe removing the screws. We chose to remove the screws since they only created a possibility for water to enter the construction. 3. Fill out every screw hole with epoxy. During the renovation, we learned it would be a good idea to fill the holes with epoxy as soon as you remove the screws to ensure you seal every single hole. 4. Route between all the teak strips. We routed all the way to the gel coat to have as much wood to work with as possible. We used a fine cutter where the caulking was across the grain. 5. Seam sanding. It helps remove the remaining caulking and gives the teak a fresh bonding surface. 6. Masking the teak strips. We chose to mask the wood to reduce the sanding process later on because we knew the teak wasn’t very thick. 7. Cleaning off with acetone. This helps remove dust and gives the caulking the best conditions to adhere to the wood and cure. 8. Start caulking. We used an air compressor caulking gun. It makes the process easier for large surfaces that need caulking - we used SIS 440 from @teakdeckingsystems. We also used a 3D-printed applicator for the caulk head, which minimizes the amount of caulking used. I could only find it on @hfindustrimarineaps website. 9. “Spoon” caulk further into the seams. We used a flexible putty knife to smoothing the caulking. 10. Pull off the masking. While removing the tape, we used scissors to cut just before the area where it hadn’t been caulked yet. 11. Remove the top of the caulking. We used a sharp stanley knife. We did this to minimize sanding, just as we did with masking. 12. Sanding with grit 80. We used the fine cutter’s sanding head for all the edges and an orbital sander for the larger areas. Side note: Sanding with grit 40. We believe the best way is to sand before routing to even out the wood. Unfortunately, we had many places where the wood was so worn out that it wouldn’t have been possible to follow the old tracks with the router after sanding. #diy #sailing #sailingdiy #teak #teakdeck #sailingdenmark #boatwork #shortoftheday

justoceans

0

0

694

Last episode coming out Saturday

sailingbananapancakes

0

0

1,820

Just a short sunrise drone clip over Limpini Park in bangkok Thailand. Check out the Komodo dragon at the end! We need your help to keep making videos. You can become a patron for as little as $1 per week! http://www.sailingdoodles.com Become a Patron! http://www.patreon.com/sailingdoodles Donate Via Paypal to help us get a new drone: http://www.paypal.me/sailingdoodles Would you like to join us on the boat? Visit our GoFundMe Page to find out how you can! http://www.gofundme.com/sailingdoodles These are things like camera equipment and a new drone that we really could use to make better videos for you to enjoy: http://a.co/aywvyeM Bobby@sailingdoodles.com Facebook http://www.facebook.com/sailingdoodles Instagram http://www.instagram.com/sailingdoodles Cameras Used: (if you buy from these links we get a small percentage, does not cost you more) Drone - Yuneec Typhoon Q500 4K http://amzn.to/2noNflM Sony A6000 http://amzn.to/2ne2Kgz GoPro Hero 4 http://amzn.to/2ne4GWs Fuji waterproof http://amzn.to/2mHOlVS Music: The Fade - Daniel Gunnarsson #sailing #sailingdoodles #sail

Sailingdoodles

0

0

13,047