Welcome aboard to the our video site for sailors. We are being constantly blasted by scammers and pirates, so registration is invite only
contact@sailorsahoy.com with "Invite". No spam, no newsletters. Just a free account
מִכְנָסַיִים קְצָרִים לִיצוֹר

0
0
0
362

0

0
0
0
707

We've recently introduced a new branch to our business, the West Coast Sailing Rig Shop. Rig Shop: https://westcoastsailing.net/parts/line/one-design-rigging Custom and pre-speced items, hand built rigging products for many one design sailboats now made in house. Spliced halyards, sheets and control lines for dinghies and keelboats now available.
0
0
0
353

0
0
0
41

0
0
0
0
2,041

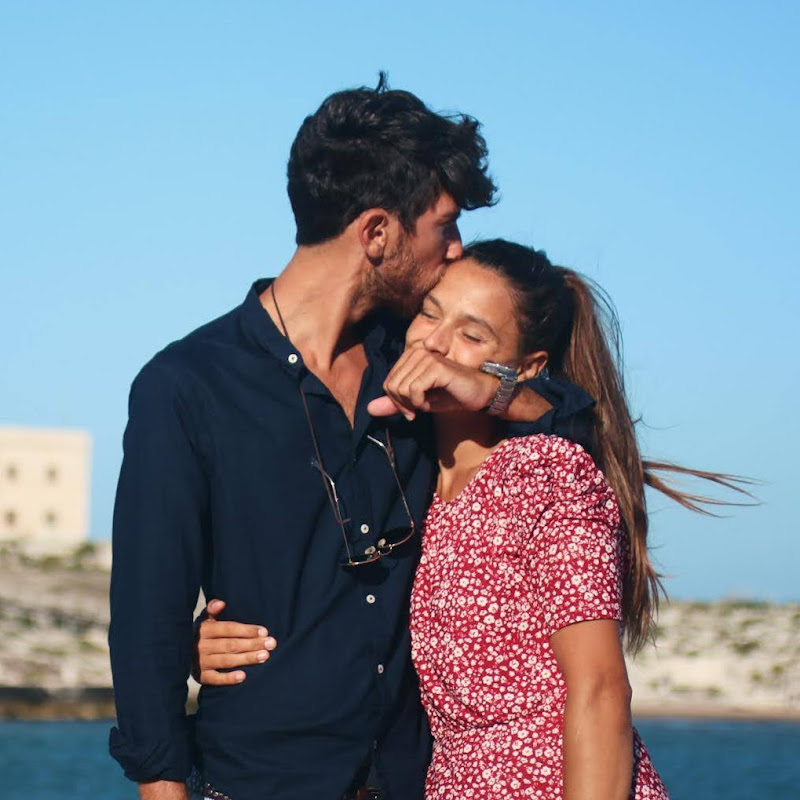
Circa 80 miglia Vento sul naso Dispensa vuota (sono pazzi nelle bvi) Serbatoi agli sgoccioli (dobbiamo dissalare) Viaggio perfetto 😂 Oggi ci avete sommersi di messaggi sul cambiare rotta per aprire le vele e fare dei bordi (per chi non mastica i termini, significa fare zigzag risalendo il vento), ma purtroppo non possiamo farlo. Abbiamo un appuntamento con un cantiere francese e impegni lavorativi che ci costringono ad arrivare entro sera (e siamo già in ritardo 🤣). Quindi si smotora. Anche i pesci sembrano dirci “non si va controvento”, dato che da quando abbiamo lasciato la Repubblica Dominicana (e iniziato questo ritorno controvento) non abbiamo più visto l’ombra di un tonno. Il mare comunque è stato clemente e ci ha permesso di stare al pc agevolmente. Questi giorni sono strani, comunque. Siamo con la testa sul ritorno e stiamo entrando nella fase “cosa succederà una volta approdati?”. Al momento non abbiamo una casa né una macchina (neanche la moto 🥲) e arrivare significherà ricominciare tutto da zero. Come sarà cambiata la nostra città? E noi? In che modo saremo cambiati? Inizia il ritorno.
0
0
0
2,322
