Welcome aboard to the our video site for sailors. We are being constantly blasted by scammers and pirates, so registration is invite only
contact@sailorsahoy.com with "Invite". No spam, no newsletters. Just a free account
Kurze Hose Erstellen

On The Check-in

0
0
0
61

🌟 Vuoi sfruttare i ponti del 2023 per fare una vacanza per single? Scopri tutte le partenze disponibili per Italia, Europa, Crociere per Single ed estero! 🌍✨ Trovi qui tutte le nostre prossime partenze: 👉 https://vamonos-vacanze.it/r/JZYmLT/

0
0
0
46

0
0
0
0
15

1. Remove the old caulking. We use a special tool from @teakdeckingsystems. 2. If your deck is both screwed and glued, considwe removing the screws. We chose to remove the screws since they only created a possibility for water to enter the construction. 3. Fill out every screw hole with epoxy. During the renovation, we learned it would be a good idea to fill the holes with epoxy as soon as you remove the screws to ensure you seal every single hole. 4. Route between all the teak strips. We routed all the way to the gel coat to have as much wood to work with as possible. We used a fine cutter where the caulking was across the grain. 5. Seam sanding. It helps remove the remaining caulking and gives the teak a fresh bonding surface. 6. Masking the teak strips. We chose to mask the wood to reduce the sanding process later on because we knew the teak wasn’t very thick. 7. Cleaning off with acetone. This helps remove dust and gives the caulking the best conditions to adhere to the wood and cure. 8. Start caulking. We used an air compressor caulking gun. It makes the process easier for large surfaces that need caulking - we used SIS 440 from @teakdeckingsystems. We also used a 3D-printed applicator for the caulk head, which minimizes the amount of caulking used. I could only find it on @hfindustrimarineaps website. 9. “Spoon” caulk further into the seams. We used a flexible putty knife to smoothing the caulking. 10. Pull off the masking. While removing the tape, we used scissors to cut just before the area where it hadn’t been caulked yet. 11. Remove the top of the caulking. We used a sharp stanley knife. We did this to minimize sanding, just as we did with masking. 12. Sanding with grit 80. We used the fine cutter’s sanding head for all the edges and an orbital sander for the larger areas. Side note: Sanding with grit 40. We believe the best way is to sand before routing to even out the wood. Unfortunately, we had many places where the wood was so worn out that it wouldn’t have been possible to follow the old tracks with the router after sanding. #diy #sailing #sailingdiy #teak #teakdeck #sailingdenmark #boatwork #shortoftheday

0
0
0
694

Watch team GTR as they take on a boat restoration project ,stripping down and then rebuilding a 1990's fibreglass Mumm 36. Every fitting, wire and even the engine we was removed and refreshed before being refitted from the Bottom UP. The restoration project took around 18 months with the crew working the weekends to restore the boat to her former glory. Learn how we tackled a wide range of boat maintenance tasks and learnt a few restoration techniques. Jabberwocky is one of the original Mumm 36 yacht which race on the Med circuit. While I know it is consider bad luck to change a boat name Jabberwocky was not her original name. With that in mind and considering all the repair work we did if felt like she deserved a new name. GTR stand for Go to Red, I will leave telling the story behind that for another day. This boat restoration project was one of the most rewarding things I have ever done, if you get the chance to do some thing like this your self I would tell you to go for it. Subscribe to Bottom UP Boats on Youtube or read more at my blog. www.bupboats.blogspot.com

0
0
0
2,738
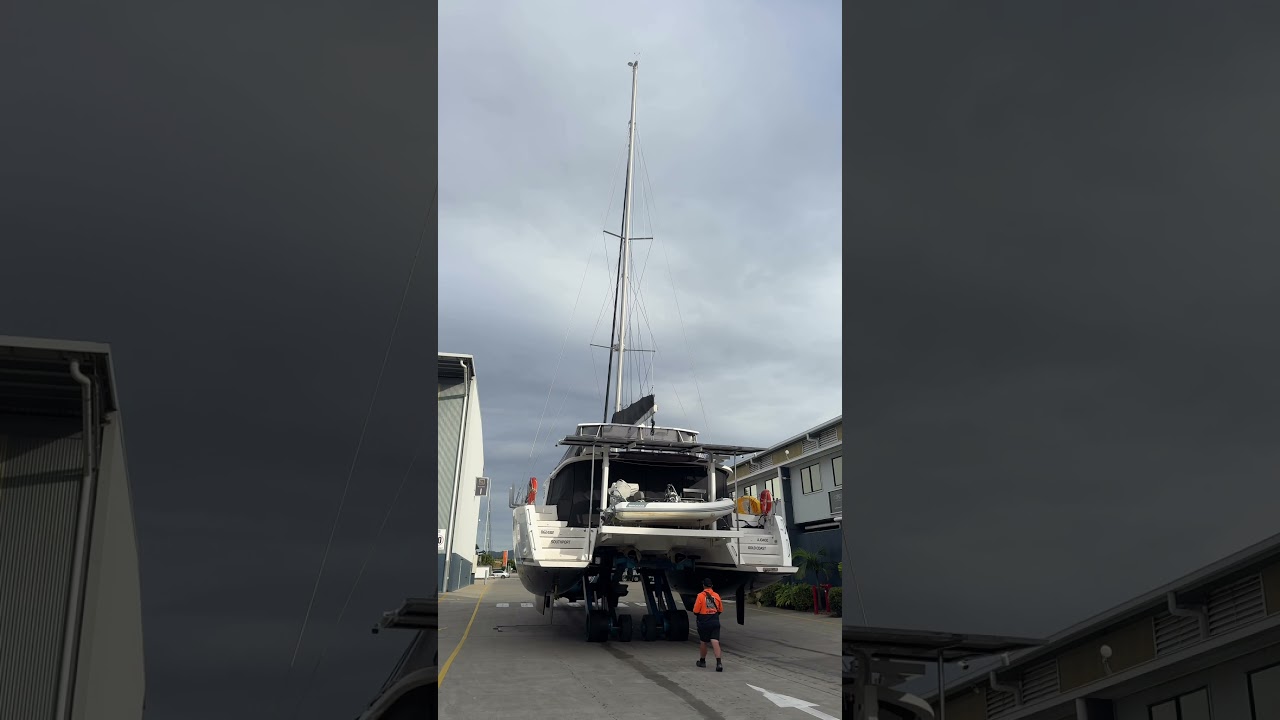
From land to sea! Watch as our Lagoon 450, Moor R & R, gets hauled out for some TLC, handled with care, and then lowered back into the blue for another sailing adventure. Repairs done, sails ready — it’s time to get moving again! If you enjoyed this video and want to follow more of our journey, give it a thumbs up 👍🏻 and hit that subscribe button!

0
0
0
7,058