Welcome aboard to the our video site for sailors. We are being constantly blasted by scammers and pirates, so registration is invite only
contact@sailorsahoy.com with "Invite". No spam, no newsletters. Just a free account
Celana pendek Membuat

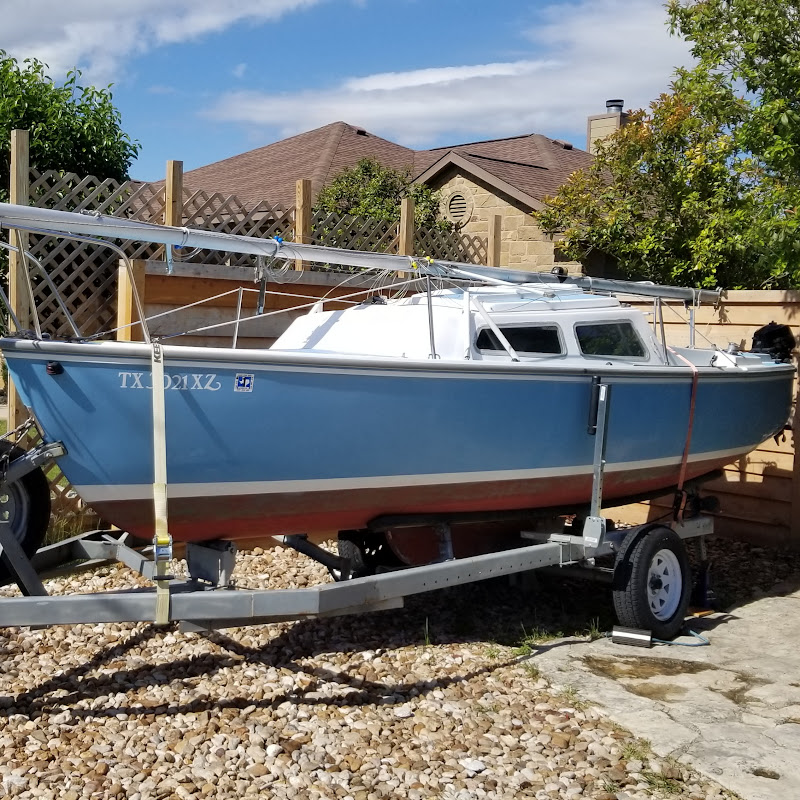
WE'RE BACK!!!!! After a long break from the interwebs, we're coming back bigger and better! We have so many things coming up for you with a TON of changes. Stay tuned to find out what our new plans are and see exactly how we plan to escape this boat yard. Coming up on Season 2: - Dyneema Rigging - Rerigging a Mast - Building Custom Rudders - New Anchor Setup - DIY Watermaker - 13 Sails, still have to buy 2 - Building a Custom Hardtop / Solar Arch - Building a Custom Deck - Custom Acrylic Windows . . . And a lot more! So much Rapid Prototyping coming your way, we'll see everyone soon!

0
0
0
410

0
0
0
0
1,949
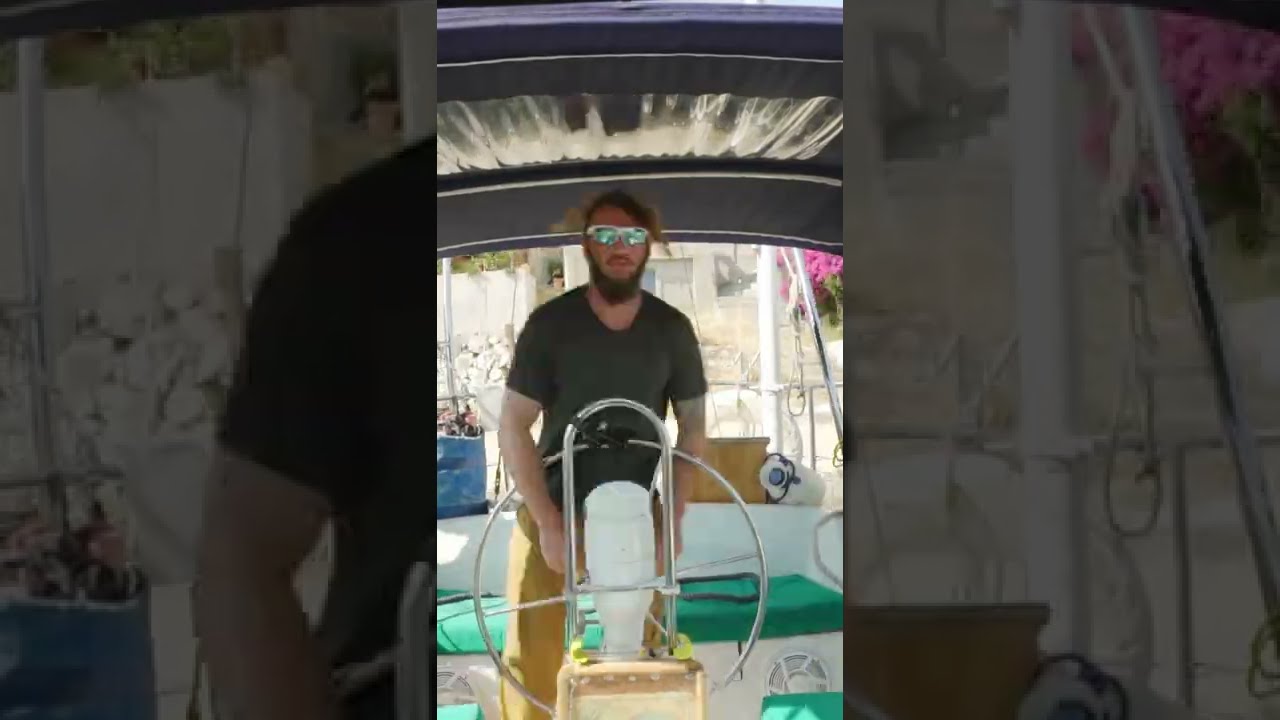
Embark on a storytelling journey with us in this YT short, set on the picturesque island of Alonissos, Greece. Listen as we recount a personal experience of docking a boat, where everything seemed to be going smoothly until an unexpected twist occurred. Dive into this relatable tale of boating mishaps and the reminder that everyone makes mistakes, even when feeling confident. Share your own stories in the comments and join us in exploring the ups and downs of life at sea.

0
0
0
1,867

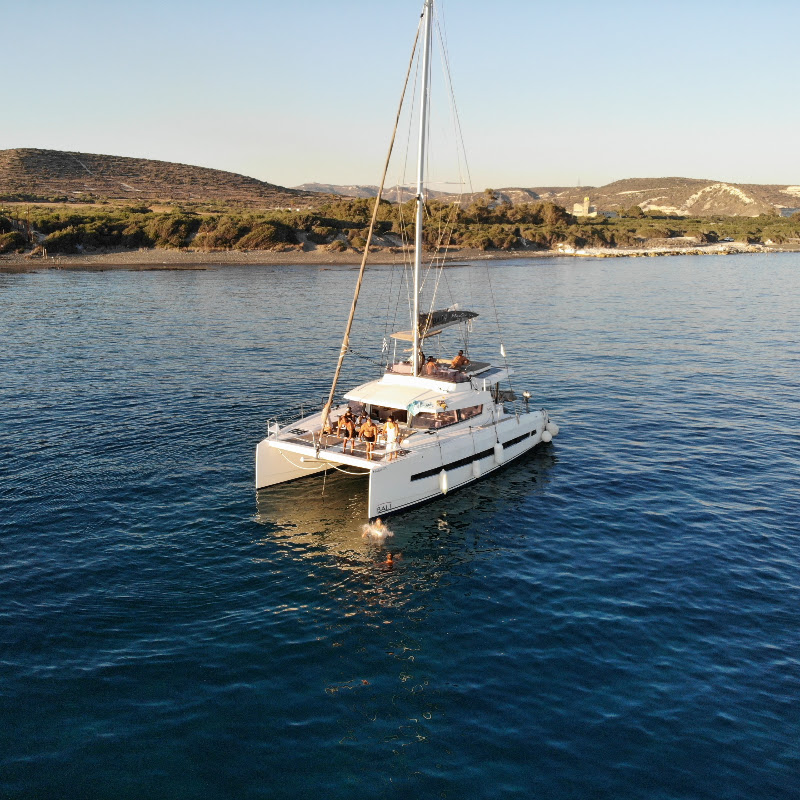
Looking for a Bavaria 40 Cruiser - 2013? Enjoy or share the link to this one sold by the owner. ⚓️ http://scanboat.com/17413475 #Bavaria #Sailboat #sailing #sail #sailinglife #sea #yachting #boatlife #sailor #ocean #travel #yachtlife #sailingphotography #yachts #monohull Bavaria Yachtbau GmbH is a German company that designs and manufactures a wide range of Bavaria sailingboats and Bavaria motorboats. The company is based in Giebelstadt, Bavaria and was founded in 1978. It is one of the largest yacht manufacturers in the world, producing a wide range of boats from small day sailors to large luxury cruisers. Bavaria yachts are known for their high quality construction, innovative design and competitive prices. The company also has a strong international presence with a network of dealers and service centers in many countries around the world.

0
0
0
696

Hope you dont like it too much yah sickos lol jk thanks for the support

0
0
0
27

0
0
0
0
17
