Welcome aboard to the our video site for sailors. We are being constantly blasted by scammers and pirates, so registration is invite only
contact@sailorsahoy.com with "Invite". No spam, no newsletters. Just a free account
Corti Creare

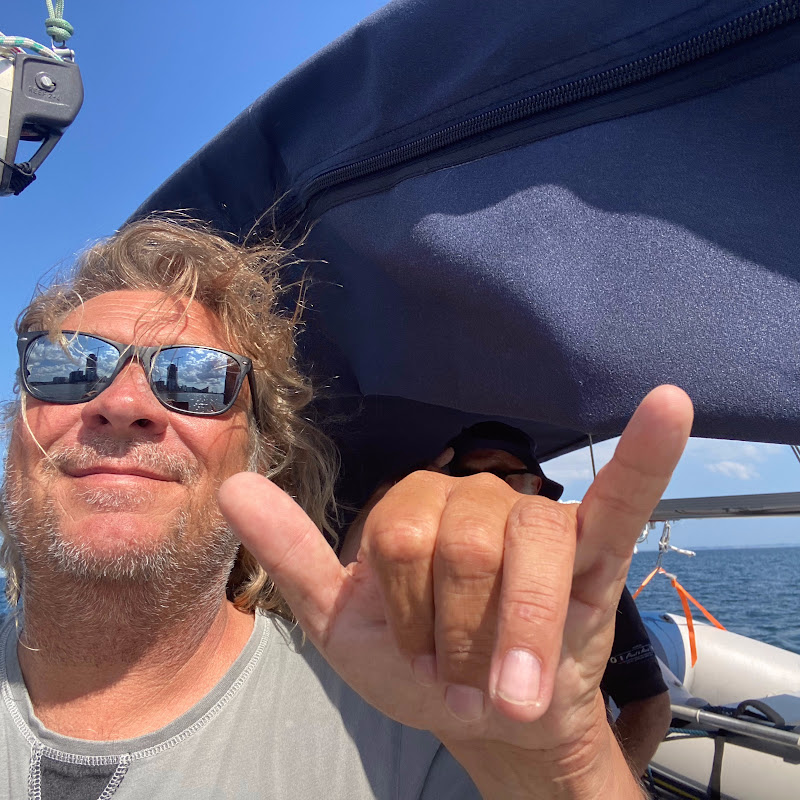
Ansegeln mit Crew
0
0
0
1,758

0

0
0
0
580

#outremer #outremer5x #boating #sailingboat #catamaran #sailing
0
0
0
973

0
0
0
0
1,383

#Thank #You 10000 Subscribers #SeaTV Sailing Channel Grazie 10000 abbonati🙏🏽 σας ευχαριστώ 10000 συνδρομητές🙏🏽 Merci 10000 abonnés🙏🏽 Wish I could pronounce it in more languages Danke 10000 Abonnenten🙏🏽 Gracias 10000 suscriptores🙏🏽 спасибо 10000 подписчикам🙏🏽 Obrigado 10000 assinantes🙏🏽 Obrigado 10000 assinantes🙏🏽 10000人の購読者に感謝🙏🏽 谢谢10000名订阅者🙏🏽 hvala vam 10000 pretplatnika🙏🏽 תודה 10 אלף רשומים🙏🏽 شكرا 10000 مشترك🙏🏽 🎥Subscribe for New Videos Every Week! ▸ http://bit.ly/2UpmECk These videos will make your Sailing Vacation much more EASY⛵️ ▸ Choose your Sailing area: https://seatv.world 👀 If you can’t find it, Sorry we’re working on it… 🎬 ▸ Got Tips/ Videos? Sharing is Caring: http://bit.ly/38ZO759 || V i s i t U s 👀 ▸ Email: info@seatv.world ▸ Website: https://seatv.world ▸ Instagram: https://www.instagram.com/seatv.world/channel/ ▸ Facebook: https://www.facebook.com/seatv.world/ || P L A Y L I S T S 🎼 ▸Pilot Marina: http://bit.ly/2OpwBPX ▸🧘🏼♀️Yoga for Sailors: http://bit.ly/2mmNEab ▸ Tips & Tricks: http://bit.ly/2GPYc8Q ▸ Events: http://bit.ly/2Uk5sBz We invite anyone who is passionate about the sea & sailing adventure to Subscribe, like our videos, comment & share. We believe in the power of community in providing the best and most valuable information and welcome your suggestions, comments, updates and advice 🙏🏽 ** This video is not sponsored Share Sea Love! and keep it clean…

0
0
0
250

0

0
0
0
1,452
