Welcome aboard to the our video site for sailors. We are being constantly blasted by scammers and pirates, so registration is invite only
contact@sailorsahoy.com with "Invite". No spam, no newsletters. Just a free account
Shorts Créer

During our last dive this morning we saw three whalesharks! Two were surfacing, the othe oner was cruising along by the reef wall. An amazing encounter with one of the most impresssive ocean creatures. Maldives Blue Force One - www.blueforrcefleet.com

0
0
0
33
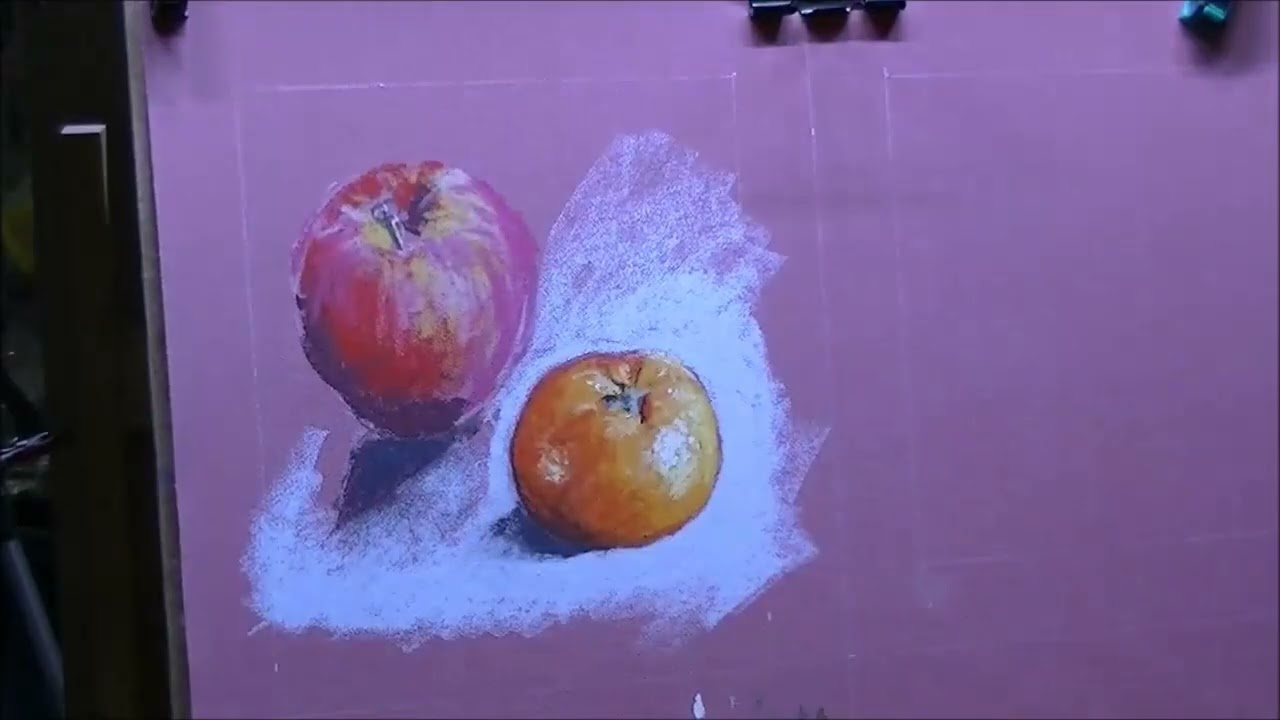
Réalisation d'un petit pastels carré de 20x20 cm extérieurs. Ce pastel a été réalisée en 1 heure.
0
0
0
65

-~-~~-~~~-~~-~- Please watch: "OUR SHOCKING MOMENTS IN 2023| OUR CAR WAS VANDALIZED| AM IM BACK ON YOUTUBE #kia #vandalized #2023" https://www.youtube.com/watch?v=vfO6b5G2490 -~-~~-~~~-~~-~-
0
0
0
68

0

0
0
0
1,310

A little glimpse of Port Protection, Alaska from the water on a snowy January day.

0
0
0
593

0
0
0
0
1,250
