Welcome aboard to the our video site for sailors. We are being constantly blasted by scammers and pirates, so registration is invite only
contact@sailorsahoy.com with "Invite". No spam, no newsletters. Just a free account
निकर सृजन करना


0
0
0
987

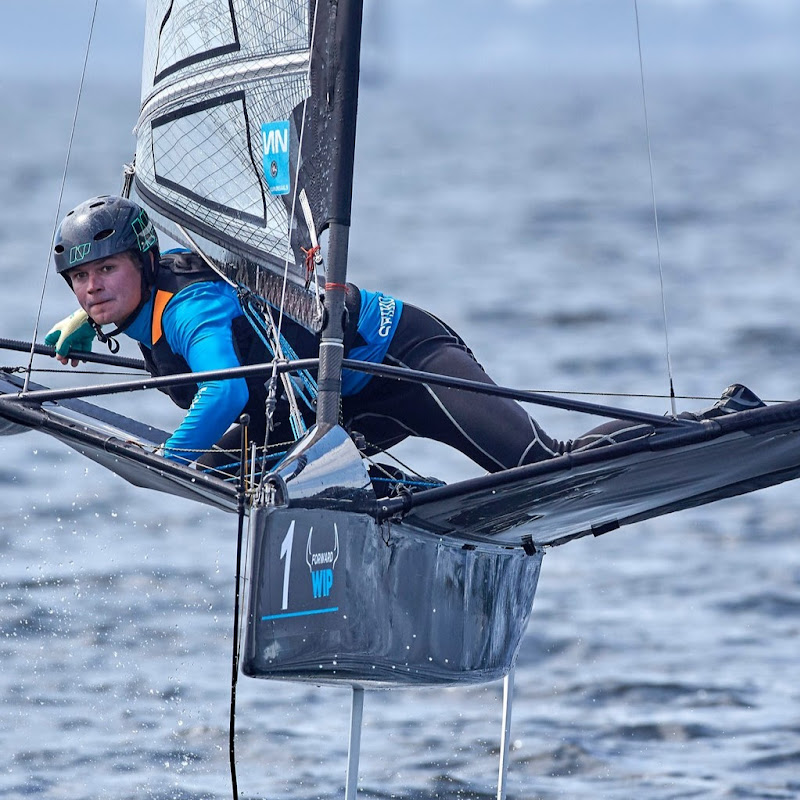
Ever wanted to sail a moth? Join me on board the Moth and enjoy my point of view during some foiling gybes while training at home. Gps speed was captured using a Garmin watch (Quatix 3)
0
0
0
377

Yacht for charter Croatia Drone Ždrilca

0
0
0
21

Maserati Multi 70 ha superato il fronte freddo e si avvicina a Capo di Buona Speranza

0
0
0
1,899

0

0
0
0
7,164

Seja também um apoiador do #SAL: https://apoia.se/hashtagsal Neste post do Mural lá no APOIAse tem o link para o nosso grupo do Telegram: https://apoia.se/hashtagsal/contents/view/Grupo-de-Apoiadores-do-SAL-no-Telegram.-CYgvVmY44?page=1#0 É só fazer o login com a sua conta 😀 Seja membro do #SAL no YouTube e ganhe benefícios exclusivos aqui dentro do Youtube, como resposta prioritária de comentários e fundos de tela (wallpapers) do #SAL: https://www.youtube.com/channel/UCj8_DeCUB0uL4cJwFmiQfMQ/join Conheças as mochilas e chaveiros do #SAL: https://www.ligarte.com.br Conheça as camisetas e moletons do #SAL: https://www.lolja.com.br/creators/hashtag-sal/ #veleiro

0
0
0
2,280
