close

Welcome aboard to the our video site for sailors. We are being constantly blasted by scammers and pirates, so registration is  invite only


contact@sailorsahoy.com with "Invite". No spam, no newsletters. Just a free account

Shorts Lumikha

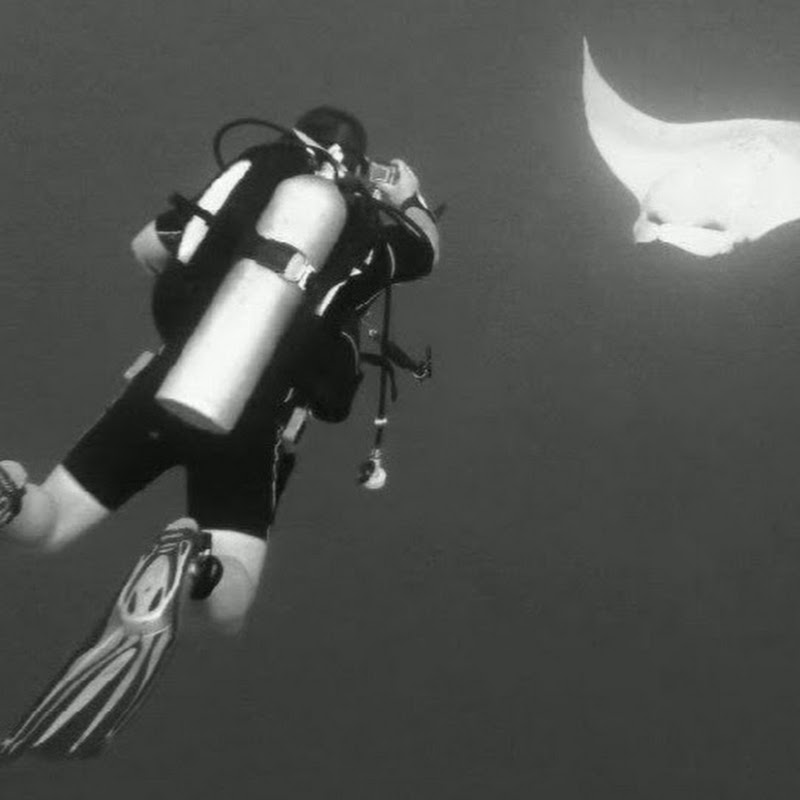
Tauchdeck der MY Golden Dolphin 2 im November 2014

bubblemaker3

0

0

309

Although launches are traditionally intended to serve as tenders for large yachts, plenty of people will want to use the Launch 25 for day-trips, kicking around the bay, and even watersports. Our test boat had an unusually deep swim platform and one touch I really liked was the flush-mounted, pull-up grab handle back there. It'll make getting into and out of the boat a lot easier, but when pushed down, doesn't interrupt the smooth, sexy teak platform's eye-pleasing lines. To make day use more comfortable, Chris-Craft also builds a head into the port-side console. It's pretty cramped, which you have to expect on a boat of this size, and when you swing the door open it does hit the driver's side console. A rubber bumper would do wonders here, to prevent the smack of fiberglass on fiberglass. Inside, the head is once more a cut above. It has a sink—a rarity on a boat of this size—and the stereo head is mounted into the cabin-side, a smart way to keep it 100-percent protected from the elements. This part of the boat deserves a closer examination, which comes through a bit better in a visual form. So check out this short video of the passenger's side console and amidships area of the Launch 25. Read the full review: http://features.boats.com/boat-content/2014/02/chris-craft-launch-25-a-bowrider-fit-for-a-yacht/ For more boat videos, visit www.boats.com.

boatsdotcom

0

0

10,461

0

svmystichearts

0

0

523

UV 10, turquoise water, white sand beaches, palm trees and good music - we’re manifesting this all year long!🌴 Plan your #badbunny summer 😉 📧crewed@horizonyachtcharters.com 🧑‍💻horizonluxurycrewed.com #horizonluxurycrewed #bvi #yachtcharter #luxuryvacation

horizonyachtchartersbvi

0

0

0

► Become a FREE SUBSCRIBER to Yachting World's YouTube page now - https://www.youtube.com/user/yachtingworld?sub_confirmation=1 ► For the latest reviews, new gear launches and tour news, visit our website: http://www.yachtingworld.com ► Like us on Facebook here - https://www.facebook.com/yachtingworldmagazine ► Follow us on Twitter at: https://twitter.com/yachtingworld ► Feel free to comment below! ► Remember to hit that LIKE button if you enjoyed it :)

yachtingworld

0

0

10,797

While having been in the "gamle by" in Arhus I took the chance to use my Ricoh Theta V camera in order to make some 360° footage. Afterwards I tried out my workflow to get the spatial audio through my Cyberlink PowerDirector video processing. Workflow: 1. Connect Theta V via USB to your computer 2. Copy the video(s) to you computer (e.g. d:\temp\) 3. Start the "RICOH THETA" app 4. Drag'n'drop the video file(s) (you can select more than one video file) from your computer location (e.g. d:\temp\) onto the "RICOH THETA" app window (or just use open from the file menue) 5. Let the "RICOH THETA" app stich your video(s). It will output a file at the same location (e.g. d:\temp\) with the filename being extended by "_er" (the filename extension is still ".mp4") 6. Drag'n'drop the video file (unfortunately one by one) from your computer location (e.g. d:\temp\) onto the the "RICOH THETA Movie Converter" app icon (e.g. the one on the Desktop) 7. Let the "RICOH THETA Movie Converter" app convert the dropped video file. It will output a file at the same location (e.g. d:\temp\) the same name but the extension ".mov" 8. Open "Cyberlink PowerDirector" go to settings and make sure that under general you configure the used audio channels to "5.1 Surround". 9. In "Cyberlink PowerDirector" import the processed video file(s) with the extension ".mov". 10. In "Cyberlink PowerDirector" drag your video file(s) with the extension ".mov" to the timeline of your 360° project. 11. After editing (avoid changing the audio channel(s) of the Theta V videos except cutting, fading) produce a 360° video with enabled "Surround-Sound" and "Dolby Digital 5.1" 12. Start the "Audacity" app and open the 360° video file produced by "Cyberlink PowerDirector" in it (or just drag'n'drop the file to the desktop icon). You will experience 6 audio channels. 13. In "Audacity" go to "Edit" "Settings" and make sure that for "Import / Export" and "Export of audio" the tick is set for "use own mix" (and no tick for downsample to mono/stereo). 14. In "Audacity" export these audio channels by using "File" / "Export" / "Audio export" (same as CTRL-Shift-E). Change the filename to make it same as the video filename (besides the file extension), leave "WAV (Microsoft) signed 16bit PCM" and press "Save". 15. Now you get an additional selection box. Change the slider to output of four audio channels first. Then you need to edit the lines from the boxes of the left hand side to the boxes on the right hand side. Make left1 being connected only to right1. Make left2 being connected only to right3. Make left3 being connected only to right2. Make left5 being connected only to right4. Now press ok twice. 16. Now we need to replace the audio track of the produced video of "Cyberlink PowerDirector" with the one generated by "Audacity" by using "FFQueue". 17. Start the "FFQueue" app (remove all old jobs if there are some) press the "Add" button and select the produced video of "Cyberlink PowerDirector". Because the audio file has the same filename it will be recognized automatically. You will get three entries in the list. #1.0 video (leave it ticked) #1.1 audio (untick it) and #2.0 audio (leave it ticket). 18. In the "FFQueue" app verify that the FFMPG command line states "%inputs% %preset% %output%" and Preset command lines states "Passthrough". Set the output filename and path and make sure the file extension will be ".mov". Then you can press "Save job". Afterwards press the triangle button "Start". 19. Start the "Spatial Media Metadata Injector". Use the "Open" button to select the file generated by "FFQueue". "My video is spherical (360)" shall be ticked by default. Now you need to tick also "My video has spatial audio (ambiX ACN/SN3D format). Then you need to press "Inject metadata". 20. The "Spatial Media Metadata Injector" app generates a new file with extending the source filename by adding "_injected". The fileextension will stay the same. 21. Upload the file generated by "Spatial Media Metadata Injector" to YouTube. 22. Now you should have audio focussed on the direction you are viewing...

sixten828

0

0

31