Welcome aboard to the our video site for sailors. We are being constantly blasted by scammers and pirates, so registration is invite only
contact@sailorsahoy.com with "Invite". No spam, no newsletters. Just a free account
Shorts Lumikha
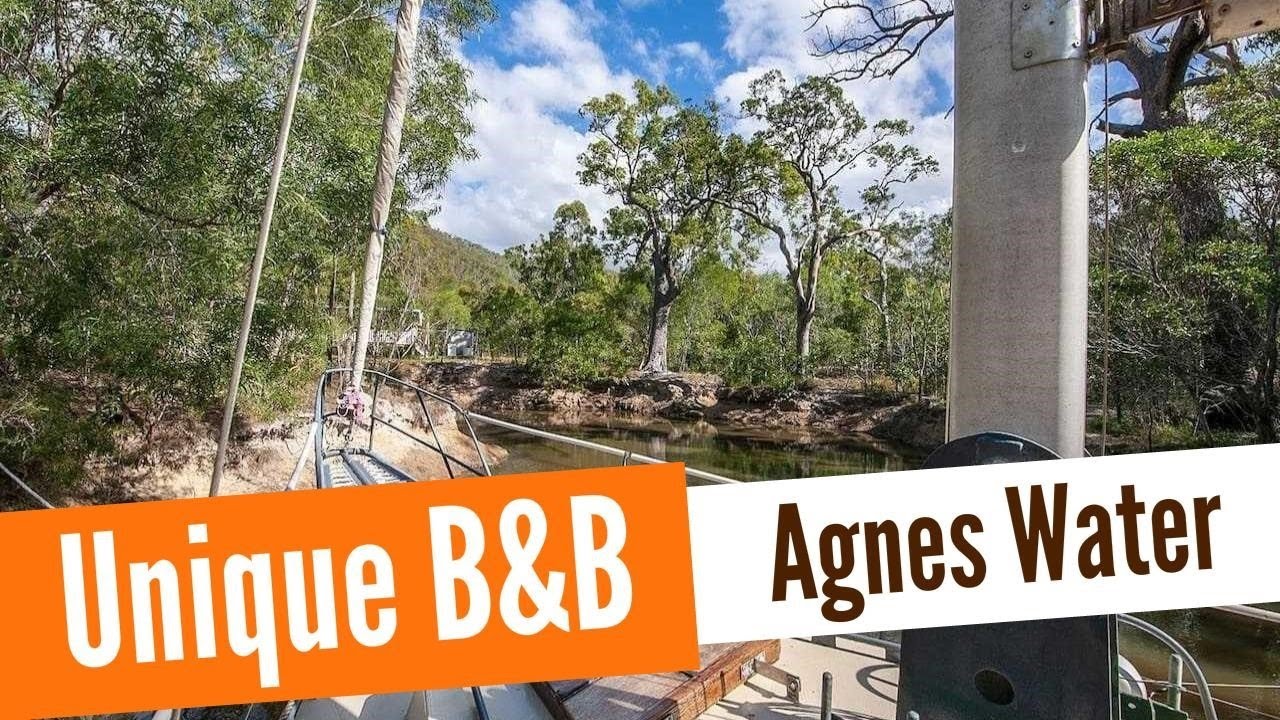
BOATINTHEBUSH.COM.AU Searching for a Bed and Breakfast Accommodation Supplier In Agnes Water? Boat In The Bush B&B Agnes Water provides Bed and Breakfast Lodging That Is Suitable for Couples, Small Groups of Friends and Even Solo Travellers. Found In The Beautiful Agnes Water Area, This Distinct B&B Lodging Experience Is Something You Will Remember. With Your Own Private Driveway, Secluded Rural Area Meets The Ocean Environment, It's the Perfect Area to Get Away From All Of It. Boat In The Bush Has Been Established Since Mid 2019 And Has actually Been Enjoyed By Lots Of Travellers To Agnes Water Already, With Glowing Feeback! With Your Own Bathroom Facilities, Tranquil Surrounds and Outdoor Kitchen Area and Dining Area, What More Could You Need? Breakfast Is Offered As Part Of Your Lodging Reservation And Your Host Will Be Close At Hand Should You Need Anything Throughout Your Stay. The Perfect Accommodation Stay In Agnes Water Qld 4677. And You’ll Be Pleased To Know That Boat In The Bush Is Pet Friendly B&B Holiday Accommodation. Isn't It Time To Book The Best Agnes Water Accommodation that Is Also Pet Friendly for Your Next Queensland 4677 Visit. Private Accommodation At Agnes Water Qld
0
0
0
11

A powerful wind gust heels a sailboat leaving the marina, but the crew responds quickly and safely regains control. #Shorts #Sailing #Storm #Marina #BoatLife Disclaimer: This video was created using AI for creative and entertainment purposes.
0
0
0
6,426

The 2025 sailing season is off to a thrilling start, with yacht racing getting tighter than ever. On Strangford Lough, the J109 and A35 yachts are battling it out in a series of regattas, including the highly anticipated Narrows Regatta 2025. For sailing enthusiasts, this is the ultimate experience, with the thrill of sailboat life and the camaraderie of the sailing lifestyle on full display. From the port and starboard tactics to the IRC1 yachting rules, every aspect of yacht racing is being put to the test. The J109 sailboat, in particular, is showing its mettle, with its sleek design and impressive sailing capabilities making it a favorite among sailors. As the competition heats up, the sailing community is abuzz with excitement, and for those who love boat life, this is the perfect time to get out on the water and experience the thrill of sailing. With its stunning natural beauty and challenging sailing conditions, Strangford Lough is the perfect venue for yacht racing, and the 2025 season is shaping up to be one of the most exciting yet. Whether you're a seasoned sailor or just starting out, this video is a must-watch for anyone who loves sailing, yachts, and the sailing lifestyle. The team at bottom up boats hope you are enjoying these short clips from the 2025 racing season
0
0
0
27

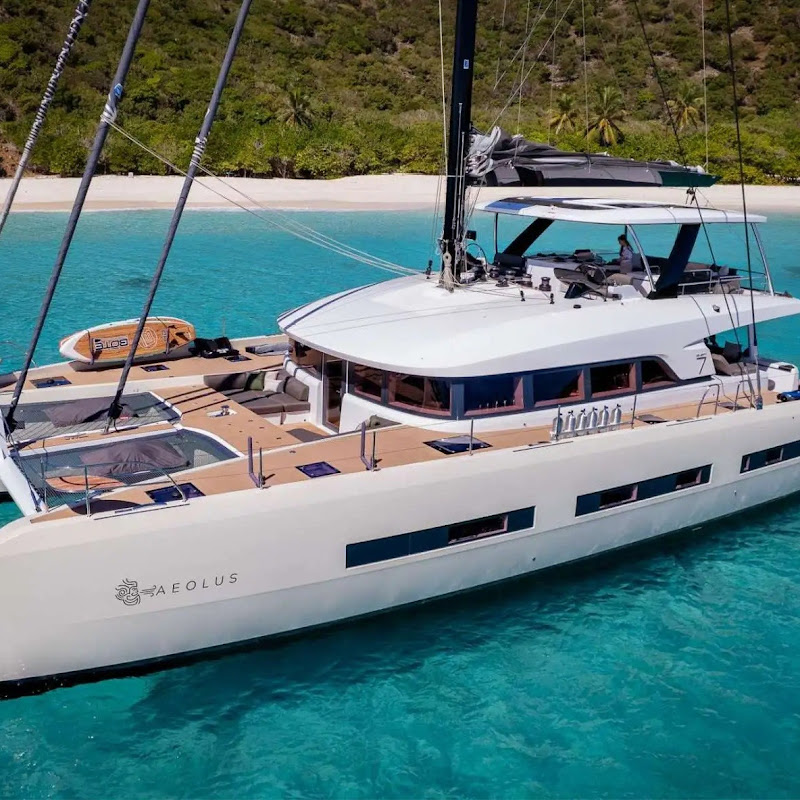
With a yacht charter, you don’t just get a boat — you get the full experience. Wake up to a new view every morning, enjoy meals prepared by your private chef, and let your stewardess handle every detail. The only catch? You need a broker who actually knows the yachts to make sure you get the right fit. That’s where we come in. Start your BVI yacht adventure 👉 www.mybvicharter.com #BVIYachtCharter #LuxuryCatamaran #LuxuryYacht #YachtLife #BVILuxury #CatamaranCharter #IslandHopping #BVIVacation #CharterSmart #YachtBroker
0
0
0
36
0
0
0
905

Jetties are an untapped resource for amazing snorkeling

0
0
0
208