Welcome aboard to the our video site for sailors. We are being constantly blasted by scammers and pirates, so registration is invite only
contact@sailorsahoy.com with "Invite". No spam, no newsletters. Just a free account
Calção Crio
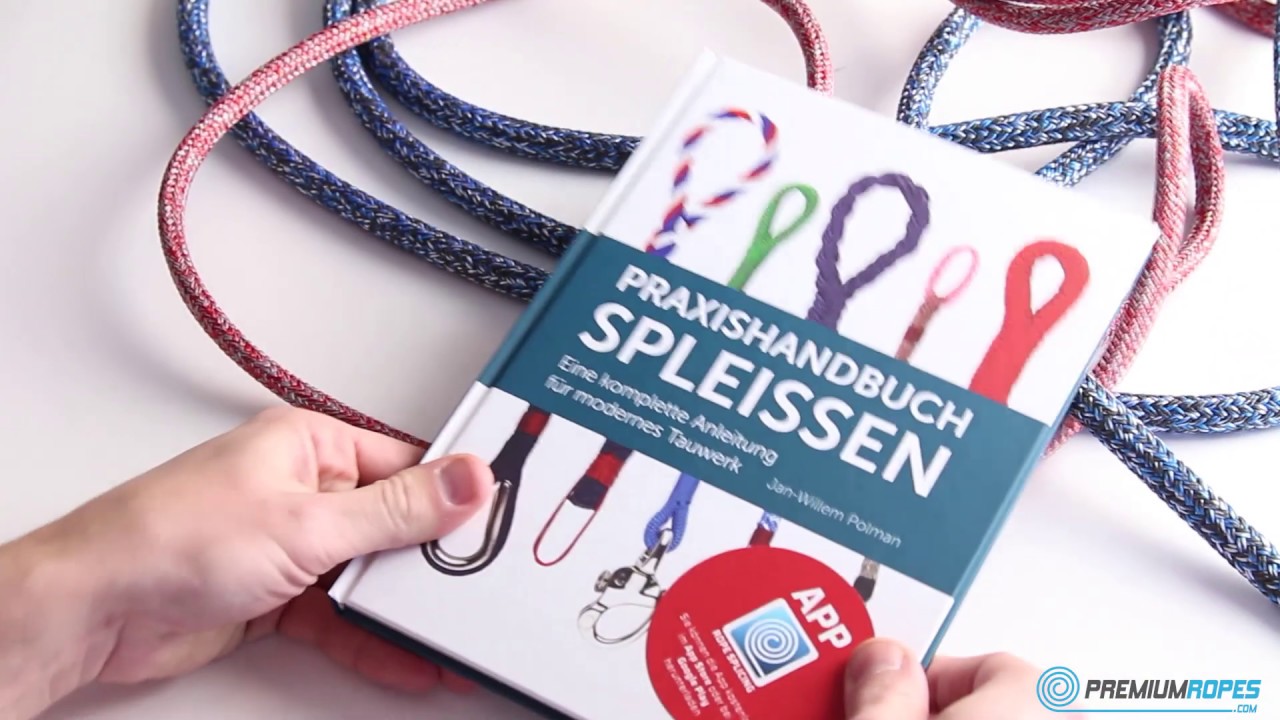
Using clear, step-by-step photography and detailed instructions, this book will guide readers through all the stages required to make strong, reliable splices. Author: Jan-Willem Polman https://www.premiumropes.com/praxishandbuch-spleissen -- Das Praxishandbuch Spleissen hat sich schnell zum weltweit üblichen Lehrbuch für das Spleißen von geflochtenen Seilen entwickelt. Alle Techniken werden in über 450 hochauflösenden Fotos behandelt. Das Buch beginnt mit Hintergrundinformationen zu Seilmaterialien und Konstruktionen. Fotos behandelt. Das Buch beginnt mit Hintergrundinformationen zu Seilmaterialien und Konstruktionen. https://www.premiumropes.com/praxishandbuch-spleissen

0
0
0
5,903

0

0
0
0
3,723

0
0
0
164

montage d un drone Speedybee F405 V3 Speedybee BZGNSS BZ-181 GPS

0
0
0
12

Recalling the memories of Boot Tulln from last year. Will we see yours again in 2024? Visit us in Hall 10 from February 29 to March 3! BOATS ON DISPLAY: BENETEAU FIRST 14 SE BENETEAU FIRST 18 SE BENETEAU FIRST 24 SE – Available for immediate delivery! BENETEAU FIRST 36 BENETEAU OCEANIS 37.1 – Available for immediate delivery! BENETEAU OCEANIS 40.1 – Available for immediate delivery! EJET 4X We look forward to seeing you! @messe_tulln #MasterYachting #BootTulln #TullnBoatShow #WaterSports #Beneteau #BeneteauFirst #BeneteauOceanis

0
0
0
48

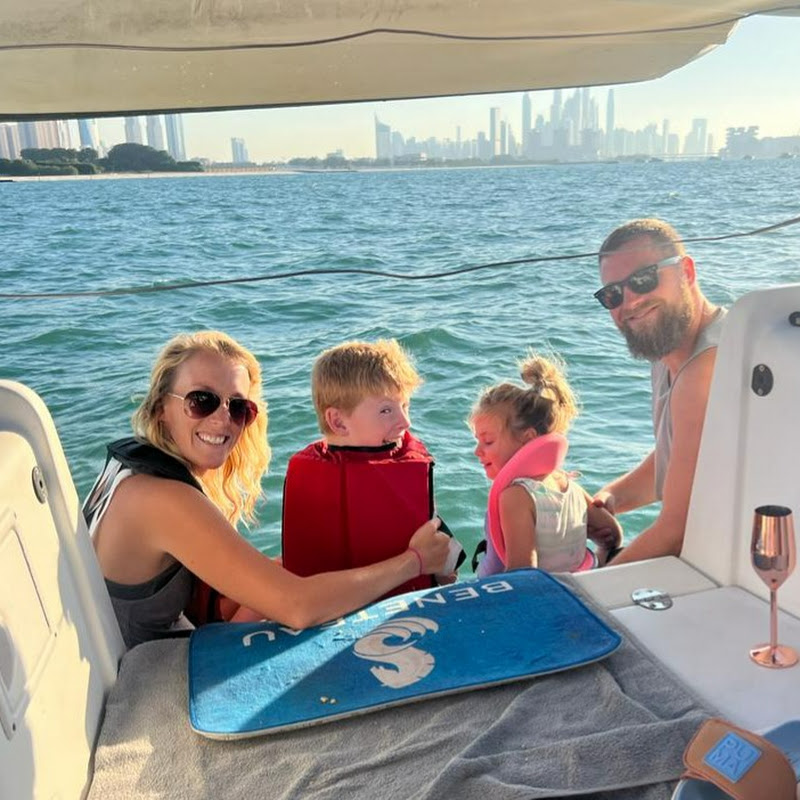
#sailingfamily #sailboat #liveaboard
0
0
0
1,183
