Welcome aboard to the our video site for sailors. We are being constantly blasted by scammers and pirates, so registration is invite only
contact@sailorsahoy.com with "Invite". No spam, no newsletters. Just a free account
短裤 创造

0

0
0
0
116


0
0
0
1,272
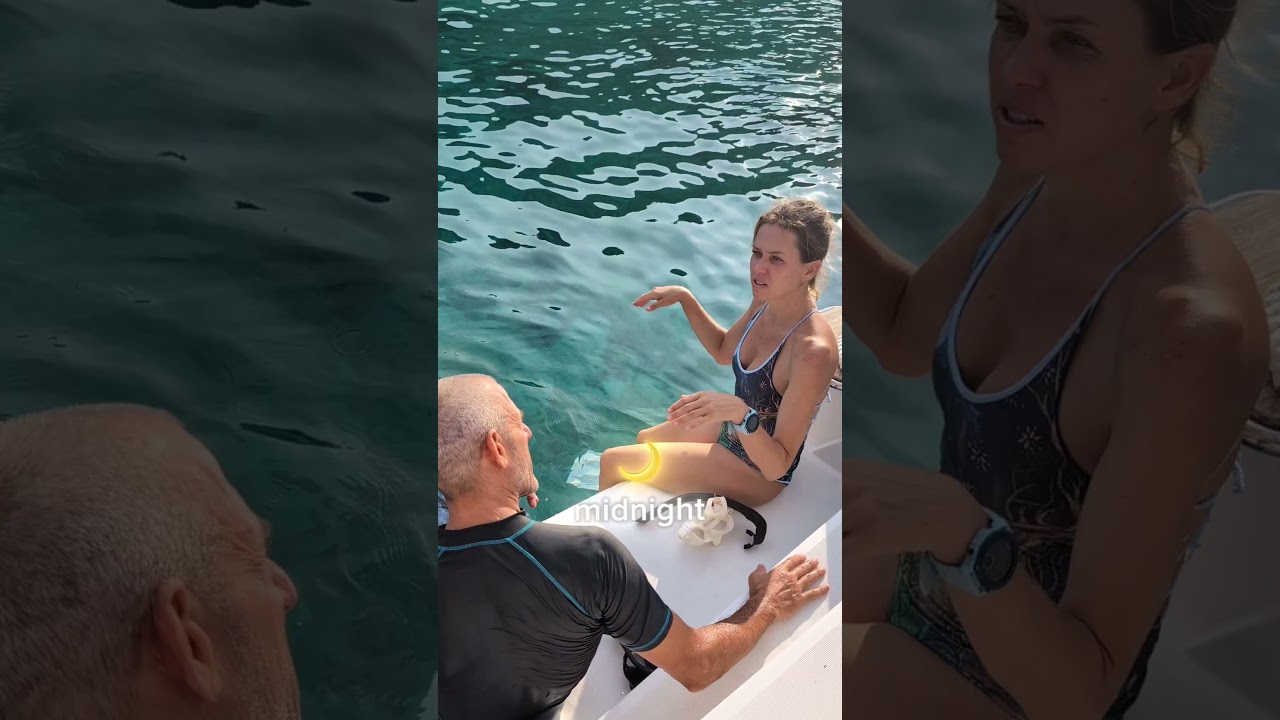
If you're single and tired of dating apps, this is different. You don't get one hour over coffee. You get seven days living on a yacht with vetted singles who'd rather be sailing Sicily than swiping. You see the real person. How they handle challenges. How they treat people. Whether they're kind, present, and actually fun to be around. You wake at 5am to watch Stromboli erupt. Steer the yacht. Swim in hidden bays. Explore medieval towns. Eat Sicilian street food at midnight. If you connect with someone, it's not because you both liked the same show. It's because you spent a week actually living together. That's a different foundation. Everyone is vetted. Everyone is single. Everyone is open to real connection. Season 1 sold out in two weeks.

0
0
0
0

0
0
0
0
5,953

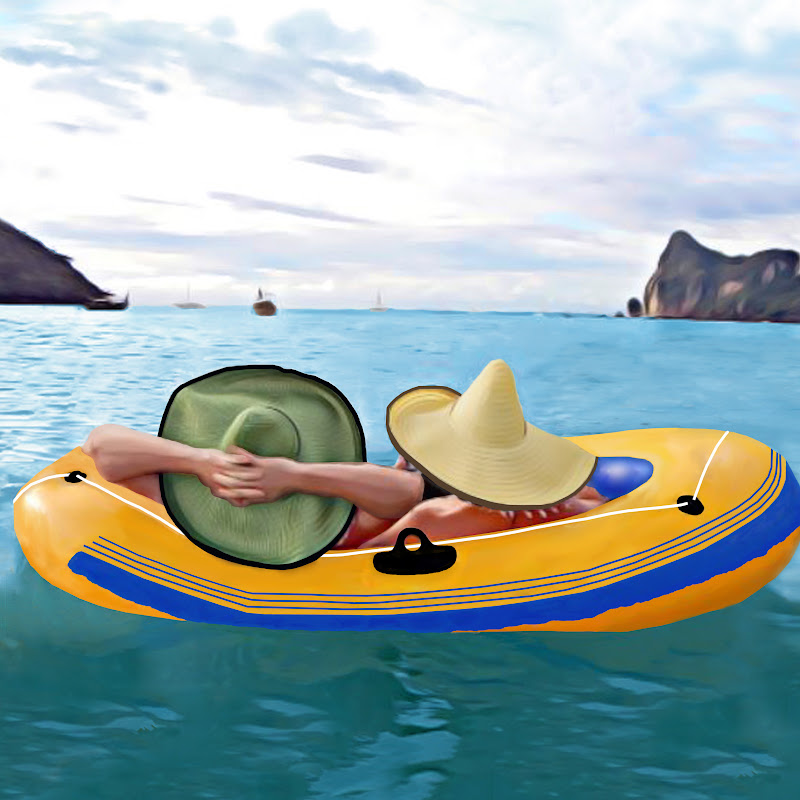
https://www.chuffed.org/project/sanjosemission https://www.patreon.com/ChuffedAdventures Donation Link: https://www.vettails.com/donate Thanks to our supporters who enable us to continue our mission. Lots of love, Dr Sheddy and Jim https://www.instagram.com/dr.sheddy_the.sailing.vet/ https://www.facebook.com/vet0tails

0
0
0
1,906

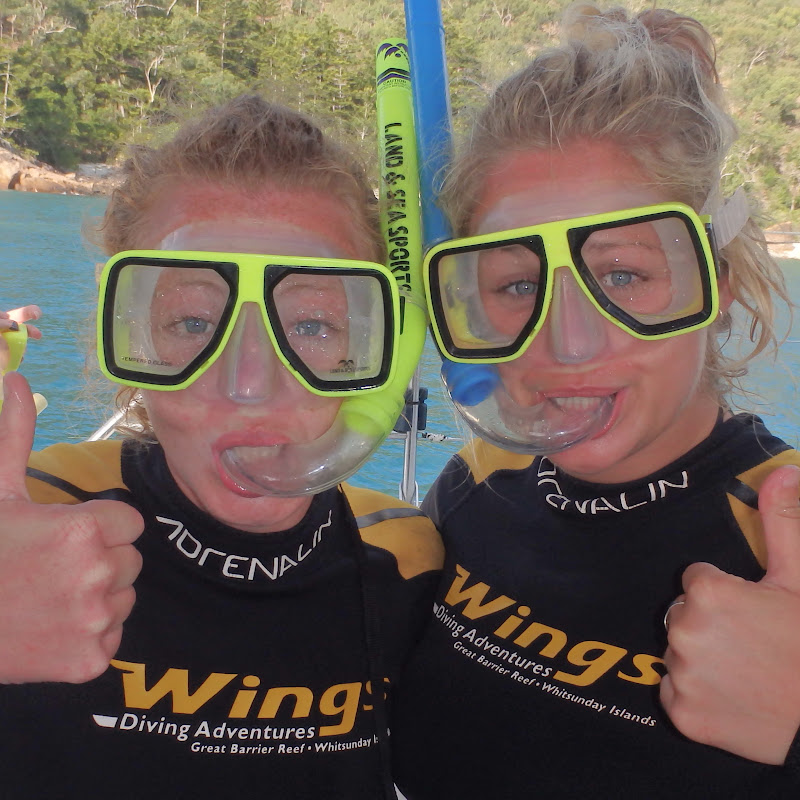
Did you know that in the Whitsundays we do have underwater sculptures ? 😁 Mantaray Bay is located on the north part of the Whitsunday islands and is really famous for it's inhabitants such as a beautiful Humphead Maori Wrasse but also now for the majestic mantaray scultpures located on the right corner of the bay! Have a look on his video or try to book now your trip to maybe have the chance to see it by yourself 😍 Bookings -- {https://wings.com.au} #whitsundays #australia #traveltheworld #gbr #thegreatbarrierreef #queensland #airliebeach
0
0
0
78
