Welcome aboard to the our video site for sailors. We are being constantly blasted by scammers and pirates, so registration is invite only
contact@sailorsahoy.com with "Invite". No spam, no newsletters. Just a free account
निकर सृजन करना
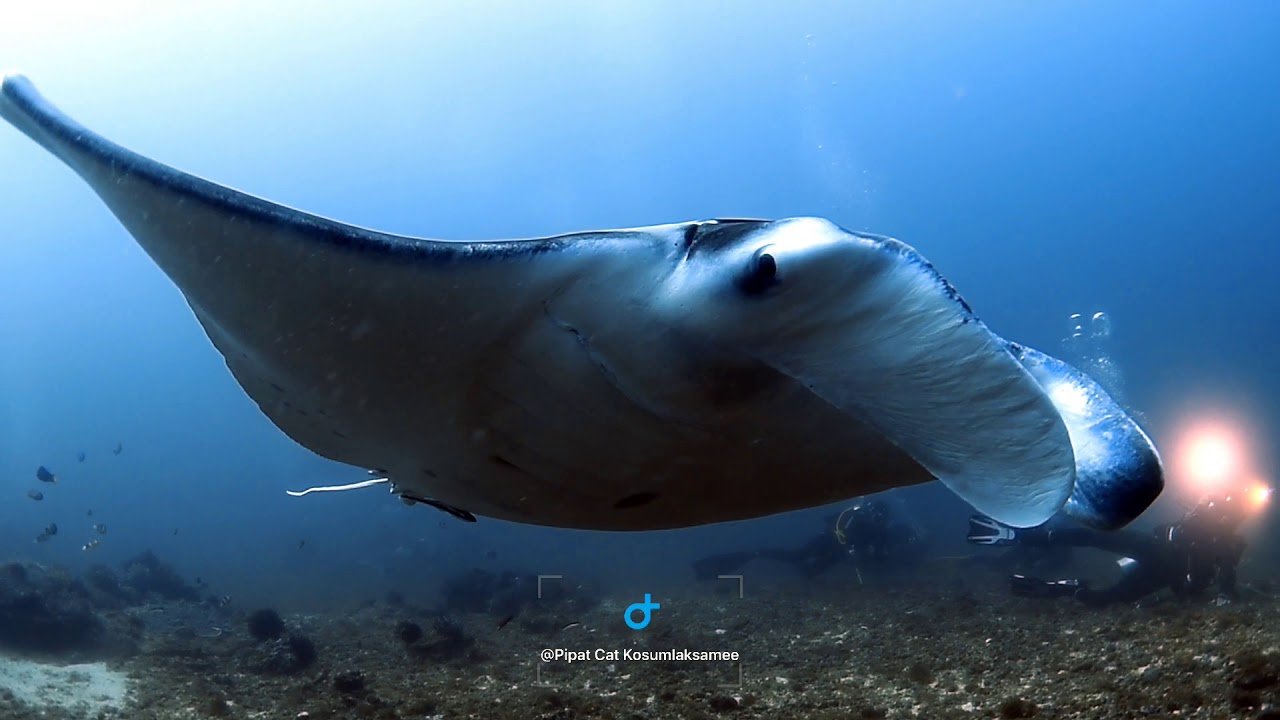
We explored Ticao for the first time this year and we had some fantastic dives in Manta bowl. Video By Pipat Cat Komsumlaksamee
0
0
0
1,363
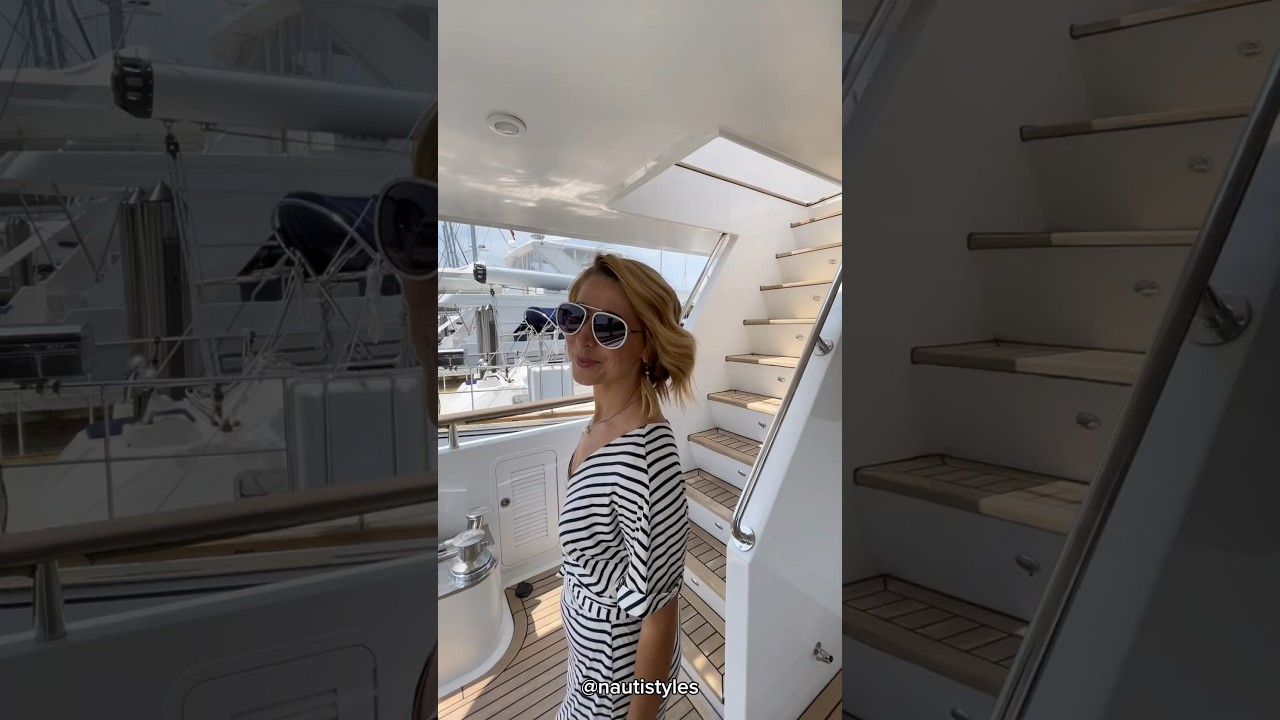
Our very first Bering Tour: Bering 65… the rest is history 🤪

0
0
0
25,347

De petits bateaux à remorquer légers et durables, fabriqués d'aluminium, et normalement utilisés pour la pêche en eau douce. Normalement très simples, ces embarcations à coque en plaques d'aluminium soudées ou à rivets sont dotées de bancs et se manœuvrent bien dans les endroits où abonde le poisson - eaux peu profondes, anses, ruisseaux – et où les autres bateaux ne peuvent souvent ne pas pénétrer.

0
0
0
1,659


0
0
0
1,944
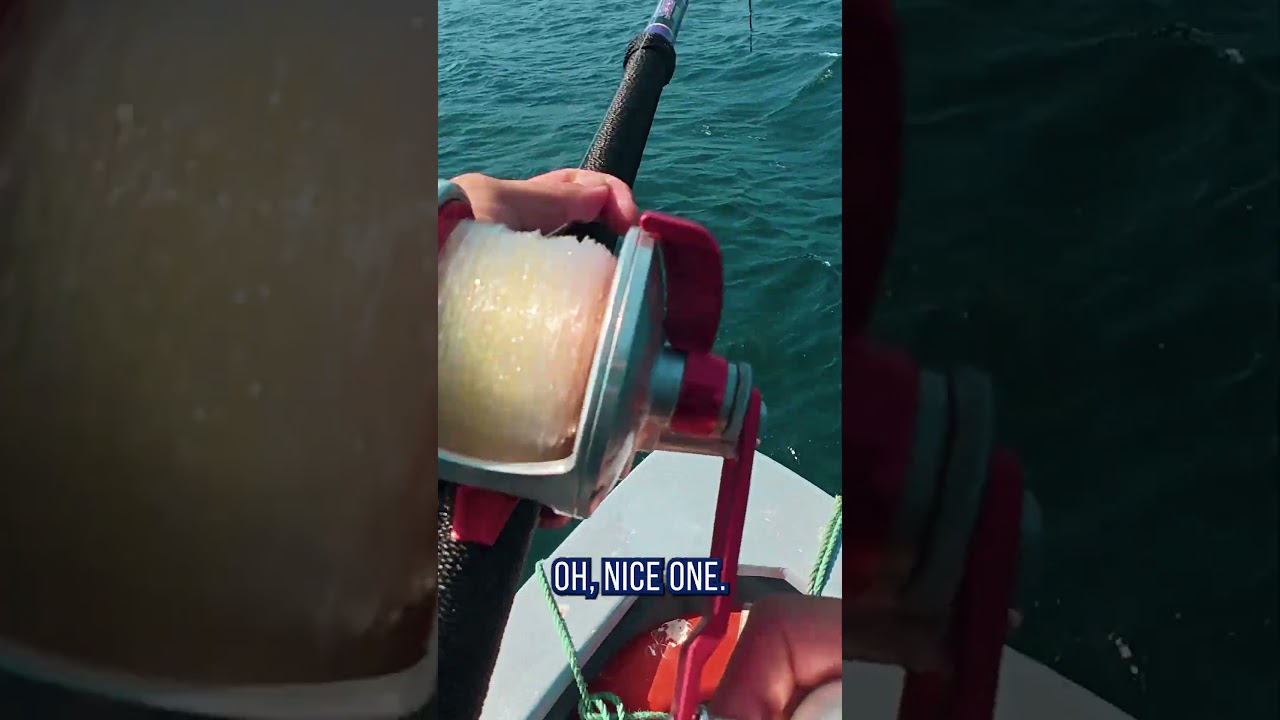
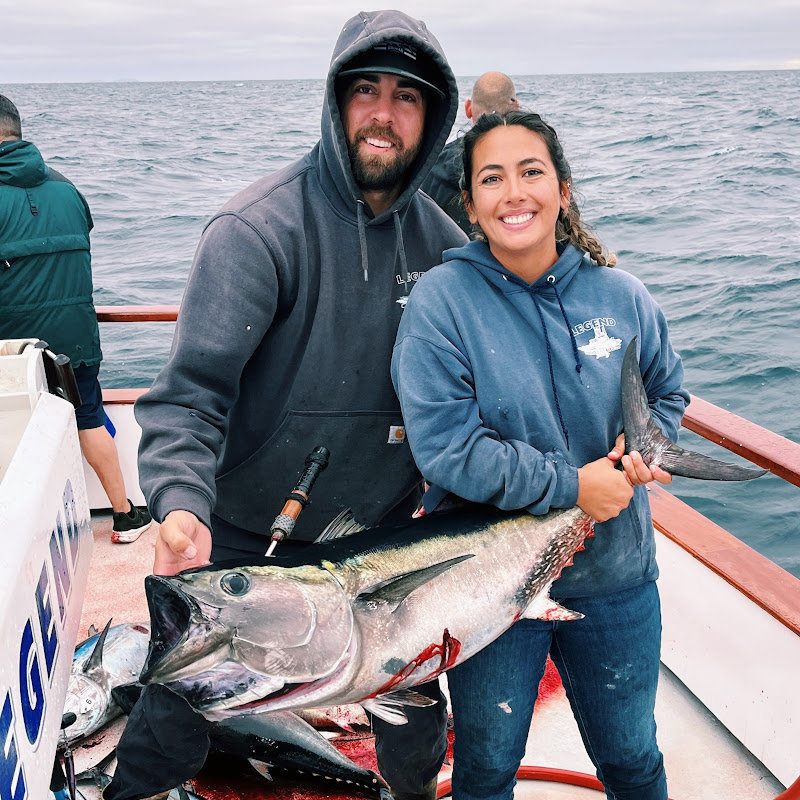
Big calico bass on the surface iron! Watch Steve launch his jig and get slammed by a true Cedros Island monster. If you’re a fan of calico fishing or want to see what Cedros has to offer, this one’s for you. Don’t miss the full trip recap on our channel for more epic catches and insider tips! 👉 Subscribe for more tuna, yellowtail, and calico action: Fish The Legend
0
0
0
1,758

0

0
0
0
637
