Welcome aboard to the our video site for sailors. We are being constantly blasted by scammers and pirates, so registration is invite only
contact@sailorsahoy.com with "Invite". No spam, no newsletters. Just a free account
السراويل القصيرة خلق

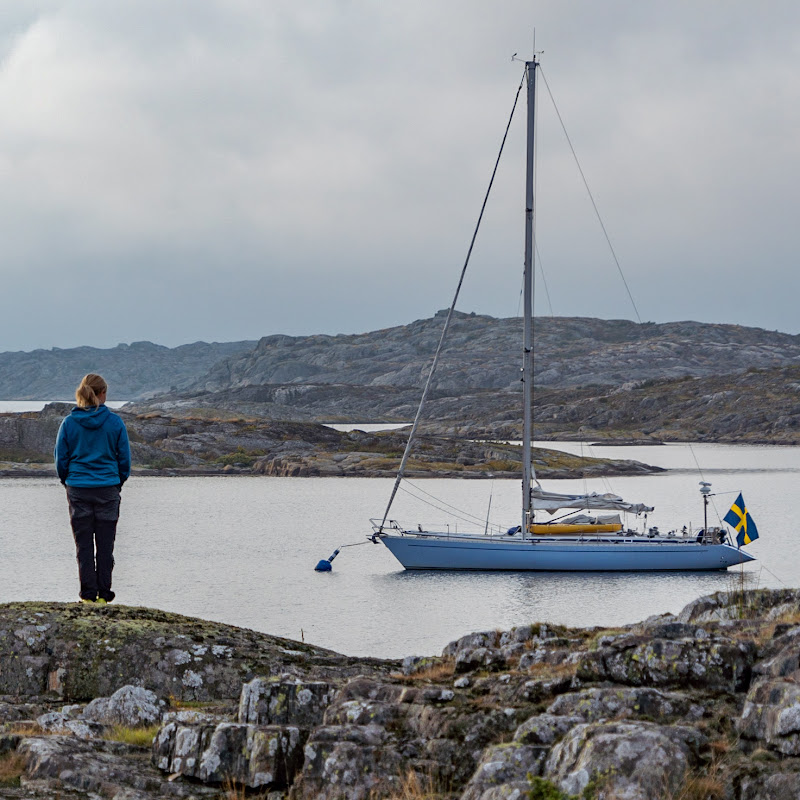
Logg: 1 september fredag. Med ballong söder ut!
0
0
0
93

Al-wakara beach is Al Wakrah, fishing and pearling village turned bustling little town, is situated 10 km south of Doha and the beach is approximately its an family beach must visit.

0
0
0
580

St. Pete's Beach Part 2 - Join us as we snorkel the underwater ruins of Fort Dade at Egmont Key, explore Shell Key for sand dollars and birdlife, and ride with wild dolphins jumping in our wake on the way back to Gulfport. We end the day watching a stunning sunset at the iconic Don CeSar at St. Pete's Beach. Florida history, wildlife, and pure Gulf Coast adventure all in one episode! Cheers - Rodney & Cyndi #EgmontKey #FortDade #ShellKey #DonCeSar #Dolphins #FloridaVlog #SailingIntoNirvana #sailingcouple @SailingIntoNirvana Website: http://sailingintonirvana.com Social: http://facebook.com/@sailingintonirvana Patreon: http://patreon.com/sailingintonirvana Fire Dragon Spices: http://piraterodneys.com ___________________________________________________ 🎵 Copyrighted music licensed from Lickd. https://lickd.co Magic Power by Triumph, https://t.lickd.co/l/XrW6NYvNWaQ Never Surrender by Triumph, https://t.lickd.co/l/4gDeKznymJQ When The Lights Go Down by Triumph, https://t.lickd.co/l/23pLRPvjw4d Shadow Theory by Tom Boddy, https://t.lickd.co/l/NoPpj2yDr9w Water Glow by Tom Boddy, https://t.lickd.co/l/8JDmn28136l
0
0
0
180

Discover the essential hex screwdrivers you need for effective engine repairs. In this video, we break down the importance of choosing the right tools and how to avoid common mistakes when working on your engine. Don't miss these crucial tips! #HexScrewdrivers #EngineRepairs #ToolGuide #DIYMechanics #AutomotiveTips #HandyTools #FixItYourself #MechanicLife #EngineeringSkills #ToolTips

0
0
0
414

A luxury yacht for a great company is ready to show you Marmaris in all its glory! Official website: https://brilions.com E-mail: info@brilions.com WhatsApp and the phone number for any question: russian language +7 958 111 9529 english language +44 78 9707 2330 Instagram: russian language https://www.instagram.com/brilions/ english language https://www.instagram.com/brilions.eng/ Facebook: russian language https://www.facebook.com/brilions.yacht english language https://www.facebook.com/brilions.eng VK: https://vk.com/brilions.yacht You can check feedbacks about us here: Yandex - https://yandex.ru/profile/67155125910 Google.Business - https://goo.gl/maps/ZVpKmbRVfozdVxTT7 TripAdvisor - https://www.tripadvisor.ru/Attraction_Review-g297962-d20325971-Reviews-Brilions-Antalya_Turkish_Mediterranean_Coast.html See also: Моtor yacht Obsidian - Аntalya - https://youtu.be/KMZps31IMbg Моtor yacht BDR-01 - Bodrum - https://youtu.be/wLMc1buOjiw #yachtinantalya #yachtinkemer #yachtrent #holidayinantalya #yachtvoyage #yachtrentalinantalya
0
0
0
40

Join our semi-private departures leaving daily from Alimos for a catamaran cruise along the Athenian Coastiline with Sailing Adventures. A perfect break from when visiting Athens in Greece! #athens #greece #athènes #boattrip #athena #sailing #bestmoments #ελλαδα #travel #catamaran
0
0
0
158
