Welcome aboard to the our video site for sailors. We are being constantly blasted by scammers and pirates, so registration is invite only
contact@sailorsahoy.com with "Invite". No spam, no newsletters. Just a free account
Celana pendek Membuat

Löstagbart förstag för en smal hög kryssfock som komplement till rullgenua

0
0
0
986


0
0
0
6,799

0

0
0
0
10,986
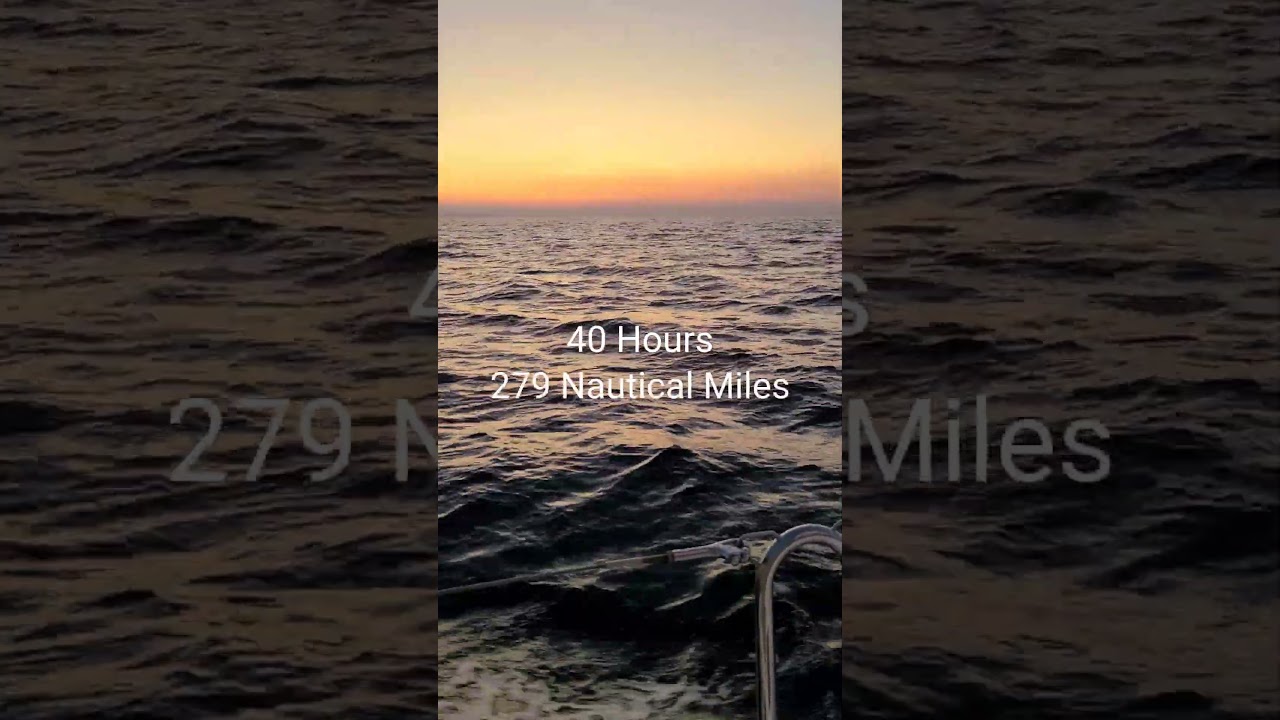
Key Biscayne, FL to St. Augustine, FL Don't forget to like and subscribe to our YouTube channel! FOLLOW US ON INSTAGRAM: https://www.instagram.com/sv_mystichearts FOLLOW US ON TIKTOK: https://www.tiktok.com/@sv_mystichearts FOLLOW US ON FACEBOOK: https://www.facebook.com/SVMysticHearts SUPPORT OUR CONTENT CREATION: https://www.buymeacoffee.com/svmystichearts #sailing #boatlife #shorts
0
0
0
261

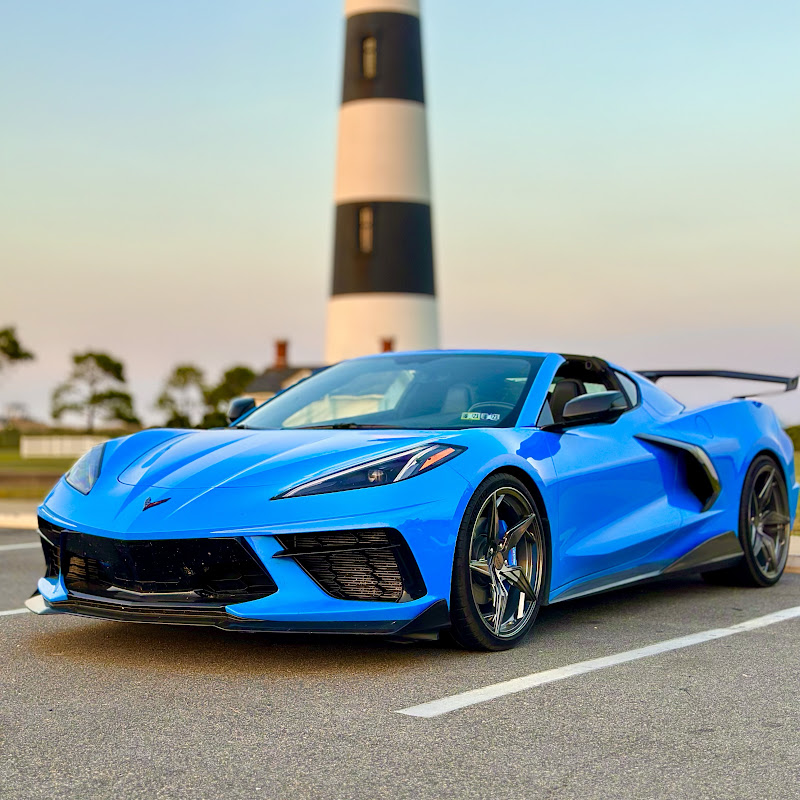
Which color would you choose? #jeep #wrangler392 #wranglerjl #2024wrangler
0
0
0
2,217

0
0
0
0
2,340
