close
Welcome aboard to the our video site for sailors. We are being constantly blasted by scammers and pirates, so registration is invite only
contact@sailorsahoy.com with "Invite". No spam, no newsletters. Just a free account
Corti Creare

le
0
0
0
918

0
0
0
0
2,430

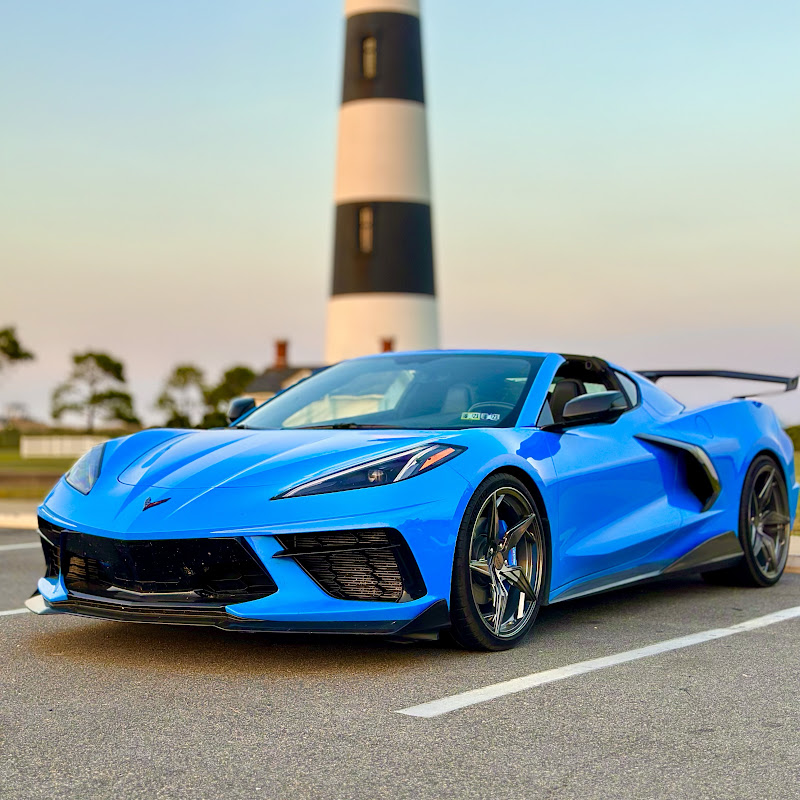
Lets see what this c8 does 0-60, I wonder how much better the Z06 will be in the real world? #c8 #c8corvette #c8z06 #corvettec8 #caroftheday #loudcars #auto #shorts #2023corvette #2023z06
0
0
0
3,071

0

0
0
0
620


0
0
0
772

Take in the views as we fly over Cobb's Quay Marina in Poole, perfectly positioned on the stunning Dorset coastline and at the heart of a thriving boating community. #mdlmarinas #cobbsquay #pooleharbour #marinalife #boatlifeuk

0
0
0
393
