Welcome aboard to the our video site for sailors. We are being constantly blasted by scammers and pirates, so registration is invite only
contact@sailorsahoy.com with "Invite". No spam, no newsletters. Just a free account
Corti Creare

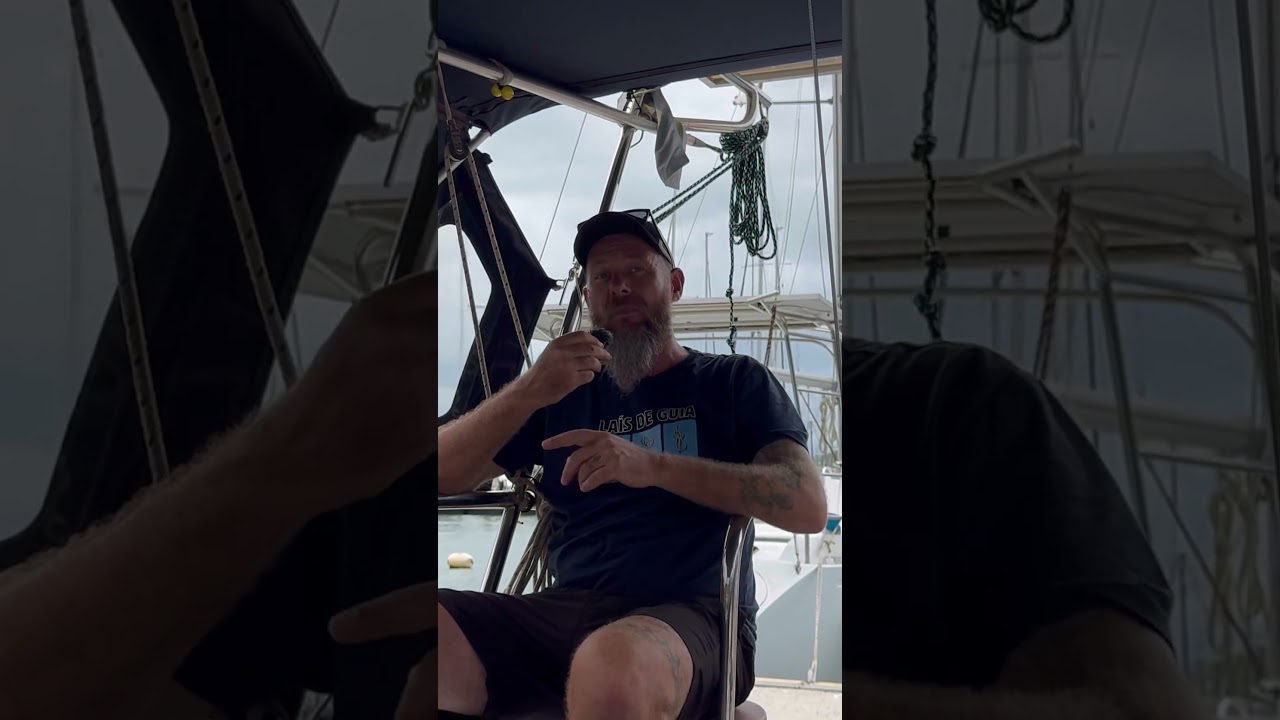
Delphis Catamaran Having fun with mid-atlantic waves sailing from British Virgin Islands to Azores Islands Diversão com ondas no meio do Atlântico velejando de Ilhas Virgens Britanicas até os Açores

0
0
0
147


0
0
0
5

0
0
0
706

Tecnologia, tradição e paixão pela vela: a Mitsubishi esteve mais uma vez ao lado do Yacht Club de Ilhabela na principal competição de vela oceânica da América Latina. A marca se fez presente no MitCafé, ponto de encontro que reuniu velejadores e convidados em meio à programação, e na tradicional Regata Eduardo Souza Ramos, um dos momentos mais aguardados da SIVI Daycoval. #sivi53daycoval #ilhabela #mitsubishi #vela

0
0
0
41

1. Remove the old caulking. We use a special tool from @teakdeckingsystems. 2. If your deck is both screwed and glued, considwe removing the screws. We chose to remove the screws since they only created a possibility for water to enter the construction. 3. Fill out every screw hole with epoxy. During the renovation, we learned it would be a good idea to fill the holes with epoxy as soon as you remove the screws to ensure you seal every single hole. 4. Route between all the teak strips. We routed all the way to the gel coat to have as much wood to work with as possible. We used a fine cutter where the caulking was across the grain. 5. Seam sanding. It helps remove the remaining caulking and gives the teak a fresh bonding surface. 6. Masking the teak strips. We chose to mask the wood to reduce the sanding process later on because we knew the teak wasn’t very thick. 7. Cleaning off with acetone. This helps remove dust and gives the caulking the best conditions to adhere to the wood and cure. 8. Start caulking. We used an air compressor caulking gun. It makes the process easier for large surfaces that need caulking - we used SIS 440 from @teakdeckingsystems. We also used a 3D-printed applicator for the caulk head, which minimizes the amount of caulking used. I could only find it on @hfindustrimarineaps website. 9. “Spoon” caulk further into the seams. We used a flexible putty knife to smoothing the caulking. 10. Pull off the masking. While removing the tape, we used scissors to cut just before the area where it hadn’t been caulked yet. 11. Remove the top of the caulking. We used a sharp stanley knife. We did this to minimize sanding, just as we did with masking. 12. Sanding with grit 80. We used the fine cutter’s sanding head for all the edges and an orbital sander for the larger areas. Side note: Sanding with grit 40. We believe the best way is to sand before routing to even out the wood. Unfortunately, we had many places where the wood was so worn out that it wouldn’t have been possible to follow the old tracks with the router after sanding. #diy #sailing #sailingdiy #teak #teakdeck #sailingdenmark #boatwork #shortoftheday

0
0
0
694

Materiali Compositi – Percorso Completo di Formazione Negli ultimi mesi abbiamo strutturato un percorso completo sui materiali compositi, pensato per chi vuole passare dalla base alla lavorazione avanzata con metodo professionale. Livello 1 – Base Per capire davvero materiali, resine e lavorazioni fondamentali. Livello 2 – Avanzato (in partenza la prossima settimana) Carbonio, strutture sandwich, sottovuoto, controllo del processo e verifica dei risultati. È il corso dove si fa il vero salto di qualità: più metodo, più tecnica, più consapevolezza. Livello 3 – Infusione (nuovo corso) Tecnica di infusione sottovuoto per il carbonio: progettazione del layup, gestione del flusso di resina, controllo dei difetti e qualità del laminato. Il livello finale del percorso, pensato per chi vuole lavorare in modo strutturale e ripetibile. 👉 Il Livello 2 è il passaggio chiave: senza quello, il Livello 3 non ha senso. Chi vuole arrivare all’infusione deve prima costruire solide basi sul carbonio e sul sottovuoto. Se vuoi entrare nel percorso completo, questo è il momento giusto per partire dal Livello 2.

0
0
0
94