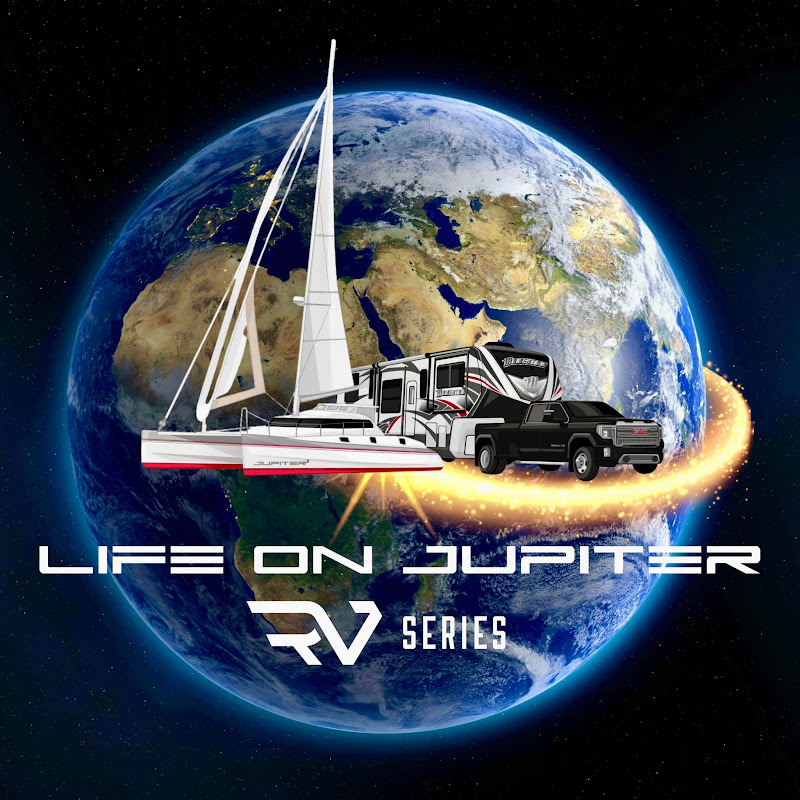
Welcome aboard to the our video site for sailors. We are being constantly blasted by scammers and pirates, so registration is invite only
contact@sailorsahoy.com with "Invite". No spam, no newsletters. Just a free account
Korte broek Opprett
Screwhead teak plugs in 23 seconds!! Having just replaced around 1000 teak screw head plugs…this was the process.. Unscrew every exposed screw: I used a battery drill driver. Drill the hole deeper: I used a 10mm forstner bit as it fitted the existing holes perfectly and did a tidy job. This is subject to having enough teak left to drill deeper. Fortunately Najad were generous with their teak! Try not to drill as far as the fibreglass. Add sealant and replace the screws: I’ve seen videos where they say the screws were just for construction and you can leave them out. That is probably correct but I’m going for better safe than sorry. If the teak was thinner with no room to drill deeper and replace the screws I’d leave them out as a last chance of getting a few more years out of a worn deck. Sealant to stop any water getting into the deck core. I used a hand screwdriver rather than power to replace them as power was tending to rip out the self tapping screws from the fibreglass. Put glue on the plug: I used a polyurethane foaming wood glue. Epoxy would be very strong but mixing all the batches a big pain if you have lots to do. Try to get more glue on the edges than the base of the plug as I had a couple of plugs pushed out as the glue foamed up. Tap in the plug: I used a standard claw hammer as it’s all I had but I daresay a wooden mallet is recommended but the top of the plug is waste material anyway so it matters not. Cut off the excess: I used a Fein multi tool oscillating saw. Be careful with your angle as you don’t want to gouge the surrounding deck. It took me a few goes to master the technique but was pretty quick when I did. I said the top of the plugs were waste but if you found yourself short a lot of them had enough material left to do more holes. Sand flat: I used a random orbit sander with a worn 80 grit pad. I now have fresh patches all over the deck so, once I’ve completed a couple of caulking touch ups, I’ll give the whole deck a very light sanding. You could just leave the newly sanded plug patches to grey down to match the deck if you preferred. And that’s it…repeat many times! Feel free to ask any questions 😊⛵️ #boatlife #liveaboardsailboat #boatmaintenance #najad #boatrepairs
Available for delivery this November, this exquisite Ferretti Yachts 780 HT is truly a nautical work of art. The newly designed interior now offers the option of either a classic or a contemporary design following the footsteps of the yacht’s most recent predecessor in the Ferretti Yachts 500 and the Ferretti Yachts 1000. On the stern, with the large beach club, the new rear-facing large sun pads transform from the two doors on the yacht’s garage to help create a luxurious area to relax on the water’s edge. The interior still has 4 cabins, a full-beam, mid-ship owner’s suite, a forward VIP cabin, and two more guest cabins all with their own heads. For the Asian market, there will be an option to change the owner’s cabin to a large entertainment room while moving the galley to the lower deck to create a larger open bar area with the existing salon. In the standard version, the salon now features 3 options with the standard layout featuring a closed bar area from the dining area, a powered glass partition separating the bar area from the dining space, or a completely open concept for the North American market. The Ferretti Yachts 780 also has crew quarters aft with a cabin for the captain and one for the crew each with two beds and a personal bathroom. The captain’s cabin is replaced with a large storage area in the standard layout. Available through Executive Yacht 1-888-237-1647