Welcome aboard to the our video site for sailors. We are being constantly blasted by scammers and pirates, so registration is invite only
contact@sailorsahoy.com with "Invite". No spam, no newsletters. Just a free account
Calção Crio

0
0
0
0
547

0
0
0
510

► Become a FREE SUBSCRIBER to Yachting World's YouTube page now - https://www.youtube.com/user/yachtingworld?sub_confirmation=1 ► For the latest reviews, new gear launches and tour news, visit our website: http://www.yachtingworld.com ► Like us on Facebook here - https://www.facebook.com/yachtingworldmagazine ► Follow us on Twitter at: https://twitter.com/yachtingworld ► Feel free to comment below! ► Remember to hit that LIKE button if you enjoyed it :)

0
0
0
2,983

0
0
0
0
41

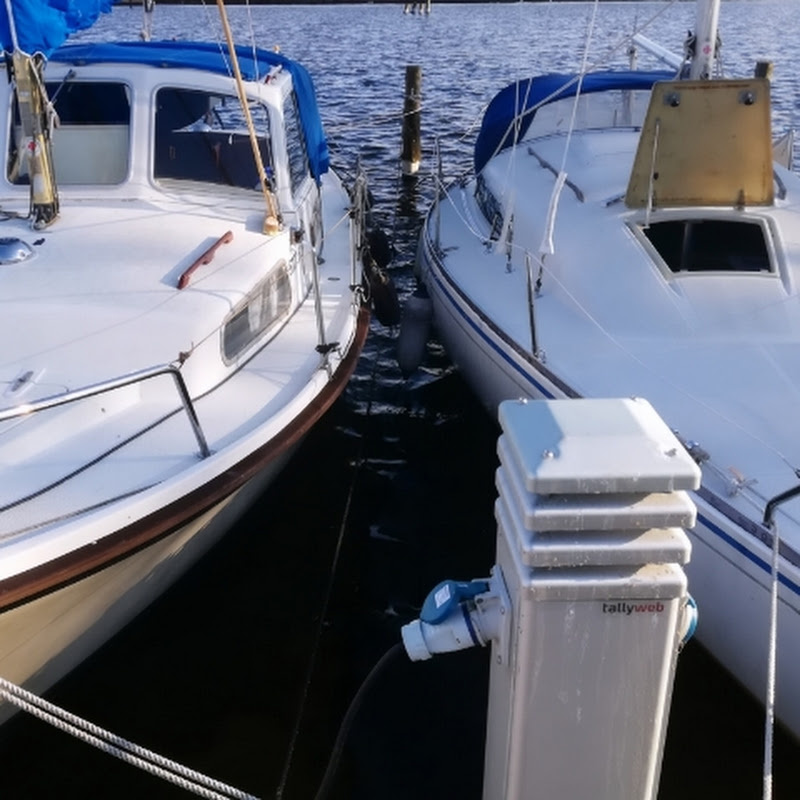
Drabant 30 https://www.scanboat.com/en/17289049

0
0
0
315

Sea Ray https://www.scanboat.com/en/17368217
0
0
0
41
