close
Welcome aboard to the our video site for sailors. We are being constantly blasted by scammers and pirates, so registration is invite only
contact@sailorsahoy.com with "Invite". No spam, no newsletters. Just a free account
Shorts skab

#supraba #phinisi #liveaboard #indoseadventures
0
0
0
8

0
0
0
0
1,232

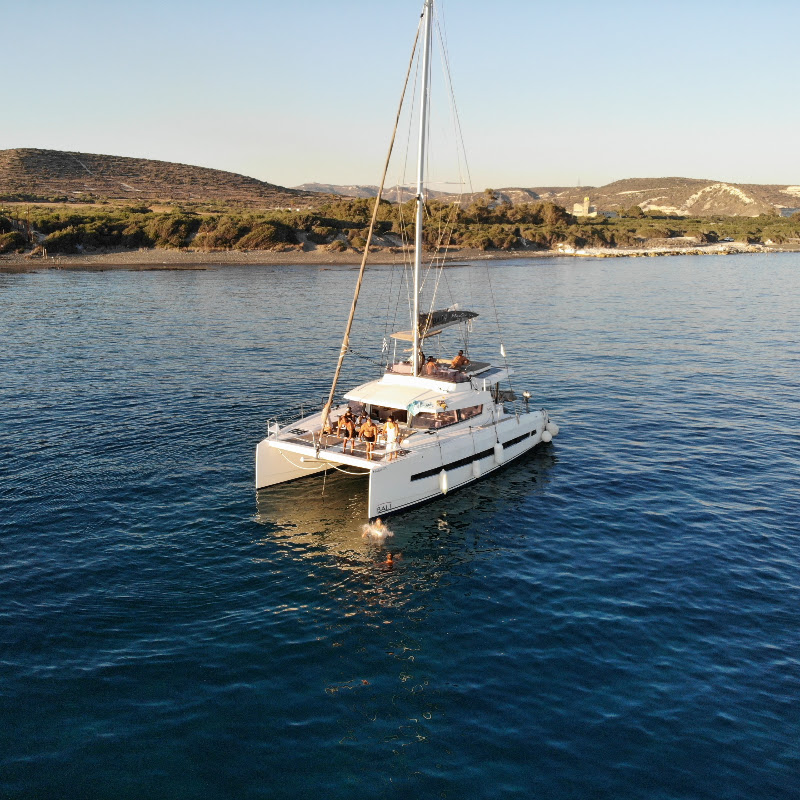
#lydiayachts #midascruises #shorts #ytshorts #sunset #santorini #greece #cruises #sunsetcruises #private #yacht #sailing #catamarans #santorinicruises
0
0
0
84

A majestic tallship battles a monstrous wave — the bow crashes through in slow motion as sails strain against roaring wind. A breathtaking moment of ocean power and timeless seamanship. #TallshipFury #EpicSailing #OceanPower #SlowMotionWave #SailingShorts
0
0
0
1,007

0
0
0
2,639

0

0
0
0
25
