close

Welcome aboard to the our video site for sailors. We are being constantly blasted by scammers and pirates, so registration is  invite only


contact@sailorsahoy.com with "Invite". No spam, no newsletters. Just a free account

Korte broek Opprett

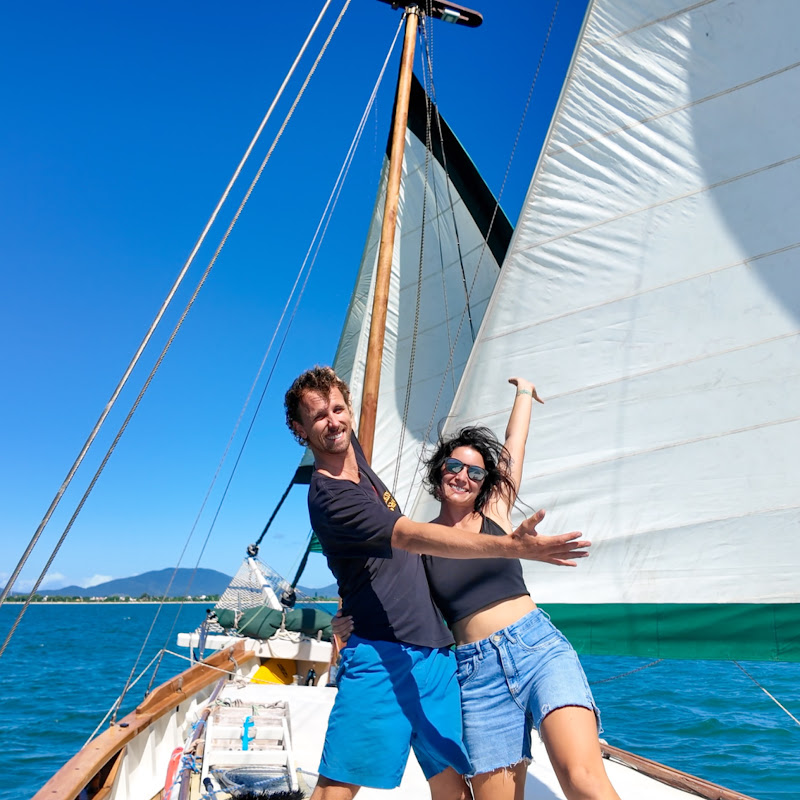
Thank you so so so so much!!!! Cheers to each one of you 🤎x 100.000!!!!!!!!!! WE CANNOT BELIEVE IT!!! We said so many times “click that button because it will make us so happy”, well, here’s proof that we were not lying 😅🍾🥂 #100k #boatrenovation #boatbuilding #sailingchannel

Sailingyaba

0

0

13,908

-~-~~-~~~-~~-~- Please watch: "... E allora me ne vado a VIVERE IN BARCA A VELA!... Finché c'è barca c'è speranza! (ep.1)" https://www.youtube.com/watch?v=1E-Tb4dfWGE -~-~~-~~~-~~-~-

mariannademicheli1

0

0

1,773

Weta West Coast Champs 2013 Preview Richmond Yc, CA Filmed & Edited by Joshua McCormack Music by Electric Wire Hustle

wetatrimarans

0

0

474

What a majestic beast this 12-14ft tiger shark showed us the way to the reef. It is safe to say I would have gotten out of the water pretty fast after seeing this guy with a fish in hand. If you like what you see don't forget to give us the thumbs up! #sailing #shorts ***************************************** Help the videos stay alive by becoming a patron, donating or becoming a YouTube Member. Link to Patreon Click Here https://www.patreon.com/WildlyIntrepid Paypal donation https://www.paypal.me/wildlyintrepid YouTube Member https://www.youtube.com/watch?v=bXcndpsEC_Q Wildly Intrepid Merch https://teespring.com/en-GB/stores/wildly-intrepid ***************************************** Want to know how we did it? Here's where it began. ▶ https://www.youtube.com/playlist?list=PL8DtHTsrVzG8XEtrg0XpSWEMmdkzkGumr Who is Wildly Intrepid? See what we are all about. ▶ https://www.youtube.com/c/WildlyIntrepid?sub_confirmation=1 ***************************************** Subscribe to Join our Intrepid Tribe! https://www.youtube.com/c/WildlyIntrepid?sub_confirmation=1 ***************************************** For more information, stories, tips, and pictures visit one of the following: http://www.wildlyintrepid.com/ https://www.facebook.com/wildlyintrepid/ https://www.instagram.com/wildlyintrepid/ https://twitter.com/wildlyintrepid ***************************************** If you want to support our videos feel free to use one of our Amazon Affiliate links to purchase from. We receive a small percentage which helps us keep on creating content for you. Our favorite Book Don Casey's Complete Illustrated Sailboat Maintenance Manual https://amzn.to/3qwiYj5 Film Equipment Sony a6300 : https://amzn.to/3gcpGGh GoPro Hero 7 : https://amzn.to/37G2wnS Rode VideoMicro microphone : https://amzn.to/2VEv4Zp ASUS Laptop : https://amzn.to/3ou11zR My books "Hikes of Western Newfoundland" : https://amzn.to/33NphoR "Hikes of Newfoundland" : https://amzn.to/39WtjPR *****************************************

wildlyintrepid

0

0

2,749

Nuestro primer contacto con el velero fue toda una experiencia. Después de mucho tiempo buscando barcos por todos los puertos, fue desde nuestra casa, en la pantalla del ordenador, donde tuvimos el primer flechazo con el Forquilla y movimos cielo y tierra para poder ir a conocerlo en persona. Cuando lo tuvimos delante por primera vez, supimos que era exactamente lo que estábamos buscando y desde entonces nos lo ha demostrado en incontables ocasiones ⛵️

veleroforquilla

0

0

5,486

1. Remove the old caulking. We use a special tool from @teakdeckingsystems. 2. If your deck is both screwed and glued, considwe removing the screws. We chose to remove the screws since they only created a possibility for water to enter the construction. 3. Fill out every screw hole with epoxy. During the renovation, we learned it would be a good idea to fill the holes with epoxy as soon as you remove the screws to ensure you seal every single hole. 4. Route between all the teak strips. We routed all the way to the gel coat to have as much wood to work with as possible. We used a fine cutter where the caulking was across the grain. 5. Seam sanding. It helps remove the remaining caulking and gives the teak a fresh bonding surface. 6. Masking the teak strips. We chose to mask the wood to reduce the sanding process later on because we knew the teak wasn’t very thick. 7. Cleaning off with acetone. This helps remove dust and gives the caulking the best conditions to adhere to the wood and cure. 8. Start caulking. We used an air compressor caulking gun. It makes the process easier for large surfaces that need caulking - we used SIS 440 from @teakdeckingsystems. We also used a 3D-printed applicator for the caulk head, which minimizes the amount of caulking used. I could only find it on @hfindustrimarineaps website. 9. “Spoon” caulk further into the seams. We used a flexible putty knife to smoothing the caulking. 10. Pull off the masking. While removing the tape, we used scissors to cut just before the area where it hadn’t been caulked yet. 11. Remove the top of the caulking. We used a sharp stanley knife. We did this to minimize sanding, just as we did with masking. 12. Sanding with grit 80. We used the fine cutter’s sanding head for all the edges and an orbital sander for the larger areas. Side note: Sanding with grit 40. We believe the best way is to sand before routing to even out the wood. Unfortunately, we had many places where the wood was so worn out that it wouldn’t have been possible to follow the old tracks with the router after sanding. #diy #sailing #sailingdiy #teak #teakdeck #sailingdenmark #boatwork #shortoftheday

justoceans

0

0

694