Welcome aboard to the our video site for sailors. We are being constantly blasted by scammers and pirates, so registration is invite only
contact@sailorsahoy.com with "Invite". No spam, no newsletters. Just a free account
Kratke hlače Stvoriti
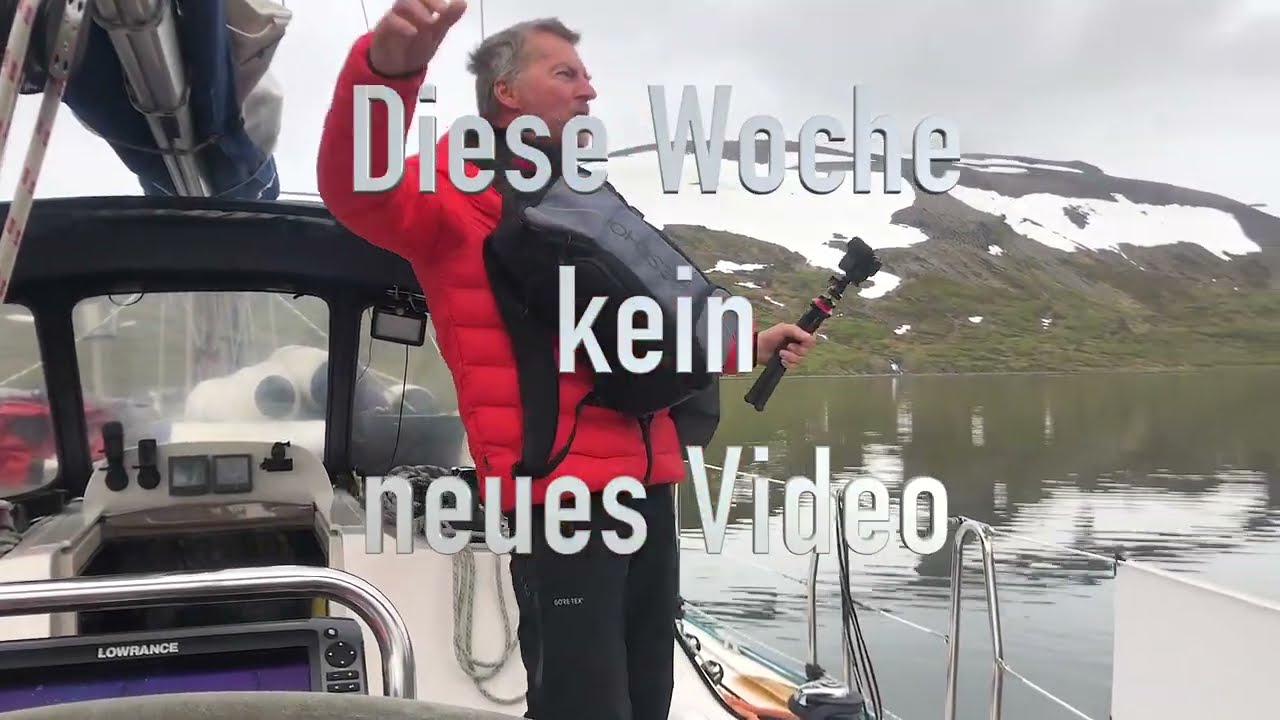
Hallo Freunde, ich bin offline unterwegs in Grönland. Ich habe leider keine Möglichkeit euch neue Videos zu präsentieren. Die Serie "Grönland" geht natürlich nach der kurzen Sommerpause weiter. Stay tuned! Euer Micha. Unterstützung: Patreon: https://www.patreon.com/XTripSailing PAYPAL: https://paypal.me/MZ106
0
0
0
5,556

Sail Greece corfu | Ipsos | small harbour | sea tv | cruise& travel | Lonian Check out more videos from Sea TV- sailing network channel & please do Subscribe for more. About the Channel: https://www.youtube.com/watch?v=p4AUVjzZXWM The channel provides the following content: * Pilot Marina/ port- Know your way to a new marina: https://www.youtube.com/watch?v=KyYZtHztXt8 * Coverages of international boat shows: https://www.youtube.com/watch?v=xbXSHzWwVRI * Reviews and helpful tips for local navigation: https://www.youtube.com/watch?v=2W4i0SZhDUI * Training videos of safety drills and emergency situations: https://www.youtube.com/watch?v=9918s3wTRl8 * Travelogues: https://www.youtube.com/edit?o=U&video_id=JXzKD6YJT4k * Action: https://www.youtube.com/watch?v=K5NYod4Um5s We invite anyone who is passionate about the sea & sailing adventure to Subscribe, like our videos, comment & share. We believe in the power of community in providing the best and most valuable information and welcome your suggestions, comments, updates and advice. Sea TV website: http://sealove.tv Like us on Facebook: https://www.facebook.com/sealovetv/ Share Sea Love! and keep it clean…

0
0
0
16,760

0

0
0
0
6,335

Enjoy a short video of Mystic cruising on the Sea of Cortez.

0
0
0
1,122

-~-~~-~~~-~~-~- Please watch: "SBS ep.121 - Sailing Back from Catalina and a Postmortem" https://www.youtube.com/watch?v=DPxhSgXk8sM -~-~~-~~~-~~-~-
0
0
0
272

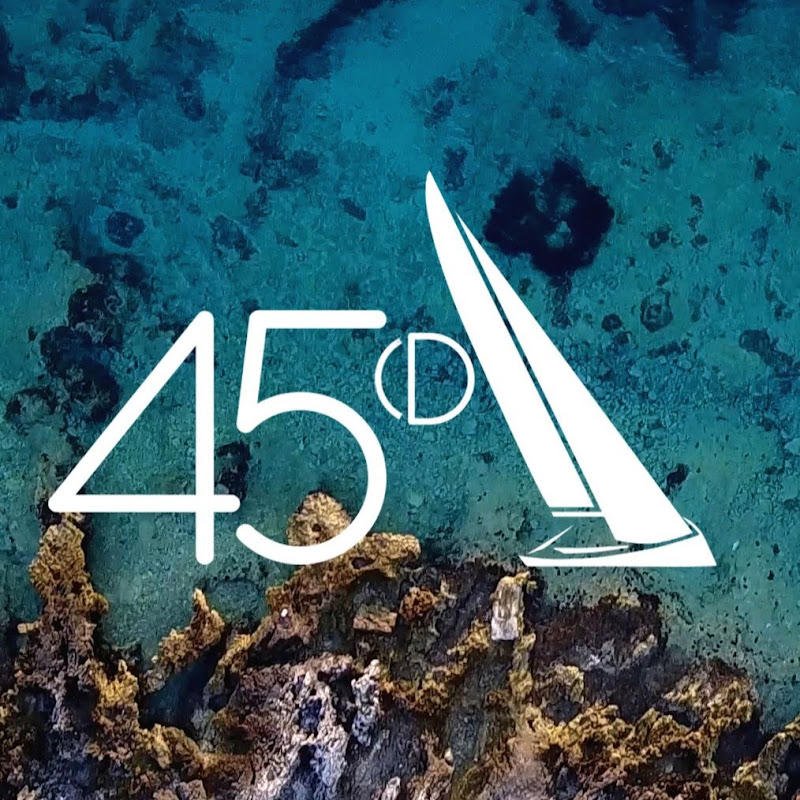
January 3 45D Weather Croatia in Central Dalmatia Come sailing with 45 Degrees Sailing! Check us out at: http://www.45degreessailing.com/ Facebook : https://www.facebook.com/45degreessai... Instagram : https://instagram.com/45degreessailin... Main camera: iPhone 13 Pro Max Drone: DJI Mavic 2 Pro Mic: Rode Wireless GO II with Lav Music for the video from : http:/www.epidemicsound.com/ Filmed and Edited by Nick Hathaway, 45 Degrees Sailing
0
0
0
538
