Welcome aboard to the our video site for sailors. We are being constantly blasted by scammers and pirates, so registration is invite only
contact@sailorsahoy.com with "Invite". No spam, no newsletters. Just a free account
السراويل القصيرة خلق

Ich habe den wasserdichten Outdoor-Rucksack direkt am See getestet. Ob Spritzwasser, Regen oder Wassersport – in diesem Short siehst du, wie er sich in der Praxis schlägt. 🎒🌊 👍 Wenn dir Outdoor-Gadgets und ehrliche Tests gefallen, lass ein Abo da! #outdoor #rucksack #wasserdicht #outdoorgear #wandern #camping #wassersport #gearreview #shorts #youtubeshorts #adventure #test

0
0
0
61

Rolling along on hydraulic lift trailer at Skyway Yacht Works in Chicago

0
0
0
30

1. Remove the old caulking. We use a special tool from @teakdeckingsystems. 2. If your deck is both screwed and glued, considwe removing the screws. We chose to remove the screws since they only created a possibility for water to enter the construction. 3. Fill out every screw hole with epoxy. During the renovation, we learned it would be a good idea to fill the holes with epoxy as soon as you remove the screws to ensure you seal every single hole. 4. Route between all the teak strips. We routed all the way to the gel coat to have as much wood to work with as possible. We used a fine cutter where the caulking was across the grain. 5. Seam sanding. It helps remove the remaining caulking and gives the teak a fresh bonding surface. 6. Masking the teak strips. We chose to mask the wood to reduce the sanding process later on because we knew the teak wasn’t very thick. 7. Cleaning off with acetone. This helps remove dust and gives the caulking the best conditions to adhere to the wood and cure. 8. Start caulking. We used an air compressor caulking gun. It makes the process easier for large surfaces that need caulking - we used SIS 440 from @teakdeckingsystems. We also used a 3D-printed applicator for the caulk head, which minimizes the amount of caulking used. I could only find it on @hfindustrimarineaps website. 9. “Spoon” caulk further into the seams. We used a flexible putty knife to smoothing the caulking. 10. Pull off the masking. While removing the tape, we used scissors to cut just before the area where it hadn’t been caulked yet. 11. Remove the top of the caulking. We used a sharp stanley knife. We did this to minimize sanding, just as we did with masking. 12. Sanding with grit 80. We used the fine cutter’s sanding head for all the edges and an orbital sander for the larger areas. Side note: Sanding with grit 40. We believe the best way is to sand before routing to even out the wood. Unfortunately, we had many places where the wood was so worn out that it wouldn’t have been possible to follow the old tracks with the router after sanding. #diy #sailing #sailingdiy #teak #teakdeck #sailingdenmark #boatwork #shortoftheday

0
0
0
694

Catana 39 for sale by owner. Details can be viewed at: http://www.catamaransite.com/catamarans-for-sale.html

0
0
0
968

0
0
0
207
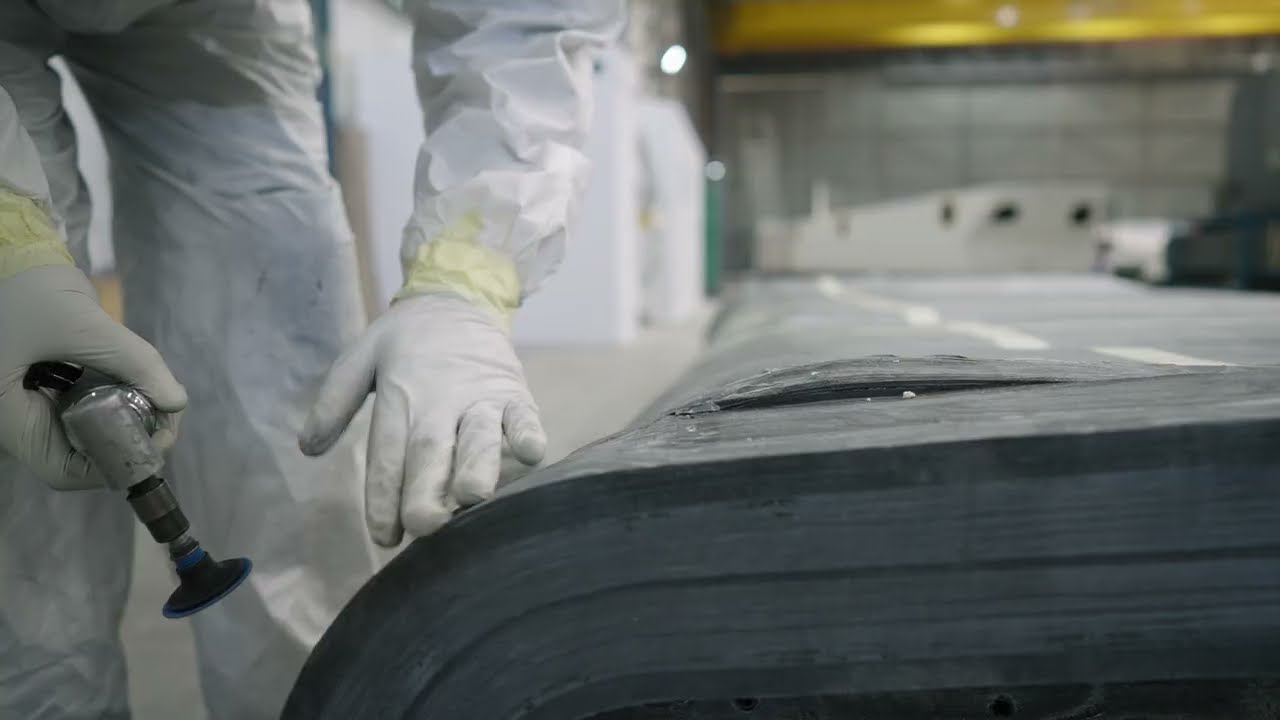
Ever wondered how a keel trunk is installed on a sailing superyacht? Discover how the 750kg composite lifting keel trunk is mounted on board our new SW108#01 Hybrid! This structural component is conceived and built with the purpose of providing a high precision prismatic guide for the keel as well as a strong holding structure for a 6.20m deep appendix in any sea condition.

0
0
0
753