Welcome aboard to the our video site for sailors. We are being constantly blasted by scammers and pirates, so registration is invite only
contact@sailorsahoy.com with "Invite". No spam, no newsletters. Just a free account
Shorts skab

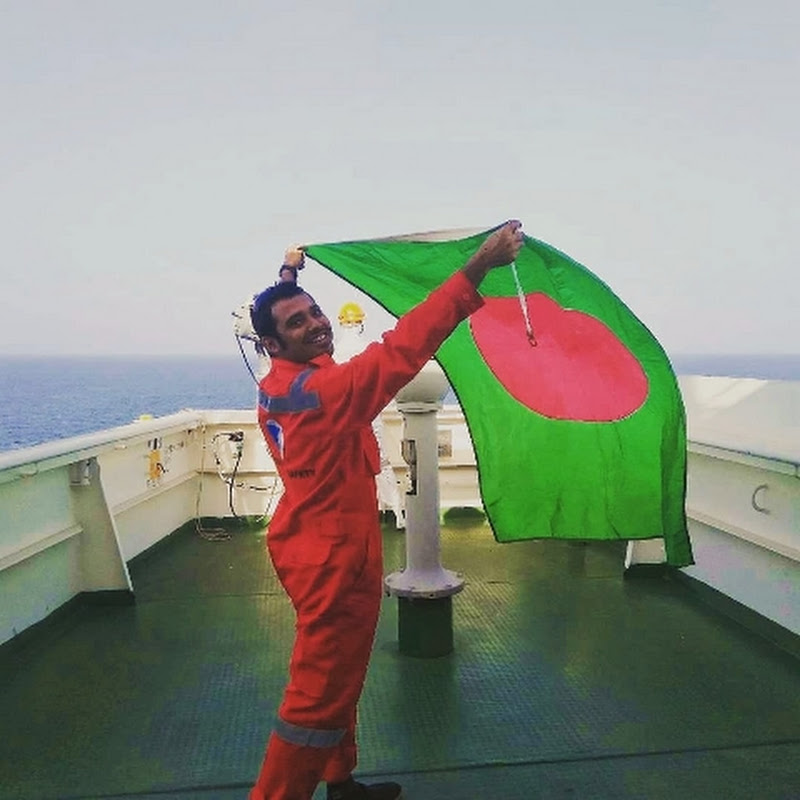
A videó témája Vitorlás csomók Egyenes csomó

0
0
0
3,745

I miei social: Youtube: https://www.youtube.com/@MavarChannel Instagram: https://www.instagram.com/mavar58/ Facebook: https://www.facebook.com/mauro.folegatti Gruppo Facebook : https://www.facebook.com/groups/mercatinousatobikers Pagina Facebook: https://www.facebook.com/MercatinoUsatoBikers TikTok; www.tiktok.com/@mavar58

0
0
0
2,512

0
0
0
0
29
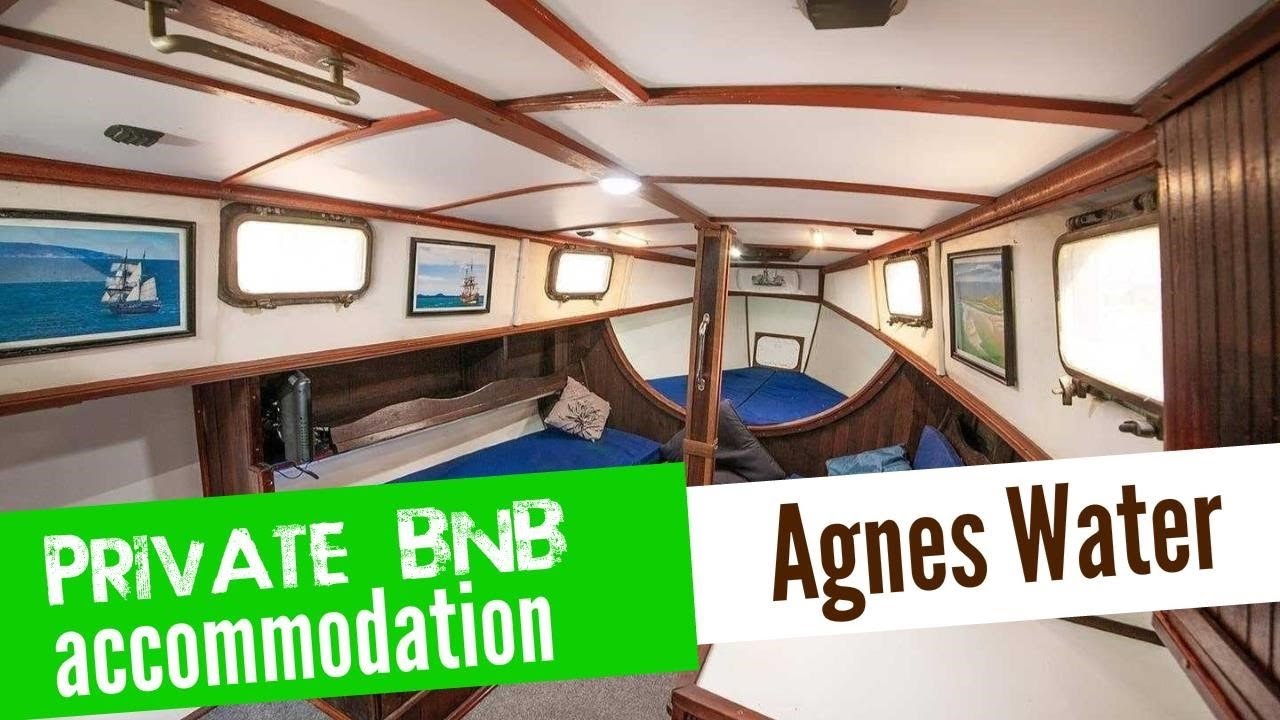
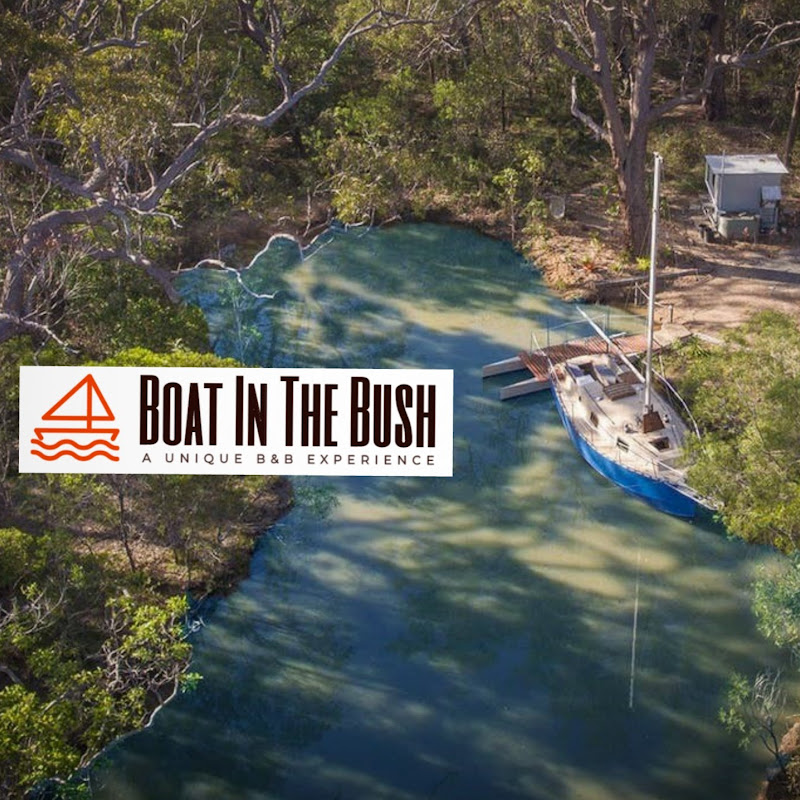
BOATINTHEBUSH.COM.AU Searching for a Bed and Breakfast Accommodation Supplier In Agnes Water? Boat In The Bush B&B Agnes Water provides Bed and Breakfast Lodging That Is Suitable for Couples, Small Groups of Friends and Even Solo Travellers. Found In The Beautiful Agnes Water Area, This Distinct B&B Lodging Experience Is Something You Will Remember. With Your Own Private Driveway, Secluded Rural Area Meets The Ocean Environment, It's the Perfect Area to Get Away From All Of It. Boat In The Bush Has Been Established Since Mid 2019 And Has actually Been Enjoyed By Lots Of Travellers To Agnes Water Already, With Glowing Feeback! With Your Own Bathroom Facilities, Tranquil Surrounds and Outdoor Kitchen Area and Dining Area, What More Could You Need? Breakfast Is Offered As Part Of Your Lodging Reservation And Your Host Will Be Close At Hand Should You Need Anything Throughout Your Stay. The Perfect Accommodation Stay In Agnes Water Qld 4677. And You’ll Be Pleased To Know That Boat In The Bush Is Pet Friendly B&B Holiday Accommodation. Isn't It Time To Book The Best Agnes Water Accommodation that Is Also Pet Friendly for Your Next Queensland 4677 Visit. Find Agnes Water Accommodation Pet Friendly Queensland 4677
0
0
0
9


0
0
0
72


0
0
0
9,711
