Welcome aboard to the our video site for sailors. We are being constantly blasted by scammers and pirates, so registration is invite only
contact@sailorsahoy.com with "Invite". No spam, no newsletters. Just a free account
Korte broek Opprett

0
0
0
0
29

the cult city car now features a colourful and playful interface with widgets that bring your driving experience to life: navigation, energy consumption, driving assistance and even recharging order Twingo E-Tech Electric: https://bit.ly/4aDgoBq discover more vehicles in the same range as Renault Twingo E-Tech Electric: https://bit.ly/48eTE9Q

0
0
0
6

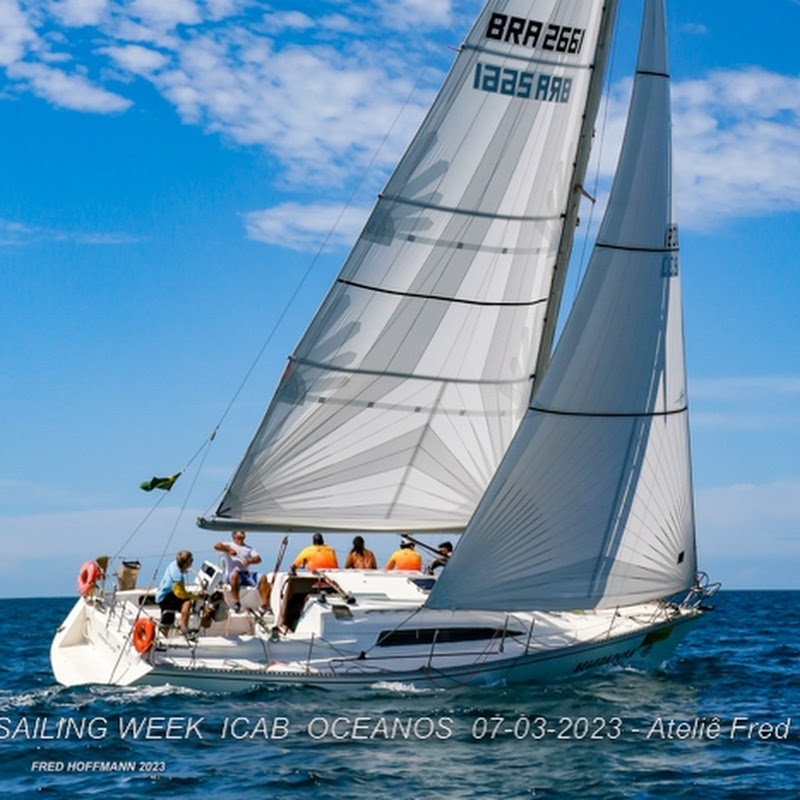
VELEJANDO NO SABADÃO DE SOL PARA FECHAR O MÊS DE JUNHO 30/06/2018
0
0
0
45

This video was uploaded from an Android phone.
0
0
0
121

So verhinderst du, dass deine Leinen und fallen am Mastklappern. Mehr Tipps dazu im Lang Format Video.
0
0
0
508

Отличная яхта в Кемере для вашей морской прогулки! Наш персонал, сервис и красота Кемерских бухт подарят вам отличные впечатления! Official website: https://brilions.com E-mail: info@brilions.com WhatsApp and the phone number for any question: russian language +7 958 111 9529 english language +44 78 9707 2330 Instagram: russian language https://www.instagram.com/brilions/ english language https://www.instagram.com/brilions.eng/ Facebook: russian language https://www.facebook.com/brilions.yacht english language https://www.facebook.com/brilions.eng VK: https://vk.com/brilions.yacht You can check feedbacks about us here: Yandex - https://yandex.ru/profile/67155125910 Google.Business - https://goo.gl/maps/ZVpKmbRVfozdVxTT7 TripAdvisor - https://www.tripadvisor.ru/Attraction_Review-g297962-d20325971-Reviews-Brilions-Antalya_Turkish_Mediterranean_Coast.html Смотреть также: Моторная яхта Doğukan - Гёджек - https://youtu.be/0hJnlQAPw9M Моторная яхта Maviş - Анталия - https://youtu.be/kK8iAGwyogI #яхты #яхтывкемере #турвкемере #яхтклуб #арендаяхты

0
0
0
45
