Welcome aboard to the our video site for sailors. We are being constantly blasted by scammers and pirates, so registration is invite only
contact@sailorsahoy.com with "Invite". No spam, no newsletters. Just a free account
شلوار کوتاه ایجاد کردن

We are a small, privately-owned company and active in water sports on Rhodes for many years. We always strive to provide our guests a diversified, individual and professional service. Relax on our Bavaria46 Cruiser and explore the eastern coast of Rhodes holiday island. Enjoy an unforgettable sailing experience off the beaten track of everyday routine right in the midst of the beauty of the Mediterranean. Our sailing yacht "BOHEME" moors right in front of the 4-star hotel resorts Rodos-Maris, Rodos-Village und Rodos-Princess, approx. 10 km south of Lindos at the east coast of Rhodes.

0
0
0
244

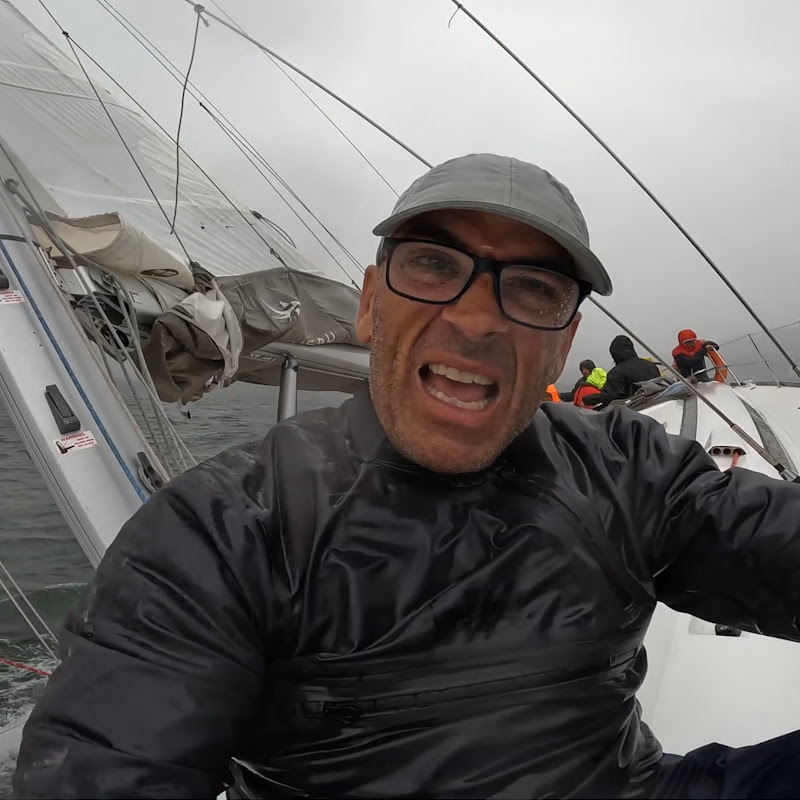
Jerome Rand of SV #MightySparrow didn’t curse the storm—he laughed at it. It’s all about mindset. Misery now, story later. 🎧 Podlink with Sailing Into Oblivion’s Jerome Rand: https://tinyurl.com/SaltyPodcast63 #SaltyAbandon #SaltyPodcast #Sailing #JeromeRand #SoloSailing #SailingLife

0
0
0
9,811
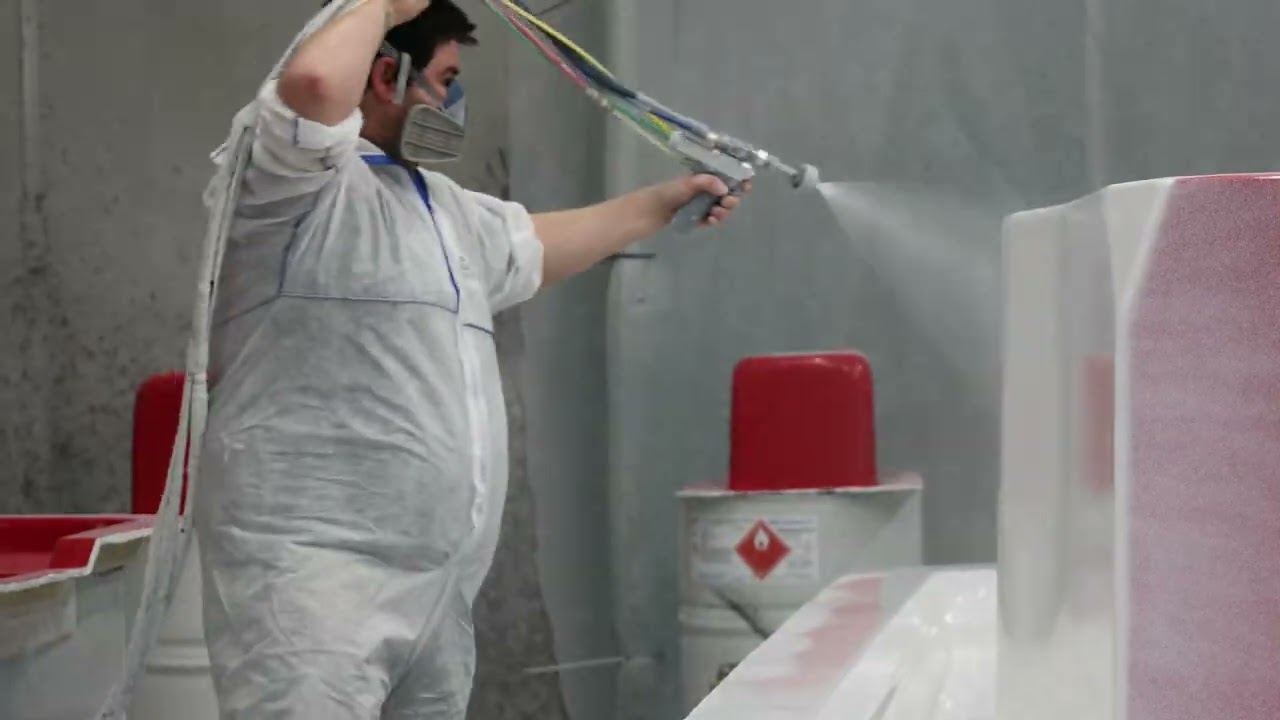
Fun Fact: Did you know that our boats are built inside out? We spray gelcoat (paint) over the freshly waxed mould. Layup Manager Shaun checks over every section to ensure full coverage and an even spread is achieved. A perfect mould surface will guarantee a perfect part, in this case this top deck is looking 10/10 straight out of the mould! Find out more about Edencraft's exceptional build quality here 👉 https://hubs.la/Q02Lpg130 _______________________________ See video rundowns of every boat to leave the Edencraft factory, full Edencraft TV episodes, customer reviews and more? Subscribe to our channel and never miss a video! Or visit us online: https://www.edencraft.com.au https://www.facebook.com/Edencraft.Boats https://www.instagram.com/edencraft.boats

0
0
0
879

Screwhead teak plugs in 23 seconds!! Having just replaced around 1000 teak screw head plugs…this was the process.. Unscrew every exposed screw: I used a battery drill driver. Drill the hole deeper: I used a 10mm forstner bit as it fitted the existing holes perfectly and did a tidy job. This is subject to having enough teak left to drill deeper. Fortunately Najad were generous with their teak! Try not to drill as far as the fibreglass. Add sealant and replace the screws: I’ve seen videos where they say the screws were just for construction and you can leave them out. That is probably correct but I’m going for better safe than sorry. If the teak was thinner with no room to drill deeper and replace the screws I’d leave them out as a last chance of getting a few more years out of a worn deck. Sealant to stop any water getting into the deck core. I used a hand screwdriver rather than power to replace them as power was tending to rip out the self tapping screws from the fibreglass. Put glue on the plug: I used a polyurethane foaming wood glue. Epoxy would be very strong but mixing all the batches a big pain if you have lots to do. Try to get more glue on the edges than the base of the plug as I had a couple of plugs pushed out as the glue foamed up. Tap in the plug: I used a standard claw hammer as it’s all I had but I daresay a wooden mallet is recommended but the top of the plug is waste material anyway so it matters not. Cut off the excess: I used a Fein multi tool oscillating saw. Be careful with your angle as you don’t want to gouge the surrounding deck. It took me a few goes to master the technique but was pretty quick when I did. I said the top of the plugs were waste but if you found yourself short a lot of them had enough material left to do more holes. Sand flat: I used a random orbit sander with a worn 80 grit pad. I now have fresh patches all over the deck so, once I’ve completed a couple of caulking touch ups, I’ll give the whole deck a very light sanding. You could just leave the newly sanded plug patches to grey down to match the deck if you preferred. And that’s it…repeat many times! Feel free to ask any questions 😊⛵️ #boatlife #liveaboardsailboat #boatmaintenance #najad #boatrepairs

0
0
0
696

0
0
0
0
730


0
0
0
52
