Welcome aboard to the our video site for sailors. We are being constantly blasted by scammers and pirates, so registration is invite only
contact@sailorsahoy.com with "Invite". No spam, no newsletters. Just a free account
السراويل القصيرة خلق

0
0
0
0
48

Guarda il video completo qui 👇 https://youtu.be/drdeVIOX4wY Il Bali Cat Smart è è una delle novità per questa stagione dei saloni nautici del Gruppo Catana. Un cat per la crociera famigliare e non solo il charter, ma che sente l'influenza dello stile sportivo Catana nelle soluzioni per il piano velico, con un fiocco più grande e un lungo carrello randa. Servizio di Mauro Giuffrè Specifiche tecniche BALI CATSMART LOA: 11.32 m Hull Length: 11.78 m Larghezza: 6.46 m Pescaggio: 1.10 m Dislocamento: 8.40 t Superficie velica sopravvento: 101.00 m2 Main sail: 47.00 m2 Fiocco autovirante: 30.00 m2 Motore standard: 2 x 20 hp CV Motore 1: 2 x 30 hp CV Serbatoio di carburante: 400 l Serbatoio acqua fresca: 660 l Certificazione CE: A Architetto Navale: Xavier Fay

0
0
0
834

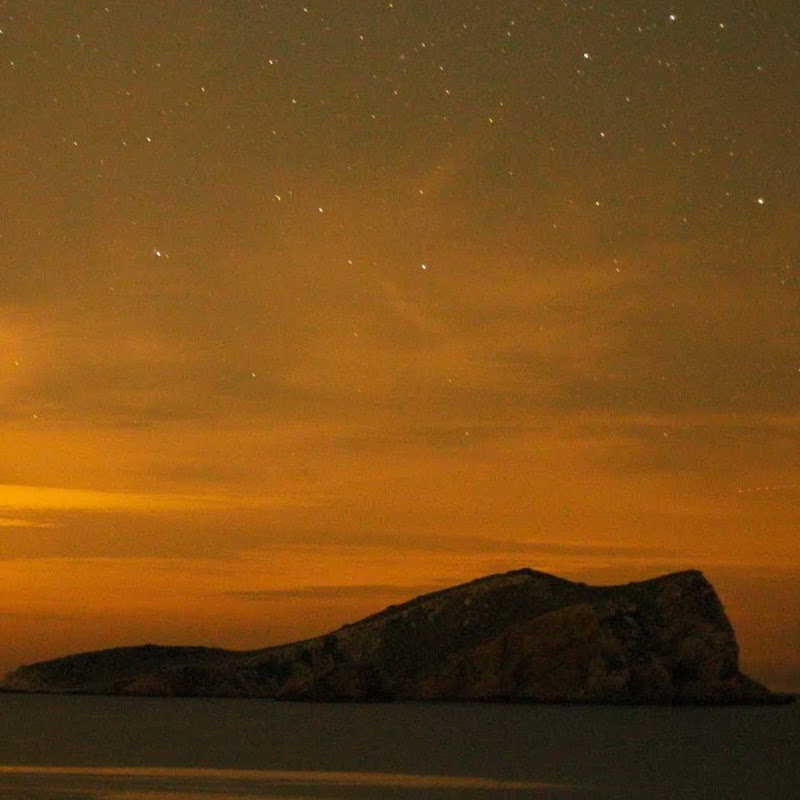
Batu Bolong is easily one of Komodo's best sites, weather you're diving or snorkeling, there is always so much to see. From the immaculate hard coral reef which extends from the to well beyond recreation dive limits that literally bursts with fish life, to the larger fish like giant trevally who form big congregations, and of course all the giant sea-turtles who live on this small rock in the middle of the Komodo.

0
0
0
873

Supraba charter phinisi yacht - liveaboard - Komodo National Park
0
0
0
32

The countdown is nearly over… We’re all set and ready to welcome you to the South Coast & Green Tech Boat Show guided by Raymarine tomorrow! The teams have been busy behind the scenes, and the show is looking fantastic. Join us at Ocean Village Marina in Southampton from 10am. The show runs from Friday 9th to Sunday 11th May and tickets are free, which can be obtained from www.mdlboatshow.co.uk. Don't forget to book appointments in advance to see any of the 90+ boats that we will have on display.

0
0
0
913

Sailing boat - Både sælges, Dehler 33 CR, 1996 DKK 450.000 Scanboat https://www.scanboat.com/en/boat-market/boats/sailing-boat-dehler-33-cr-17481256

0
0
0
442
