Welcome aboard to the our video site for sailors. We are being constantly blasted by scammers and pirates, so registration is invite only
contact@sailorsahoy.com with "Invite". No spam, no newsletters. Just a free account
السراويل القصيرة خلق

From last winter when we prepered for the winter, this year is another story. When we bought the boat, it came with some nice covers for all the hatches. We’ve used them a lot, and it’s a good thing this is the last winter we’ll need them, because they’re just about worn out 🤗🌍⛵️ #shortoftheday #sailing #sailboat #winter #diy

0
0
0
14

0

0
0
0
1,663
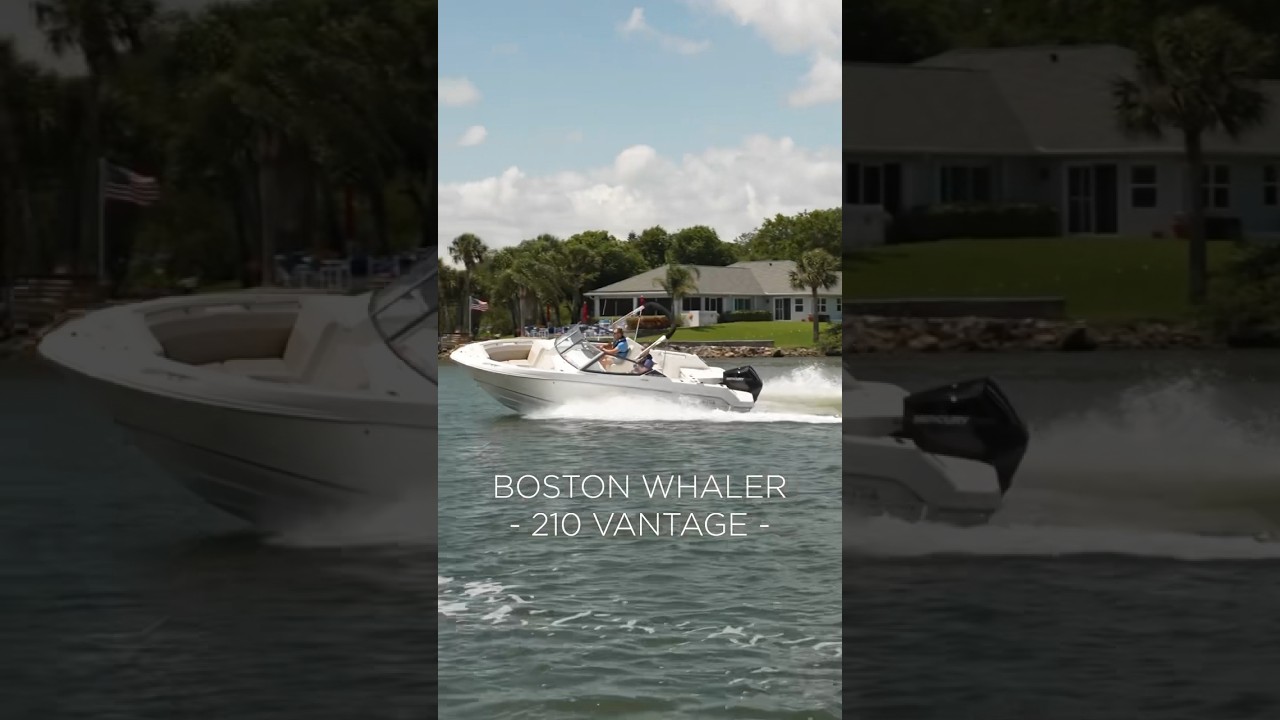
🚤 Boston Whaler 210 Vantage: The Ultimate Versatile Boat! 🏖️ Whether you're cruising, fishing, or enjoying watersports, the 210 Vantage has you covered. ✅ Key Features: Dual-console design for maximum space and comfort Powerful and efficient outboard engine Ample storage for all your gear Convertible seating arrangements Premium finishes and cutting-edge technology 🌊 Experience the adventure with the Boston Whaler 210 Vantage! ✅ 26" cockpit depth ✅ Forward anchor locker ✅ Telescoping swim ladder ✅ Aft casting platforms ✅ Motorwell drains ✅ Multiple rod holders ✅ Comfortable bow seating ✅ VesselView® Mobile ✅ Active engine trim ✅ Stainless steel propeller ✅ SmartCraft deluxe gauge package Visit BoatTEST to see all the test numbers and our Captains Report! 

0
0
0
3,022

Would you wake up aboard this yacht and decide your next destination without a plan? Rate this watercraft from 1-5 stars and comment below! Sichterman Yachts Felicitatem 20M © Sichterman Yachts Length: 67.7 ft (20.63 m) Beam: 17.7 ft (5.40 m) Draft: 3.9 ft (1.20 m) Displacement: approx. 40,000 kg Engine: Twin Cummins QSB 6.7 × 550 HP Cruising Speed: 17 knots Top Speed: 22 knots Range: 1,000 nautical miles Fuel Capacity: 3,500 L Fresh Water Capacity: 1,750 L Cabins: 2 master doubles + 1 twin + captain’s cabin Guest Capacity: up to 14 guests Price: approx. €2.95 million The Felicitatem 20M is built for those who want superyacht comforts and efficient bluewater performance. With a Fast Displacement Hull Form and Hull Vane technology, it reduces fuel consumption and improves stability. Three sundecks, a flybridge with helm, and a captain’s cabin ensure service and privacy. Luxurious amenities like Seakeeper stabilization, air-conditioned lounge with floor heating, Sonos entertainment, and handmade interiors make long voyages feel like home at sea. #SichtermanFelicitatem #LuxuryExplorer #EfficiencyMeetsComfort #HarbourMasters

0
0
0
48

0

0
0
0
681

1. Remove the old caulking. We use a special tool from @teakdeckingsystems. 2. If your deck is both screwed and glued, considwe removing the screws. We chose to remove the screws since they only created a possibility for water to enter the construction. 3. Fill out every screw hole with epoxy. During the renovation, we learned it would be a good idea to fill the holes with epoxy as soon as you remove the screws to ensure you seal every single hole. 4. Route between all the teak strips. We routed all the way to the gel coat to have as much wood to work with as possible. We used a fine cutter where the caulking was across the grain. 5. Seam sanding. It helps remove the remaining caulking and gives the teak a fresh bonding surface. 6. Masking the teak strips. We chose to mask the wood to reduce the sanding process later on because we knew the teak wasn’t very thick. 7. Cleaning off with acetone. This helps remove dust and gives the caulking the best conditions to adhere to the wood and cure. 8. Start caulking. We used an air compressor caulking gun. It makes the process easier for large surfaces that need caulking - we used SIS 440 from @teakdeckingsystems. We also used a 3D-printed applicator for the caulk head, which minimizes the amount of caulking used. I could only find it on @hfindustrimarineaps website. 9. “Spoon” caulk further into the seams. We used a flexible putty knife to smoothing the caulking. 10. Pull off the masking. While removing the tape, we used scissors to cut just before the area where it hadn’t been caulked yet. 11. Remove the top of the caulking. We used a sharp stanley knife. We did this to minimize sanding, just as we did with masking. 12. Sanding with grit 80. We used the fine cutter’s sanding head for all the edges and an orbital sander for the larger areas. Side note: Sanding with grit 40. We believe the best way is to sand before routing to even out the wood. Unfortunately, we had many places where the wood was so worn out that it wouldn’t have been possible to follow the old tracks with the router after sanding. #diy #sailing #sailingdiy #teak #teakdeck #sailingdenmark #boatwork #shortoftheday
0
0
0
694
