Welcome aboard to the our video site for sailors. We are being constantly blasted by scammers and pirates, so registration is invite only
contact@sailorsahoy.com with "Invite". No spam, no newsletters. Just a free account
Kurze Hose Erstellen

Beautiful catamaran Lagoon 560 ARCTIC QUEEN can accommodate up to 10 guests onboard for a real yachting adventure in the Adriatic. It is one of the nicest ways to explore Croatia and its fantastic historical & cultural heritage. For bookings, please inquire https://www.contactyachts.com/yachts/catamarans/arctic-queen/
0
0
0
203

0
0
0
1,618

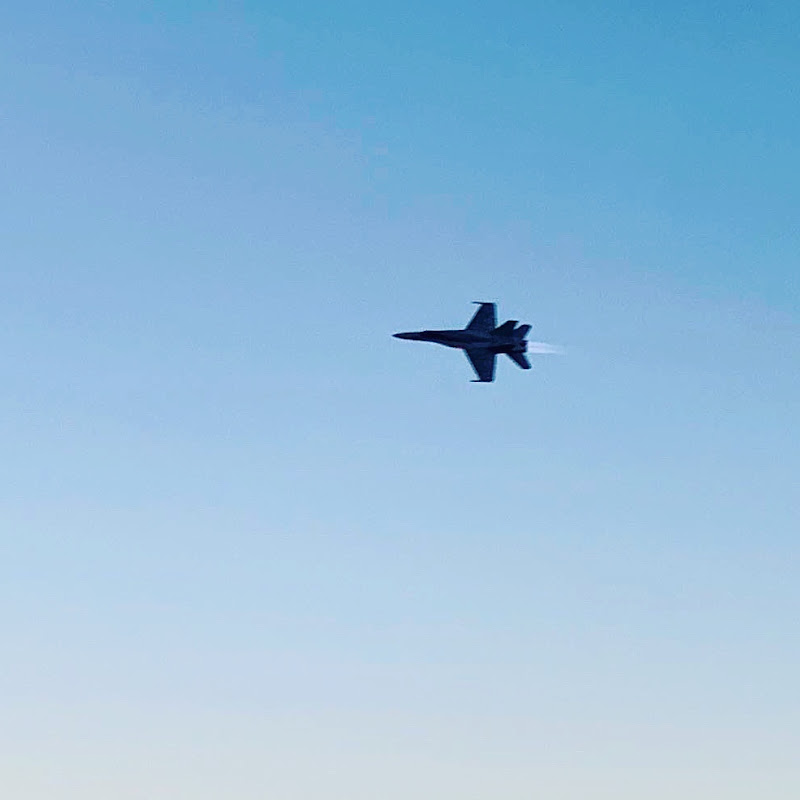
Video en 4k a 120 fps en un vuelo con el Mavic 3 en Playa del Carmen el dia Domingo 21 de Agosto. Siguenos para los próximos videos en 4k en Isla Mujeres sobre un Catamaran. Video in 4k at 120 fps in a flight with the Mavic 3 in Playa del Carmen on Sunday August 21. Follow us for the next videos in 4k in Isla Mujeres on a Catamaran
0
0
0
82

0
0
0
0
6

#adventures #sailing #baliindonesia #wonderfulindonesia #ocean #oceanlife *Indonesia through Indonesian eyes* Thanks for being part of the Seatrek Sailing Adventures community, we can't wait to welcome you on board! Start planning your next great escape! here: 🗺 Schedule | https://www.seatrekbali.com/schedule/ ⛵️ Website | https://www.seatrekbali.com 🙏🏼 Contact Us | info@seatrekbali.com
0
0
0
92

0
0
0
0
2,801
