Welcome aboard to the our video site for sailors. We are being constantly blasted by scammers and pirates, so registration is invite only
contact@sailorsahoy.com with "Invite". No spam, no newsletters. Just a free account
Calção Crio

0
0
0
0
99

I was practicing flying with our new drone when, unfortunately, a freight train passed by and took my attention away. This led to an unlucky nudge on the joystick, causing a nose dive onto the football field. Will it work after that? -No #shorts #drone #crash

0
0
0
584

🇫🇷 Thomas Ruyant a de la visite sur son bateau : un petit oiseau est venu lui tenir compagnie. Cette rencontre inattendue apporte une touche de douceur et de réconfort à sa traversée. 🇬🇧 Thomas Ruyant has a visitor on his boat: a little bird has come to keep him company. This unexpected encounter brings a touch of sweetness and comfort to his crossing. ------------------------ ➡️ SUIVEZ-NOUS ! // FOLLOW US ! 🔗 Website : https://www.newyorkvendee.org/ 📸 Instagram : https://www.instagram.com/vendeeglobe/ 🐦 Twitter FR : https://twitter.com/VendeeGlobe | Twitter ENG : https://twitter.com/VendeeGlobeENG 🕺 TikTok : https://www.tiktok.com/@vendee_globe 💻 Facebook : https://www.facebook.com/VendeeGlobe 💼 LinkedIn : https://www.linkedin.com/company/vendée-globe/
0
0
0
1,558
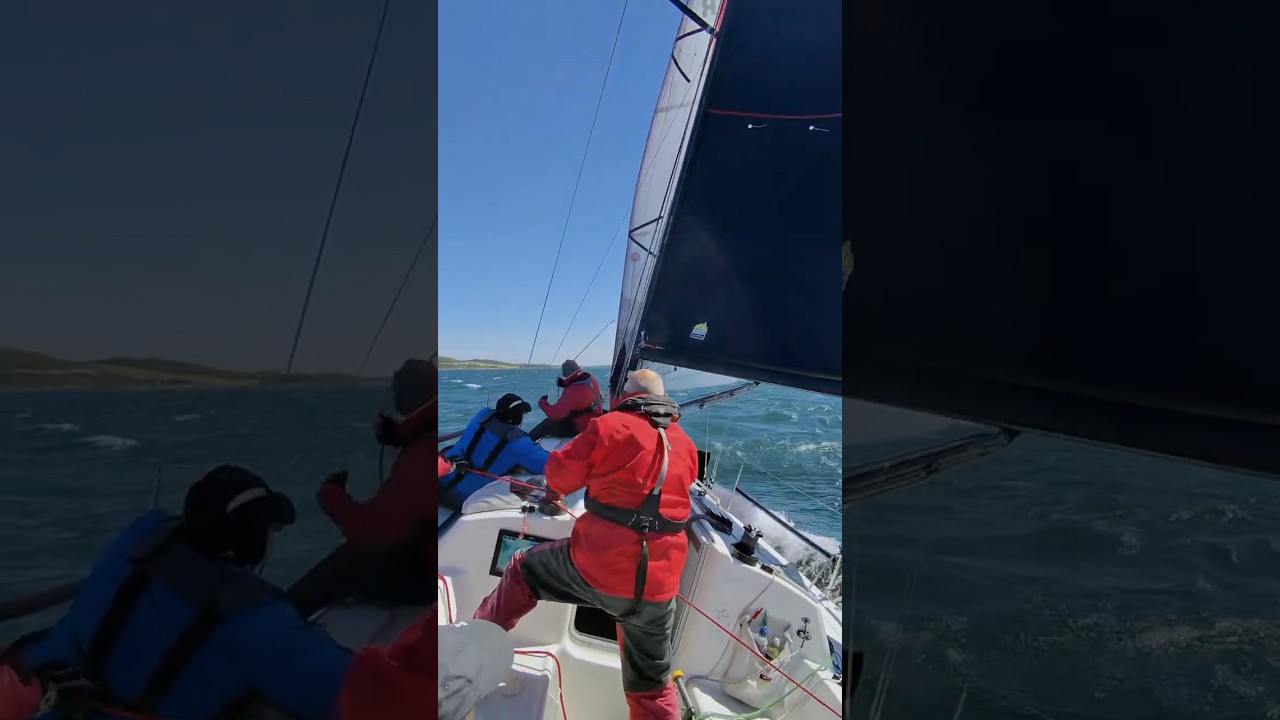
Join us on an exhilarating sailing adventure as we take on the challenge of downwind sailing on the stunning Strangford Lough. Our J109 sailboat is put to the test as we navigate through rough seas and high winds, reaching incredible sailboat speed and max speed. This extreme sailing experience is not for the faint of heart, with the boat often sailing on the plane, providing an adrenaline-pumping thrill. As we participate in this yacht racing regatta, we push our performance sailing skills to the limit, taking on the wild and windy conditions. With the irc racing rules in place, we must strategically maneuver our J109 yachting vessel to achieve the best possible results. The rush of sailing downwind, feeling the sail fill with wind, and the boat lifting out of the water is an unforgettable experience. Get ready for a high-speed, action-packed sailing adventure that will leave you on the edge of your seat, as we take on the ultimate test of sailing skill and endurance in this thrilling sailboat racing competition on the beautiful Strangford Lough. The team at bottom up boats is excited to be back and giving you lots of action from the 2026 racing season
0
0
0
2,014

Yelkenli tekne kaptanı olmak ve kendi teknenizi kullanarak maviliklere yelken açmak için bu fırsatı kaçırmayın! Katılmak istediğiniz eğitimler hakkında bilgi almak ve rezervasyon yaptırmak için 0 531 713 9212 nolu telefondan ya da charter@mostsailing.com adresinden bize ulaşabilirsiniz. Eğitimler Fethiye ve Göcek koylarında yapılmaktadır. Aklınıza takılanları sormak için Instagram DM'i de kullanabilirsiniz. #mostsailing #yelkenliyatçılıkeğitimi #yelkenlieğitimi
0
0
0
532
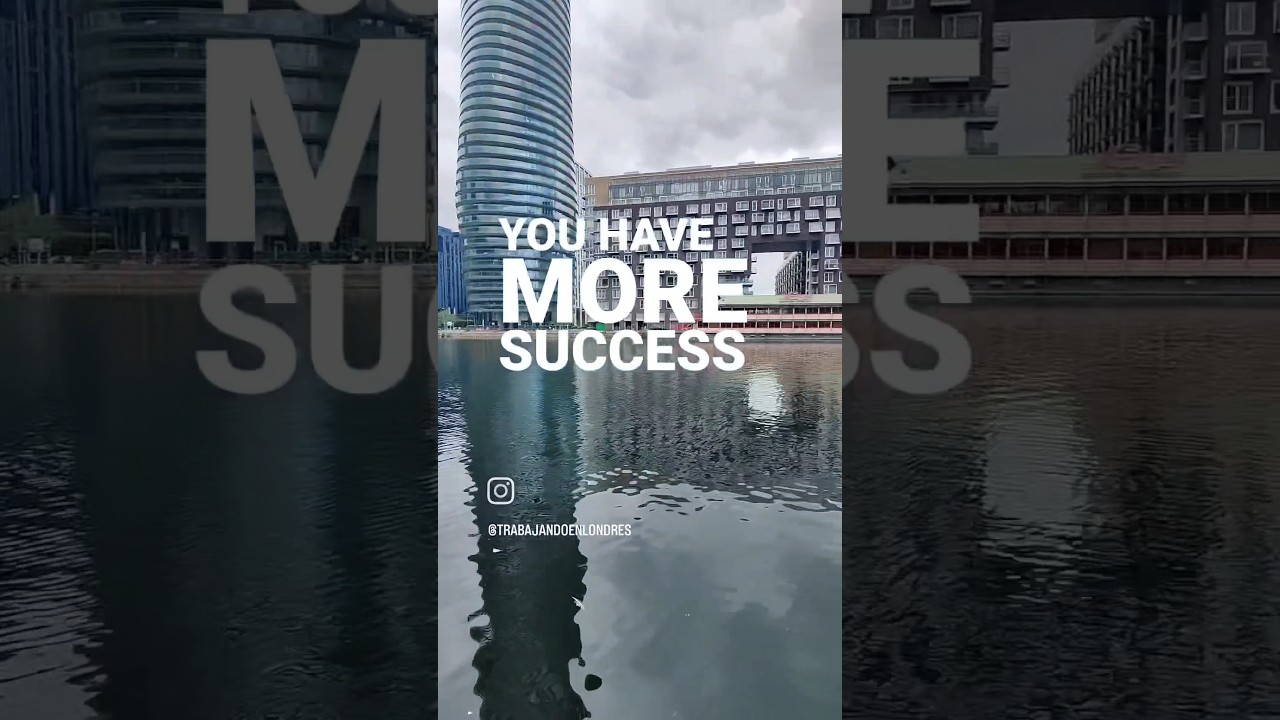
En camino a visitar a otro cliente en Londres, para conversar sobre el siguiente encargo. #barcos
0
0
0
39
