close
Welcome aboard to the our video site for sailors. We are being constantly blasted by scammers and pirates, so registration is invite only
contact@sailorsahoy.com with "Invite". No spam, no newsletters. Just a free account
Calção Crio

0
0
0
0
76
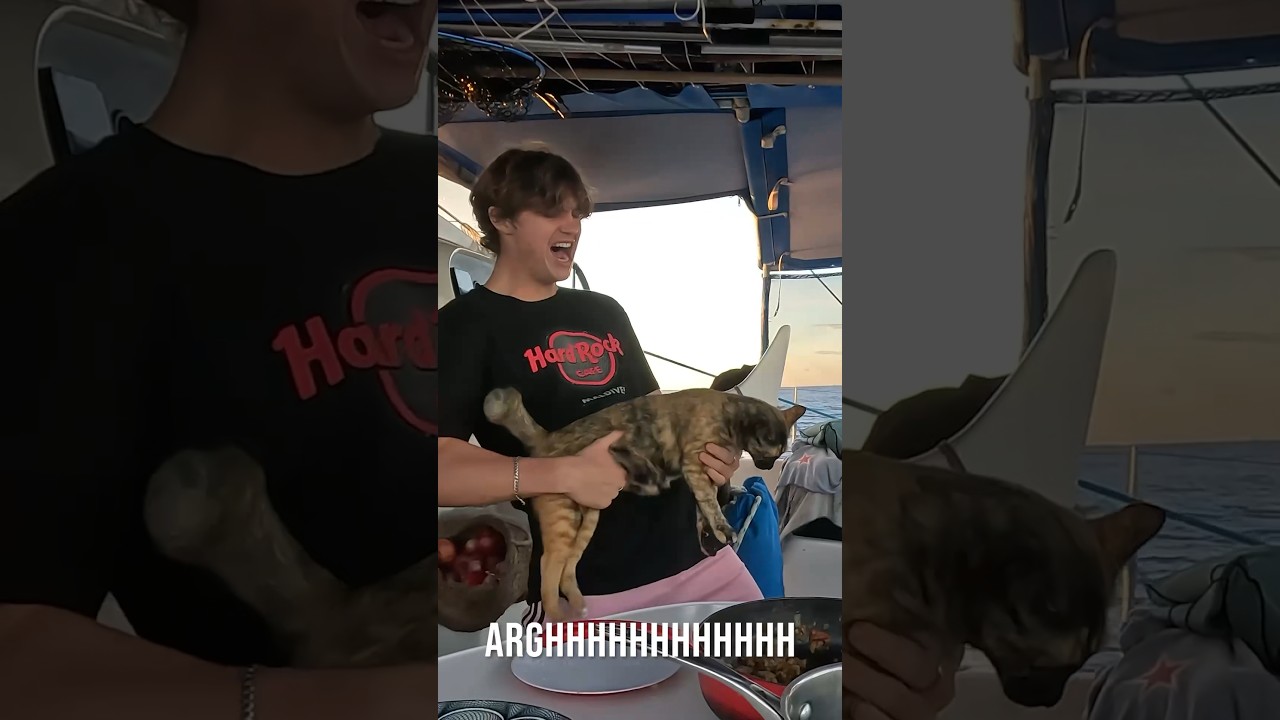
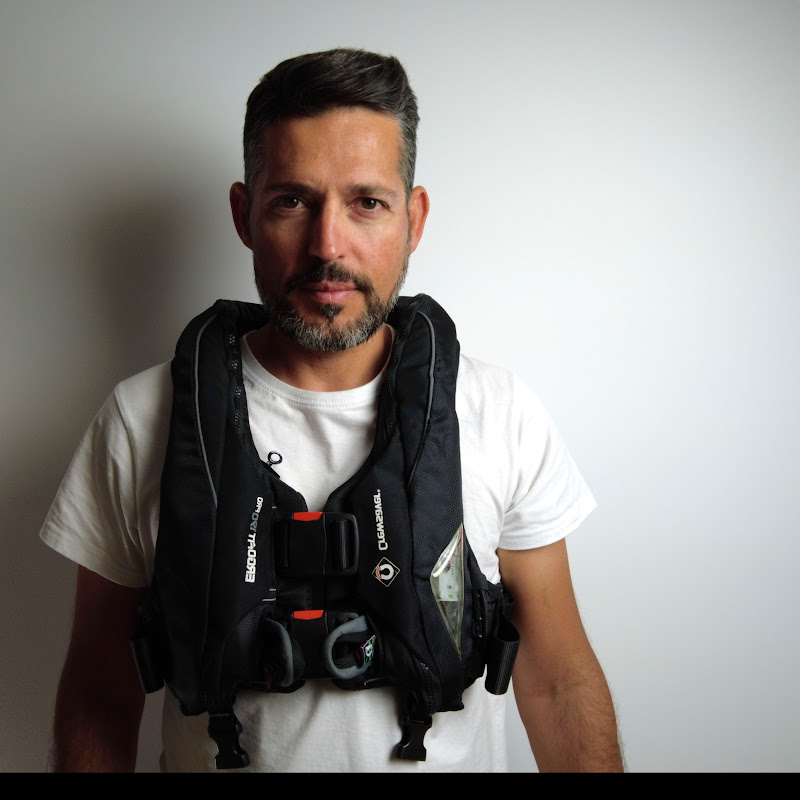
A vessel changed course and comes straight towards us at speed while we are sailing across the Indian Ocean. Somali pirates are known to operate in this area. We release our best defence strategy
0
0
0
5,875

0
0
0
1,365

Welcome to Porto Rotondo for the first day of this year’s Solaris Cup! We are excited to have you all here again for another edition of racing. Let the good times begin!

0
0
0
924

0
0
0
0
2,183

0
0
0
1,354
