Welcome aboard to the our video site for sailors. We are being constantly blasted by scammers and pirates, so registration is invite only
contact@sailorsahoy.com with "Invite". No spam, no newsletters. Just a free account
شلوار کوتاه ایجاد کردن

🌬️ Flaute auf dem Wasser? Kein Problem – mit den richtigen Einstellungen holst du auch aus leichtem Wind das Beste raus. Heute bei Cat-2-Go QuickTips: So trimmen Katamaran-Segler ihre Segel bei wenig Wind. #Cat2Go #Segeltipp #Katamaran #Leichtwind #Segeltrimm #AufblasbaresBoot #Flaute
0
0
0
2,577

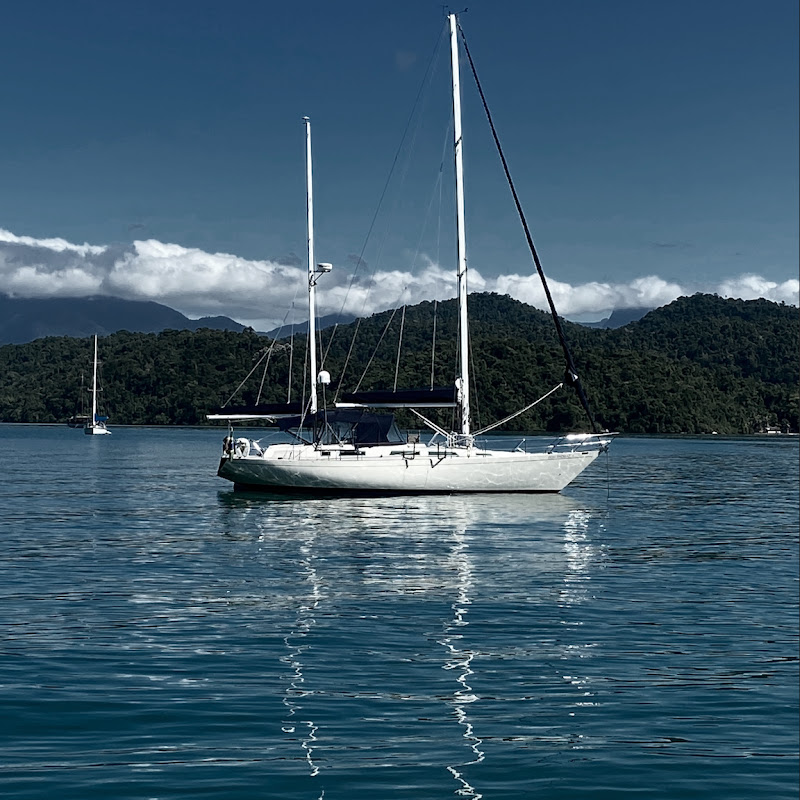
Something big is coming for the Lagoon 38… We’re talking about a new way to enter ownership that changes everything. ✔ Lower entry cost ✔ Smart financing structure ✔ Brand-new Lagoon 38 ✔ Designed to make sailing more accessible than ever We’ll reveal full details very soon… but one thing is clear: this is unlike anything Lagoon has done before. Stay tuned — or miss the wave. #Lagoon38 #CatamaranDeal #SailingLife #BoatOwnership #NewRelease #SignatureCatamarans #LuxuryForLess #YachtOpportunity

0
0
0
0
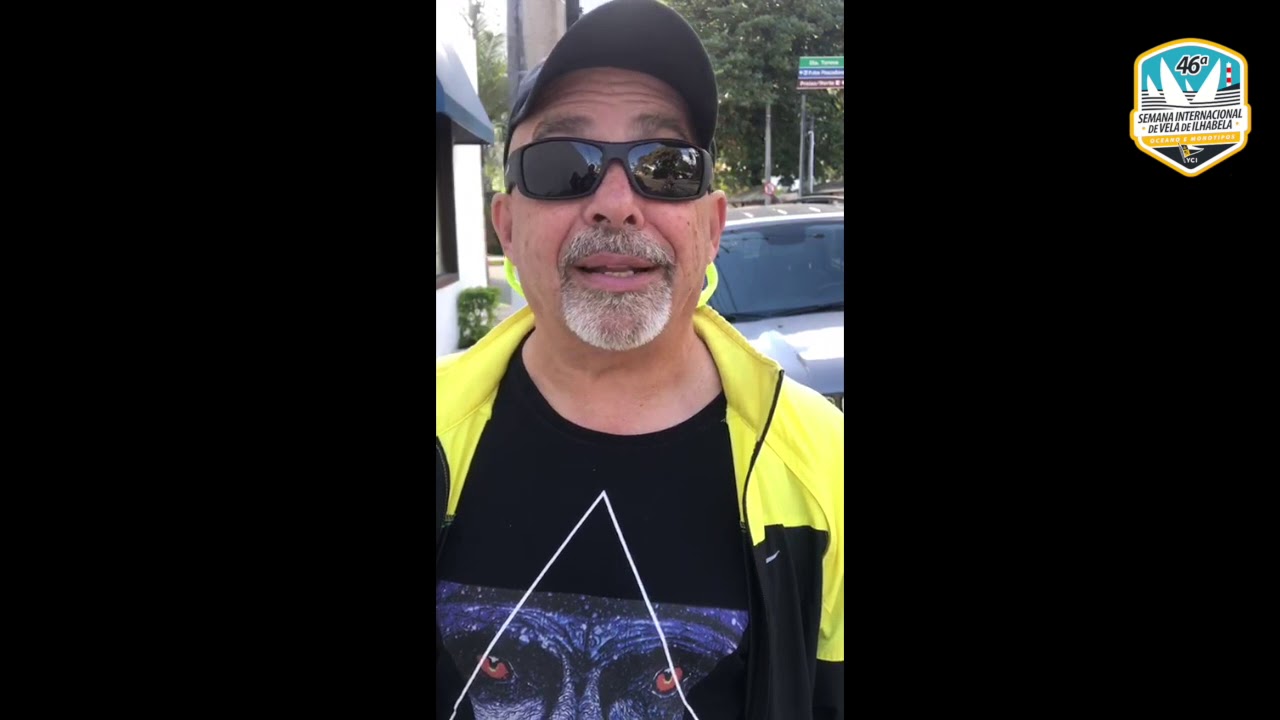
Diretor de meio ambiente do Yacht Club de Ilhabela, Julio Cardoso espera mais baleias na raia da Semana Internacional de Vela de Ilhabela 2019

0
0
0
27

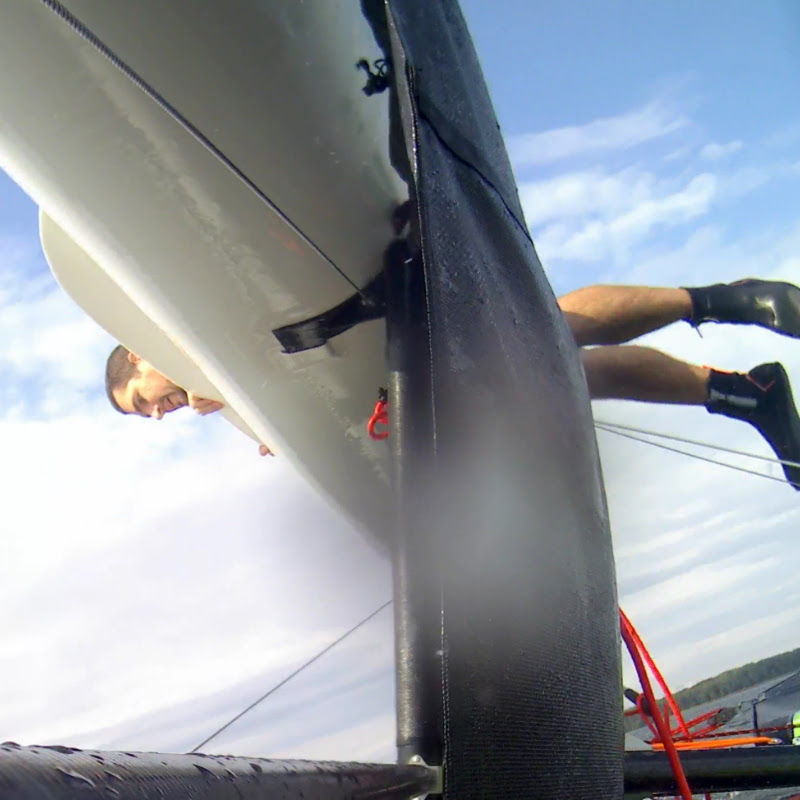
Discover the physics behind how America's Cup AC75 yachts create their own momentum to fly above the water. A quick breakdown of hydrofoil lift and sail flow for maximum racing speed! #Sailing #AmericasCup #Hydrofoiling #Physics #AC75 #BoatSpeed #INEOSBritannia --- As the undisputed global leader in sailmaking, North Sails pioneers performance-led design and advanced 3Di engineering across all wind-powered sports. From offshore yacht racing and one-design fleets to high-speed foiling and windsurfing, we build the fastest, most advanced sails and rigs on the water. Discover more at northsails.com. Subscribe for more great videos: https://www.youtube.com/@North_Sailssub_confirmation=1 --- https://youtu.be/Nx49VuAACOU - Pt 5 ---
0
0
0
812

0
0
0
870

0
0
0
0
4
