


סרטונים אחרונים

Aus der Hand gefilmt von Seven Eleven. Alle 5 IMOCA 60 beim Einlaufen und Auslaufen an verschiedenen Positionen in der Kieler Förde am 09.06.2023 gefilmt und als kurzes Video zusammengedengelt.

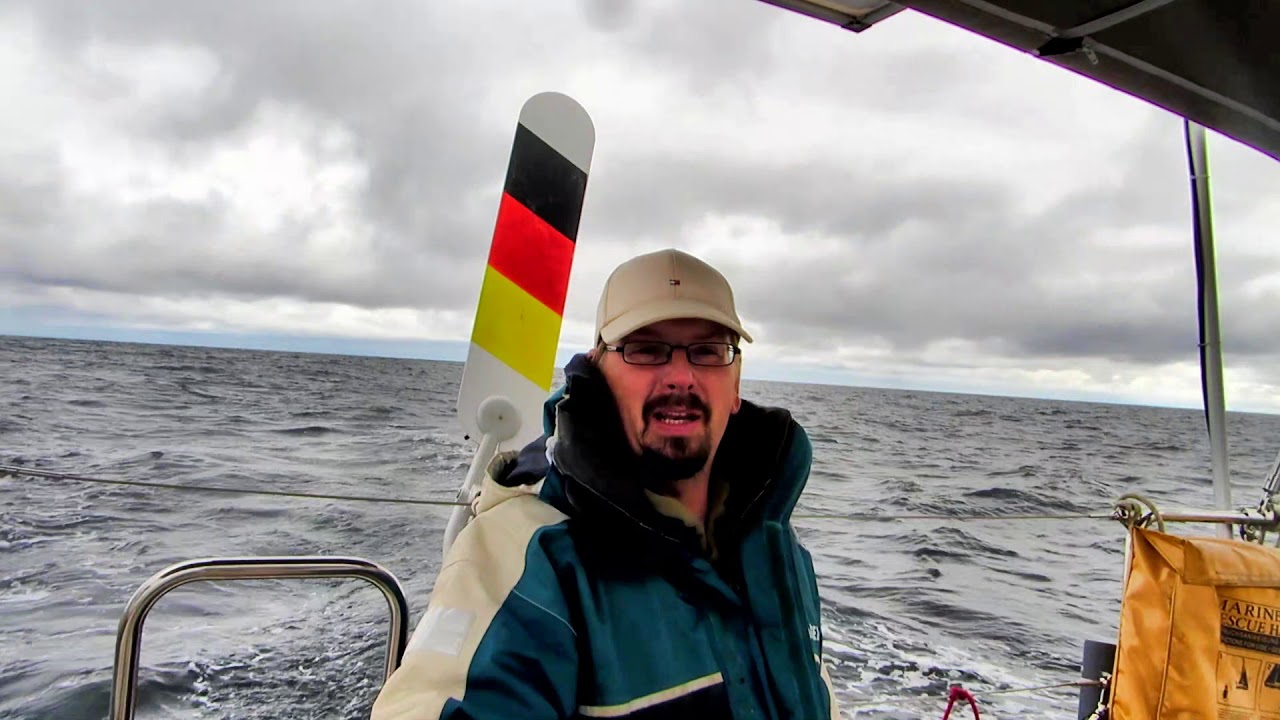
This year it happened again that the wind vane in the mast top had some issues. So I decided to replace it completely instead of repair it again. This is a short video showing how to climb a 13 meter mast in a bit more than one minute :-) and remove the wind vane including cable (in exchange to a pilot line). Therefore I use my mast ladder which I'd set up before. Filmed with the GoPro Hero 6 Black Enjoy!
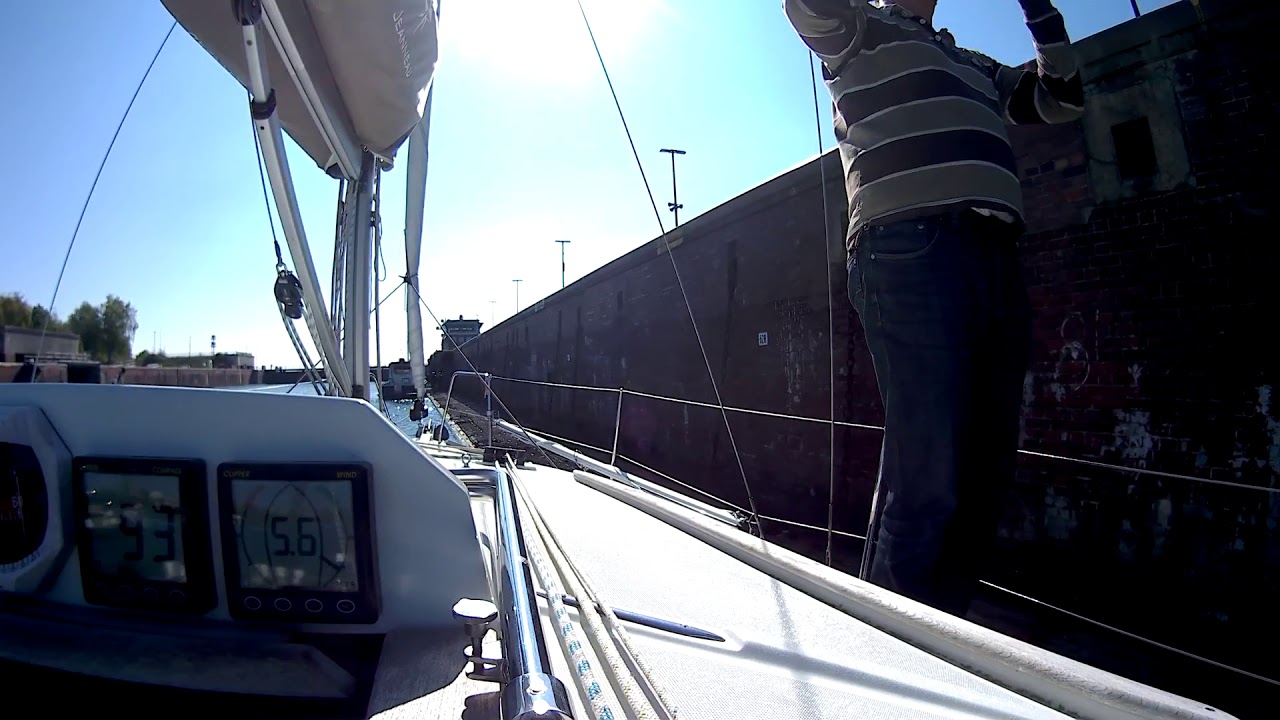
Nachdem die Landesregierung zum 4.5.2020 endlich die die Nutzung der Sportboothäfen unter Auflagen gestattet hat, konnte meine Werft dann auch endlich die Yachten abslippen. 7/11 hatte Glück und war dann schon am 8.5.2020 an der Reihe. Es geht von Yachtwerft Dick im Kanal durch die NOK Schleuse Holtenau mit Halt an der Bezahlstation am Tissenkai nach Stickenhörn...
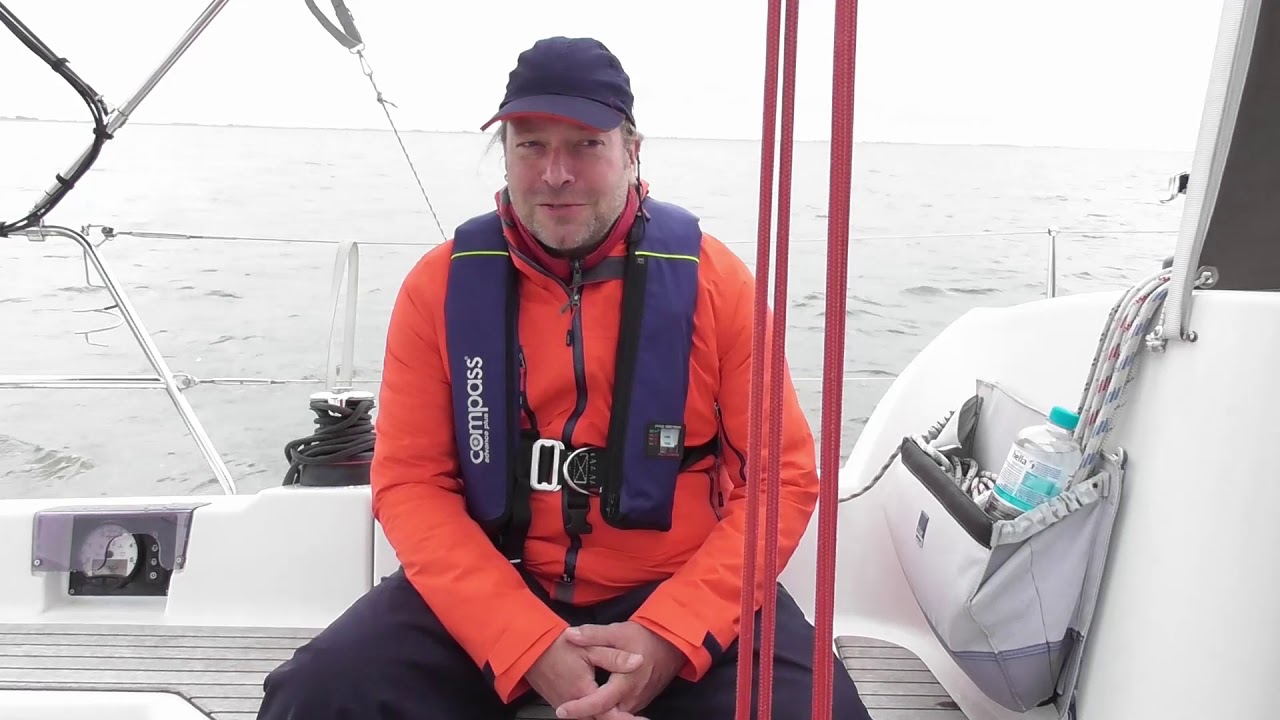
Der letzte Teil der Nordseetörn Serie findet leider ohne Björn und Rudi statt, dafür geht es bei NW 5-6 von Helgoland zurück nach Cuxhaven. Es schliesst sich dann wieder eine lange Kanalfahrt mit einer idyllischen Unterbrechung bei der Giselauschleuse an. Damit ist der Sommerurlaubstörn 2019 nun bei YouTube ad acta gelegt :-) Viel Spass beim Schauen!
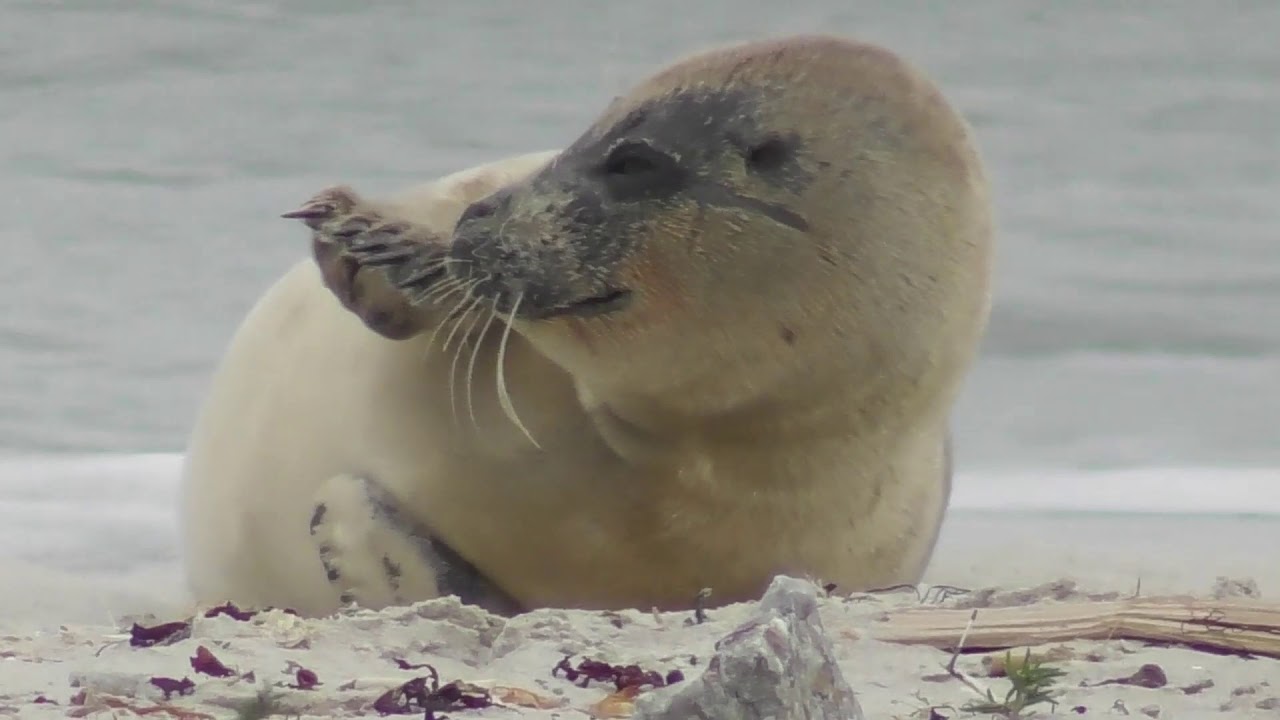
Wir sind nun mit SevenEleven auf Helgoland angekommen und stürzen uns gleich ins Sight Seeing :-) Kegelrobben, Basstölpel und ein rotes Kliff gilt es zu bewundern.
In diesem, zugegebenermassen recht kurzen, Teil der Serie geht es um die Überfahrt vom Eidersperrwerk durch die Nordsee bis nach Helgoland

Im ersten Teil der Nordseetörnberichterstattung bereiten wir uns auf die Nordsee vor, in dem wir uns proviantieren und bei Wind und Welle erst einmal von Kiel nach Bagenkop und zurück segeln.

Im zweiten Teil der Serie beschreibe ich unseren Weg von der Ostsee (Kiel), durch den Nord Ostsee Kanal (NOK), über den Giselaukanal, in den Eiderkanal und weiter über Tönning bis zum Eidersperrwerk.
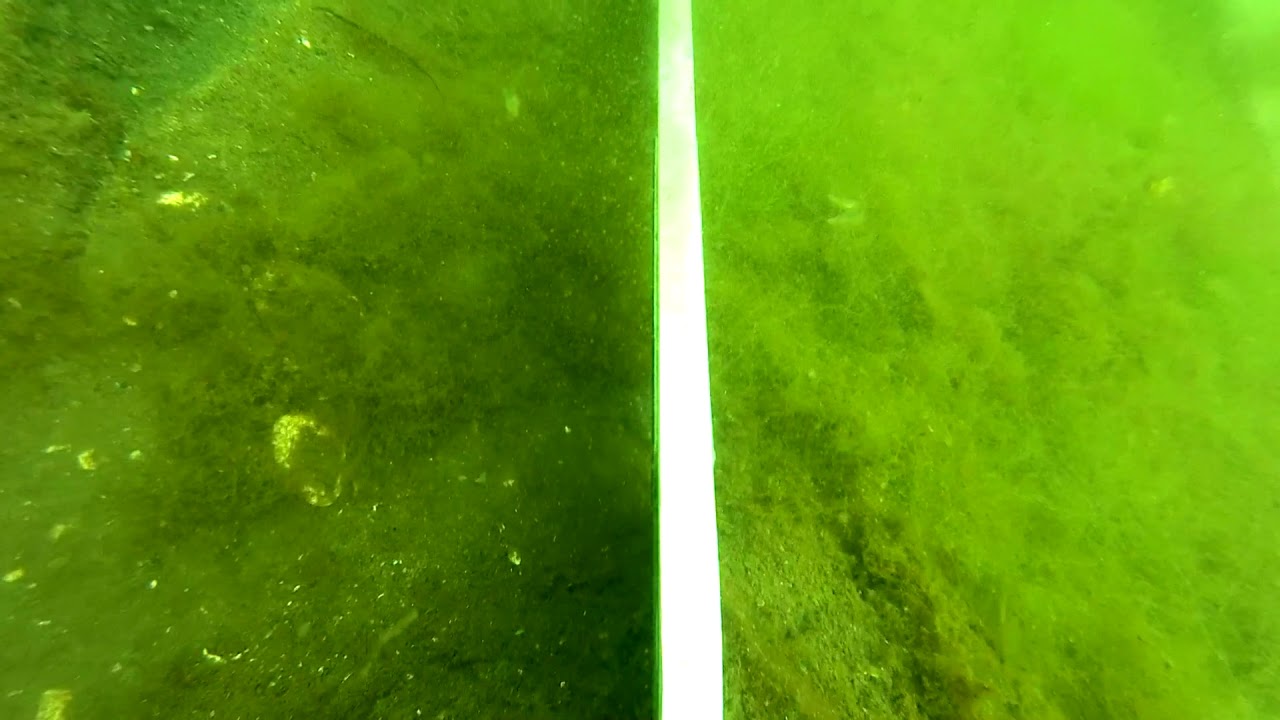
Here you can see how my Rocna 15kg settles in sandy mud ground. The camera is placed on the rollbar. The footage was taken on 16.8.2019 in germany, Kiel fjord, Möltenorter Reede. The water depth is 4m, I put out 20 meter of 6mm chain. Wind gusts have been around 15knots. And SevenEleven is a modern 9m 4 tons sailing yacht.

Using my mast ladder to climb the mast on my own (single handed). I removerd the NASA CLIPPER WIND mast unit because the wind speed was not reported correctly. It turned out that the HALL element was drawn in water and one PIN vanished by corrosion. After replacing the HALL element fromn an old unit the mast unit was mounted again. This is a small vieo made by an action cam mounted on my head. Still a boring nine minute video, so need to look every minute, maybe just the mast ladder is of interest...

0

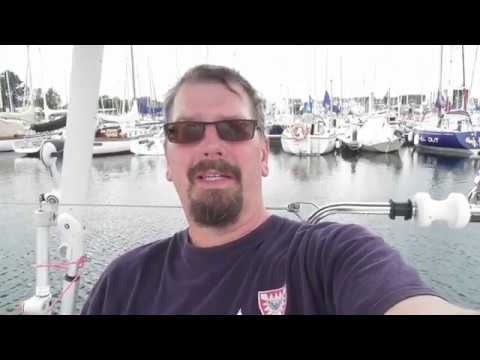
Der Film zum Männertörn 2018 :-)

Bei der RoosterTour handelt es sich um meinen achtwöchigen Einhand-Segeltörn auf meinem Boot SevenEleven, einer Jeanneau Sun Odyssey 30i. Die Tour ging im "Sommer" 2017 von Kiel zur Ostseite Schwedens, durch den Göta-Kanal und Trollhätte-Kanal bis nach Göteborg und von dort wieder zurück nach Kiel. Dies ist Teil 2 des Filmes, der den Weg mit der Familie von Nyköping bis Göteborg, durch den Götakanal und den Trollhättekanal zeigt. Dabei ging es durch die beiden großen schwedischen Seen Vänern und Vättern.

made with Canaon SX710HS and CHDK Photo shooting interval 5s - converted in film with 25fps

Während meiner Roostertour habe ich auch mit meiner "Ricoh Theta SC" fotografiert und gefilmt. Ich habe nun ein paar dieser Aufnahmen zusammengefasst, in der Hoffung diese geben das Erlebte ein wenig realistischer wieder :) Für ein optimales Erlebnis benötigt Ihr ein Smartphone mit Gyro und eine VR Brille (z.B. Google Cardboard o.ä.). Dann nur noch auf das Brillensymbol im YT Video klicken ....

Während meiner Roostertour habe ich auch mit meiner "Ricoh Theta SC" fotografiert und gefilmt. Ich habe nun ein paar dieser Aufnahmen zusammengefasst, in der Hoffung diese geben das Erlebte ein wenig realistischer wieder :) Für ein optimales Erlebnis benötigt Ihr ein Smartphone mit Gyro und eine VR Brille (z.B. Google Cardboard o.ä.). Dann nur noch auf das Brillensymbol im YT Video klicken ....

Während meiner Roostertour habe ich auch mit meiner "Ricoh Theta SC" fotografiert und gefilmt. Ich habe nun ein paar dieser Aufnahmen zusammengefasst, in der Hoffung diese geben das Erlebte ein wenig realistischer wieder :) Für ein optimales Erlebnis benötigt Ihr ein Smartphone mit Gyro und eine VR Brille (z.B. Google Cardboard o.ä.). Dann nur noch auf das Brillensymbol im YT Video klicken ....

Während meiner Roostertour habe ich auch mit meiner "Ricoh Theta SC" fotografiert und gefilmt. Ich habe nun ein paar dieser Aufnahmen zusammengefasst, in der Hoffung diese geben das Erlebte ein wenig realistischer wieder :) Für ein optimales Erlebnis benötigt Ihr ein Smartphone mit Gyro und eine VR Brille (z.B. Google Cardboard o.ä.). Dann nur noch auf das Brillensymbol im YT Video klicken ....
Die Tour ging im "Sommer" 2017 von Kiel zur Ostseite Schwedens, durch den Götakanal bis nach Göteborg und von dort wieder zurück nach Kiel. Dies ist Teil 3 des Filmes, der den Weg von Göteborg über Anholt nach Kiel zeigt.

Die Tour ging im "Sommer" 2017 von Kiel zur Ostseite Schwedens, durch den Götakanal bis nach Göteborg und von dort wieder zurück nach Kiel. Dies ist Teil 1, es geht von Kiel über Bornholm, Christiansö und Utklippanvon nach Nyköping auf der Ostseite von Schweden.

